A VPN is a virtual private network, which allows you to access most Monash services off-site. These services include portals, systems and websites behind login, including SAP, Callista, Employee Self Service (ESS), some Library modules, and intranets.
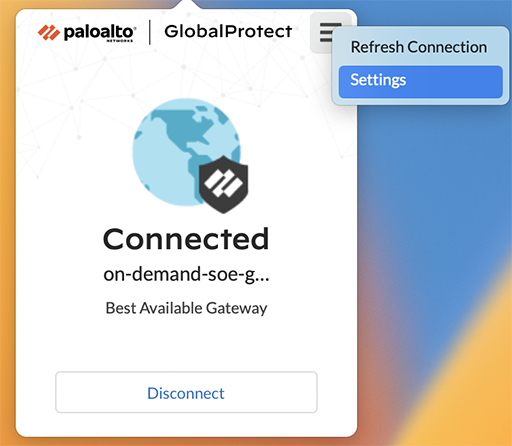
All off-campus connections require multi-factor authentication (MFA) for GlobalProtect VPN to establish an encrypted connection.
How it works
Monash staff and students
Your connection uses a full VPN tunnel. All traffic is routed through Monash’s network for consistent security and policy enforcement.
Non-Monash users
Your connection uses a split-tunnel. Monash related traffic is routed through the VPN and all other traffic is routed through your local connection. This may affect your access to Monash systems. If you’re unable to access a specific Monash system while using the VPN, please request system access.
To install the VPN on your personal device (or one not using the Monash Standard Operating Environment):
Go to the Monash install GlobalProtect page. If you’re not already signed in, do this using your Monash account and the multi-factor authentication process.
There are three options for Windows, 32-bit, 64-bit and ARM64. If you’re not sure which operating system your computer has, ask your system administrator before proceeding, then click the download button that corresponds with your operating system.
Open the software installation file.
When prompted, run the software.
When prompted again, run the GlobalProtect Setup Wizard.
In the GlobalProtect Setup Wizard, click Next.
Click Next to accept the default installation folder (C:\Program Files\Palo Alto networks\GlobalProtect) and then click Next > Next .
After installation is complete, close the wizard.
Monash devices
To install the VPN on a Monash device that is running the Standard Operating Environment (SOE):
Click on the Start button and search for Software Center.
Search for Global Protect and install it.
Once installed search for Global Protect from the toolbar and open the software.
Once installed, click the Global Protect client icon, type the address vpn.gp.monash.edu, then click Connect.
On the Okta page enter your email address and password, and then Sign In.
Follow the multi-factor authentication, agree to Open GlobalProtect and the Information Technology Acceptable Use Procedure, and you’ll be connected to the Global Protect VPN service.
Under Install GlobalProtect, click the macOS button.
When prompted, run the software.
When prompted again, run the GlobalProtect installer.
From the GlobalProtect installer, click Continue.
On the Installation Type screen, tick the check boxes for GlobalProtect and GlobalProtect System extensions then click Continue. It's necessary to check the second box for split tunnelling of traffic to work.
Click Install.
When prompted, enter your Monash username and password, then click Install Software to begin the installation.
Once the installation has finished, you’ll receive confirmation that it was successfully installed and you can click Close.
You may see this popup indicating that GlobalProtect would like to access files on a network volume. Click Don’t Allow if prompted.
Monash devices
To install the VPN on a Monash device that is running the Standard Operating Environment (SOE):
Go to Launchpad and search for the Self Service app and sign in.
Search for Global Protect and install it.
Once installed, search for Global Protect from the toolbar and open the software.
You may see this popup indicating that GlobalProtect would like to access files on a network volume. Click Don’t Allow if prompted.
Once installed, click the Global Protect client icon and type in vpn.gp.monash.edu, then click Connect.
On the Okta page enter your email address and password, and then Sign In.
Follow the multi-factor authentication, agree to Open GlobalProtect and the Information Technology Acceptable Use Procedure, and you’ll be connected to the Global Protect VPN service.
Ubuntu applications installed using SnapD suffer a known issue with DNS resolution. The workaround is to restart the ResolvD service by running sudo systemctl restart resolved.
Create a folder first, move the tar file into the folder, and then untar.
mkdir PanGPLinux
mv PanGPLinux-6.2.0-c10.tgz PanGPLinux/.
cd PanGPLinux
tar xzf PanGPLinux-6.2.0-c10.tgz
Installation is done with the provided script. It will detect the OS and by default install the application and start the appropriate services.
./gp-install.sh
For Redhat 8 Desktop, after installation, run the application from Applications > Internet > GlobalProject.
Once installed, Global Protect should be available in your system menu. Alternatively, use the following command to launch it.
Enter the portal address vpn.gp.monash.edu, then press Connect.
On the Okta page enter your email address and password, and then click Sign In.
Follow the multi-factor authentication, agree to Open GlobalProtect and the Information Technology Acceptable Use Procedure, and you’ll be connected to the Global Protect VPN service.
Go to the Monash install GlobalProtect page. If you’re not already signed in, do this using your Monash account. Alternatively, search for GlobalProtect in the App Store.
Click the iOS button, which will redirect you to the Apple App Store
Click install on the Global Protect application .
Android
Go to the Monash install GlobalProtect page. If you’re not already signed in, do this using your Monash account and the multi-factor authentication process. Alternatively, search for GlobalProtect in the Google Play Store.
Click Android, which will redirect you to the Google Play Store.
Install the Global Protect app by clicking Install.
Apple iOS
Once installed, open the app.
When presented with the notification, GlobalProtect Would like to Send You Notifications, select Allow and then Continue.
Type in vpn.gp.monash.edu for the portal address and click CONNECT.
When presented with the notification: “GlobalProtect” Would Like to Add VPN Configurations, click Allow.
Enter your iPhone’s passcode, and you’ll be redirected to Okta for authentication.
On the Okta page enter your email address and password, and then Sign In.
Follow the multi-factor authentication, agree to Open GlobalProtect and the Information Technology Acceptable Use Procedure, and you’ll be connected to the Global Protect VPN service.
Android
Once installed, click Open to open the app.
When presented with the privacy notification, click OK.
Type in vpn.gp.monash.edu for the portal address then click CONNECT.
On the Okta page enter your email address and password and click Sign In.
Follow the multi-factor authentication, agree to Open GlobalProtect and the Information Technology Acceptable Use Procedure, and you’ll be connected to the Global Protect VPN service.
You’ll be asked whether you trust the source. Click OK.
You’ll now be connected to the VPN.
Device health checks
When using the GlobalProtect VPN, it’s important that your device is compliant with security protections. While in use, GlobalProtect will run a health check on your device, which is captured in a Host Information Profile (HIP) report.
For continued access to GlobalProtect, you’ll need to ensure your device is compliant by viewing your HIP report.
If your device is not compliant, you’ll see the message shown below.
If you can’t identify why your device is not compliant, or resolve it yourself, submit a support ticket to the Service Desk.
Upgrading the GP Client
If you’re running an SOE, your client will automatically upgrade to the latest supported version. If you’re not running an SOE and need to update the software to stay compliant, follow these instructions:
Log onto https://vpn.gp.monash.edu/ and authenticate via Okta, at which point you will be presented with the following page:
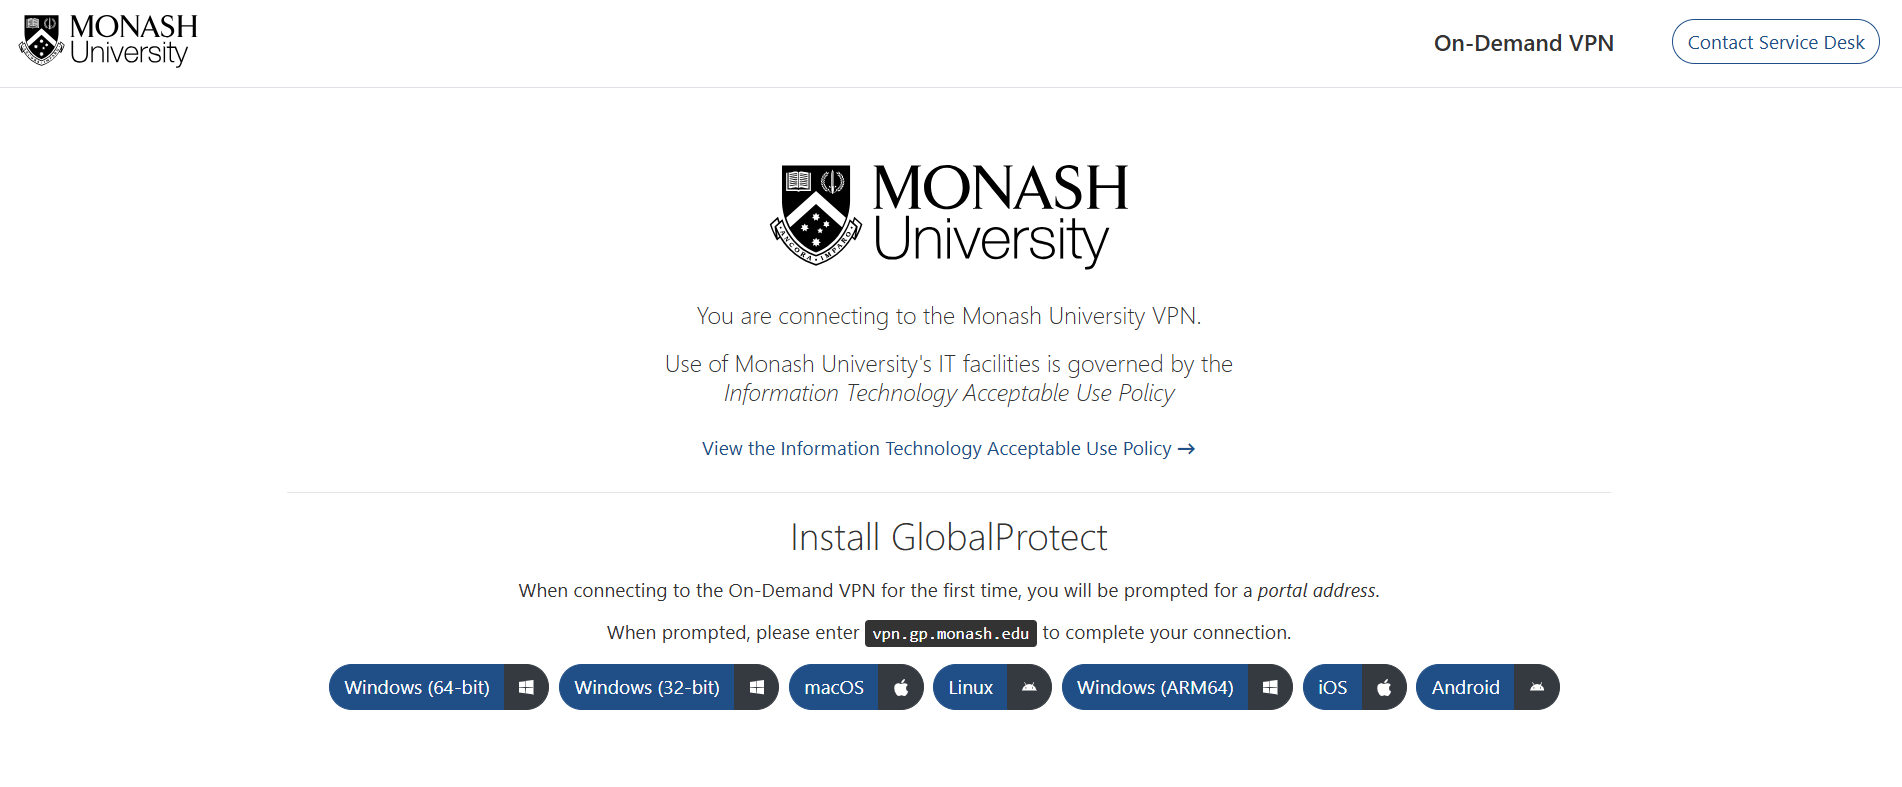