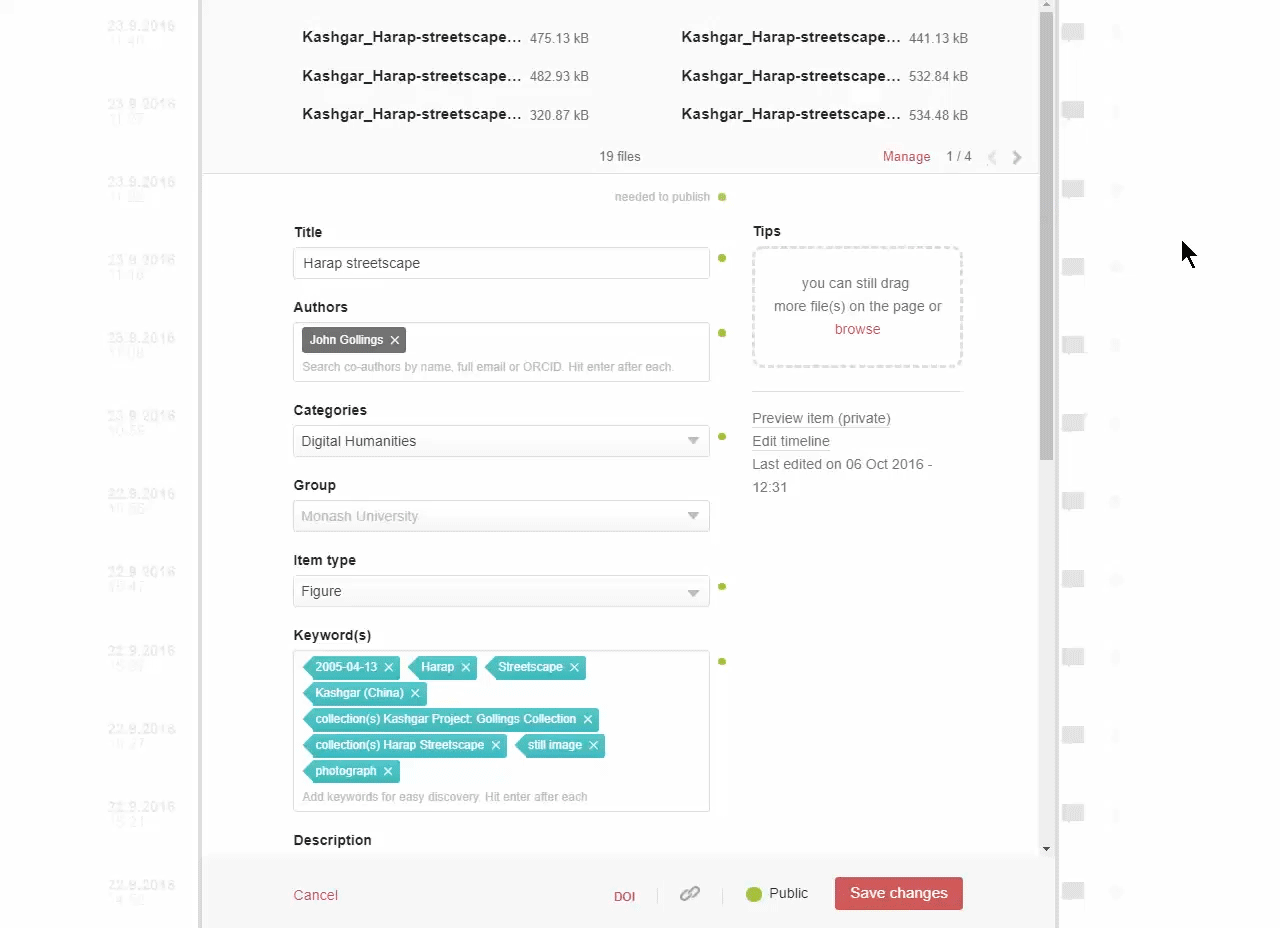
Uploading your data to Bridges can be done in 9 simple steps. As you progress through the form, tips on how to fill out each of the fields will be displayed on the right side of the screen.
1. Select the +Create a new item button from the top left (or just drag and drop your file(s) into the browser). We accept any file type and preview over 1,000 file extensions in the browser.
 2. Insert a Title. Aim for a title that is descriptive, succinct, and engaging. You want to grab people’s attention and encourage them to click through to your research. Try not use titles that contain technical terms that are difficult for a wide audience to understand.
3. Add Authors. You can rearrange the order in which the authors appear and remove yourself as an author if you are uploading on behalf of someone else. You can also search for existing users by entering the email address of the author you want to add.
4. Select appropriate Categories. These are taken from the Australian Fields of Research classification system. You can choose more than one and either select from the drop-down menu or search for your subject area. If you can’t find exactly what you’re looking for, we recommend finding the best option and getting more specific in the Keywords section.

5. Select an Item type from the drop-down menu.
6. Add Keyword(s). These should be more specific than the Category and help others find your research. Add as many keywords as you want - just hit enter after each keyword. Bridges remembers ones you’ve entered previously and will also suggest ones other people have used.

7. Write a Description. This should include any relevant information that pertains to your research. Consider including information that gives your research context, describes the research methodology, and outlines techniques used to collect, analyse, and reuse the data. Be as descriptive as you can!
8. Select a License. You can choose from a number of licenses based on your reuse requirements. For more information on the six Creative Commons licenses visit the Creative Commons Australia website.
A quick overview of the licenses can be viewed here, or you can use this online tool to help you select the right license for you. The Creative Commons licenses are not designed for use with software. The licenses that can be selected for software are the Massachusetts Institute of Technology (MIT) license, General Public License (GPL, GPL-2.0, GPL-3.0) and the Apache-2.0 license.
9. Tick Publish. Make sure everything you have submitted is accurate - once it’s published, it’s permanently available.
Confidential files
Bridges allows you to publish a record about your research without making the files publicly available. One way of doing this is to mark the uploaded file as confidential.
Once you have selected a file to upload, scroll to the bottom of the page and tick Make file(s) confidential. You can include a reason why the item is confidential.
Embargoes
Another way is to apply an embargo. Bridges offers two types of embargo.
You can embargo the research output using a set period (1 month, 4 months, 6 months, 12 months or 2 years) or using the calendar to select a specific date. Regardless of which method you choose, the published record will clearly state that an embargo currently applies, and provide the date the embargo ends. Once the embargo has elapsed the record will automatically revert to open access.
By doing this you will be able to provide the publisher with a DOI of where the data will be made available, without revealing any of your work until you are ready. You can always edit the embargo date as long as the item has not been published.
If your research data is stored elsewhere online, you can create a ‘linked file’ record that directs users to this location.
When creating a new item record, click the Link file button at the top of the screen and copy the link into the box. This option only appears if you haven’t uploaded a file to the item.

Monash University supports and encourages the publication of research files via Creative Commons licenses, of which there are six common licenses with varying conditions. These licenses allow the wide dissemination of your research under certain conditions, all of which require that you be attributed as the creator. Before publishing via a Creative Commons license it is important that you have a clear understanding of any copyright restrictions. For more information on the six Creative Commons licenses visit the Creative Commons Australia website.
You can use this online tool to help you select the right license for you.
The Creative Commons licenses are not designed for use with software. The licenses that can be selected for software are the Massachusetts Institute of Technology (MIT) license, General Public License (GPL, GPL-2.0, GPL-3.0) and the Apache-2.0 license. See this Research Software Rights Management Guide for advice on choosing the right software licence
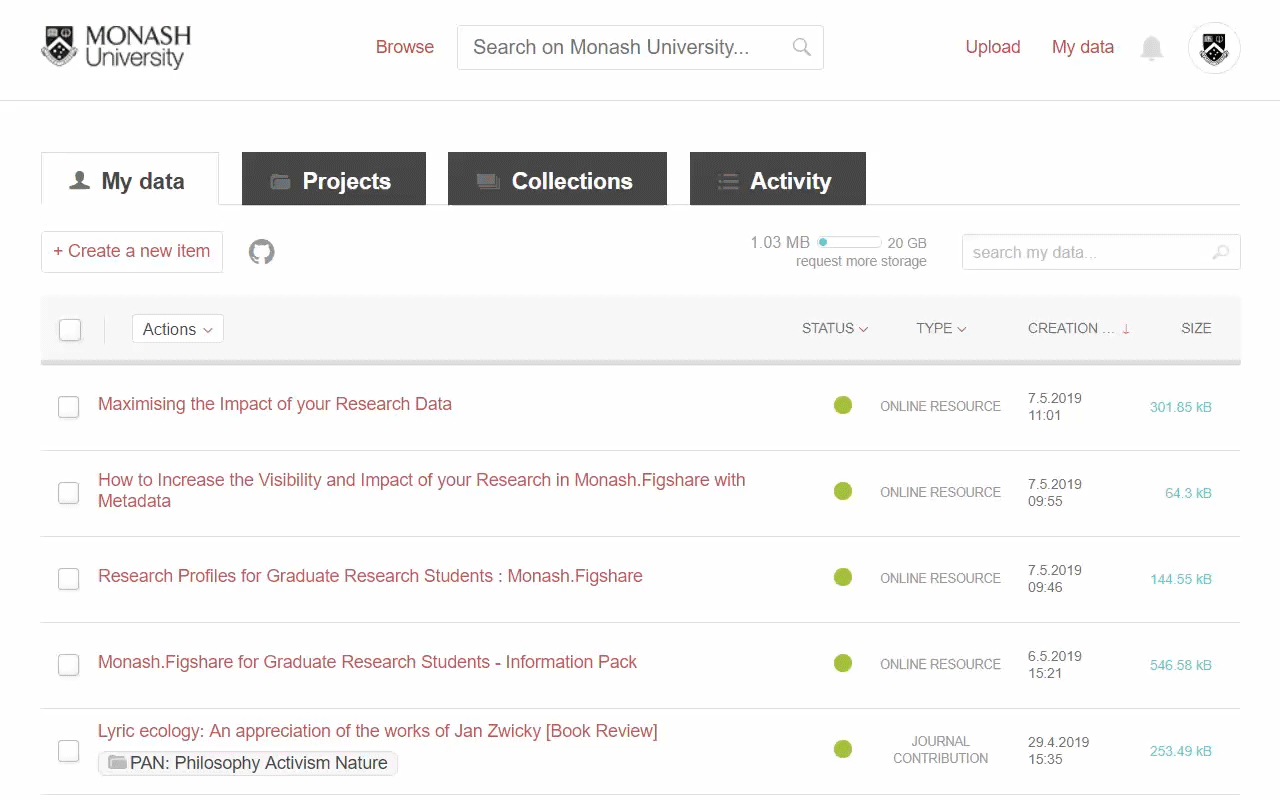
To edit a record still in draft, locate the item in your my Data area of Bridges and click on the title to open the upload form.
Once you have finished making your edits, either click Save changes or tick Publish and then click Publish item to publish the record.
You can go back and edit items after you have made them publicly available. Please note, some changes may trigger a new public version.
To edit one of your public records, log into Bridges and navigate to your My data area. Locate your record and click on the pencil icon to the far right.

You can also batch edit items that have already been published. In My data, select the items to be updated, click on Actions at the top of the page, and select Edit in batch.
To remove an uploaded file from your record click on the X to the right of the file in the top right of the form. An Undo option will be available for approximately 30 seconds. Following this, deleted files can be accessed from within the draft record for 30 days in case you need to restore them. The link to the deleted files is on the right of the form, under the Tips help text.
Replacing a file in a published record.
If you remove or replace a file in a published record, and publish the change, a new version of the record will be created. Whilst the most recent version is displayed by default, anyone visiting your published record will have the option to choose which version they view. For more information about what changes trigger new versions see What happens when I edit a published record (version control)? In our Commonly Asked Questions section.
To change the order of files attached to a record click on Manage at the top where your files are listed. When you hover your mouse over a file, two lines appear on the right hand side. Place your cursor on the two lines (at which point your cursor will change from a single-headed arrow to a four-headed arrow) and drag and drop the files to reorder them.
When an item is published in Bridges it is automatically assigned a DOI, which is a permanent link to the record. For this reason, you are unable to delete a published record.
If you have accidentally published data and need assistance please contact librarians@monash.edu, supplying the details listed below and a member of the team will assist as soon as possible:
Subject line: "Bridges unpublish request".
Description of the issue including:
A member of the Library will unpublish your record, reverting it back to draft mode.
Bridges has different options to help you better organise, share, and present your research, these include Collections, Projects and Groups.
Collections
Collections are ways of collating data under a theme or project. Collections can include your own items, or any published item in any version of figshare. They can be either private or public, and are assigned a DOI when published.
Key features of Collections:
Projects
Projects are collaborative spaces used for ongoing work. They allow you to organise your records, as well as uploading data that is in progress and have other project members make comments. You can also collaborate with people outside your institution by inviting them into your project.
Key features:
Whilst projects can be published, we generally recommend keeping them private and using them to organise your data and collaborate with other researchers. Published projects are not assigned a DOI or include Altmetric data - we therefore recommend the use of Collections when sharing a body of work publicly.
Groups
A Group presents as a subpage of Bridges. It is designed to be used by a department or research group wishing to showcase a larger body of work. Groups can have multiple contributors, and the public page can display custom branding.
If you are interested in using a Group to showcase a body of work, please contact the Library on librarians@monash.edu to discuss further.
Go to the Collections tab under My Data. Complete the sections with a green dot next to them to make it public. The more information you are able to provide in the Description, Keywords and Title fields the more discoverable and engaging your Collection will be.
Click Save changes once you’ve completed the form.
There are two ways to add data to a Collection:
If you select the second option, your search is limited to those items you have created in your My data area.
Go to your My data page and select the Projects tab. Click on the +Create a new project button. Complete the metadata fields as descriptively as possible.
Under Project Type there are two options - individual or group.
Individual:
Group:
In most cases we recommend selecting the Individual option. If you are creating a project to collaborate with other researchers, and you think the Group option would suit you better (or would like to discuss the options further) please contact the Library on librarians@monash.edu.
Please do not select a group from the list unless one has been created for your use by the Library.
Add users to the project by searching on the right hand side. Add users not currently on any version of Figshare by clicking on the invite new users link. Users can either be collaborators or viewers. Collaborators can comment on the project and the data within it, while viewers can only view the data. To make the project public, you must first make at least one item public within the project.
Please note: Collaborators cannot edit another project members files. Items must be downloaded, edited, and re-uploaded to the Project.
Select Add a new item, which takes you to the metadata form. Once you have saved the item, it will appear in the home page of the project. As a collaborator, you can comment on individual items within the project or on the project as a whole.