Send an email from Service Console Lite
The following is a step-by-step guide to sending emails from the new Academic Integrity (AI) breach system portal: Service Console Lite. This work will be undertaken by the relevant Chief Examiner or faculty nominee with access to the Console.
You must send all AI breach correspondence from within the Console. This ensures:
- All of your management of these cases can be done from one place, rather than straddling personal email and other software
- All correspondence automatically saves within the case to improve record keeping
- Reduction of double handling emails if cases are escalated to Student Conduct and Complaints
Before you begin
- Ensure you are logged into the Service Console Lite app.
- When you are reviewing a case where multiple students are involved, you will need to be in the child enquiry (case) in order to be able to email the student.
The steps
- From the case, scroll down to the Email tab in the right hand column, and click on Write an email...

Note here that:
- The From Address will be academicintegrity@f.e.monash.edu. This ensures that the student response back to this email will “re-awaken” the case (enquiry) back into your My Enquiries queue.
- In many instances the student’s email will be pre-populated in the To: field, however if it is not, you will need to manually enter. As you enter the name, the portal will give you dropdown options which you should select from.
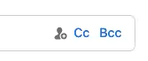
- On the right, click the Cc: button to Cc: yourself into the email.
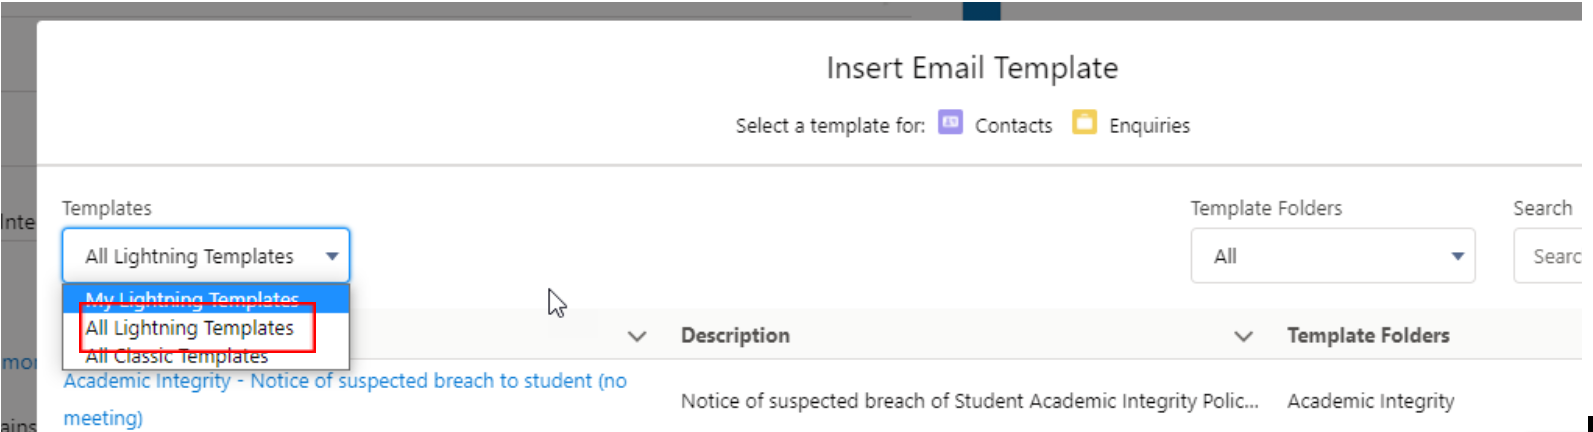
- Scroll down to the bottom of the email to click on the Insert, create, or update template button.
- First switch to All Lightning Templates using the Templates dropdown menu on the top left.
- Then select Academic Integrity from the Template Folders menu in the top right.
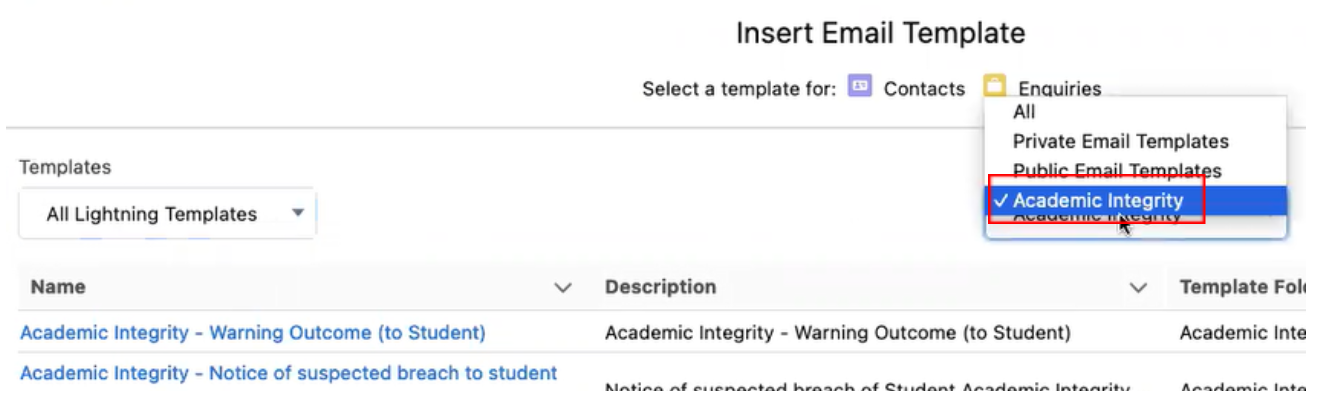
- Select the relevant template from the list by clicking on the blue template name. Review the information.

Note:
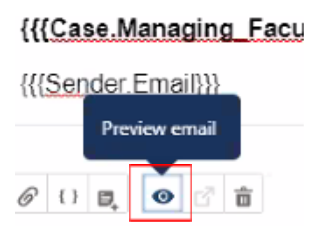
- The {{}} brackets indicate there is information being pulled from somewhere else on the record; this will appear differently to recipients and should not be edited.
- The <<<>>> brackets indicate there is information for you to edit or input before sending the email.
- Click on the eye icon at the bottom, to preview the email as it will appear to students.
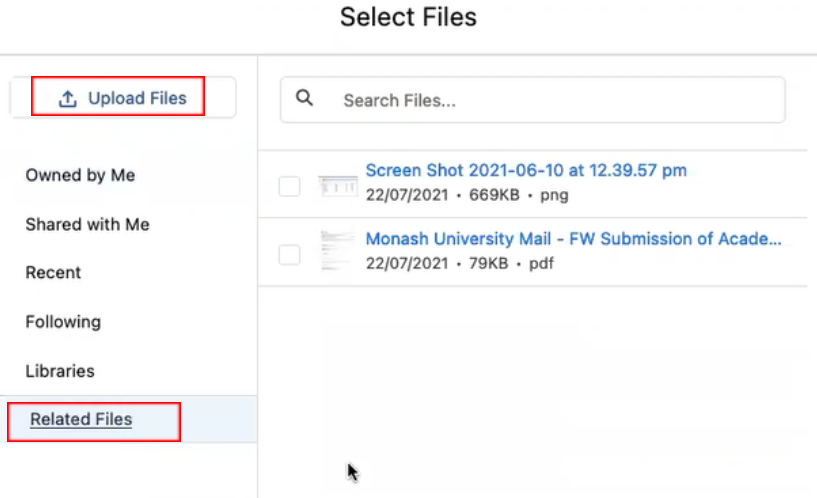
- Attach files by clicking the paperclip icon at the bottom of the email.
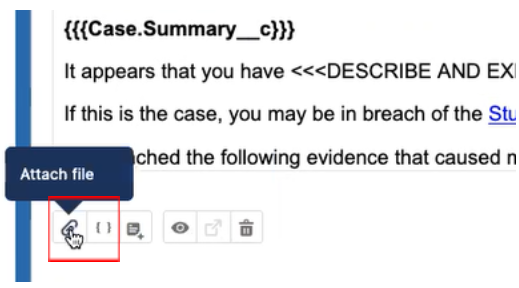
- Click Related Files to attach the files already attached to the case. You can also click Upload Files to attach files from your own computer.
Note: evidence submitted with the case may need to be downloaded to redact sensitive student information before attaching it to the email.
- Then click the blue Send button to send to the student.
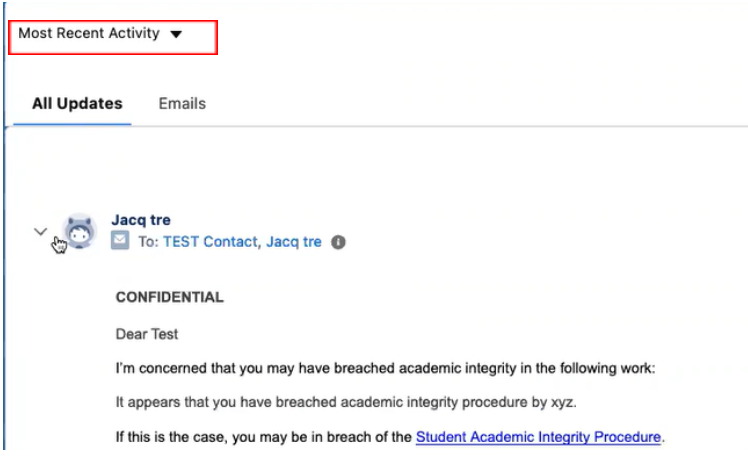
- You can review all emails sent to a student on the Most Recent Activity box, located below the Email tab in the right hand column.

Note: Ensure the email section is blank before inserting a template as the template feature does not override the current content in the email.