Manually assign roles
Moodle allows various roles to be assigned in order to manage or access the unit for various purposes, for example a tutor will have access to mark assignments, and you may grant temporary access to a guest speaker in an online class.
Rules for assigning roles
|
Expand the accordions to view the different roles and permissions in Moodle


Manually enrol participants and assign them a role in your unit
Students are automatically enrolled into your unit via direct integration with Callista (refer to your faculty administrator for details). As a lecturer, you can manually enrol Monash staff or students into your unit and assign them a specific role, e.g. as a non-primary lecturer, or as an observer. For formal unit offerings (with Callista enrollment), the following Moodle roles should be made allocated to Monash staff only:
- Chief Examiner
- Unit Coordinator
- Lecturer
- Non primary lecturer
- Tutor
Note: Some roles can only be assigned by faculty or university level administrators, and will not appear in the list of roles.
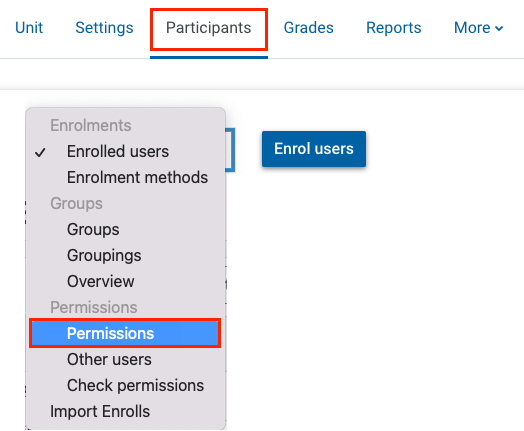
- In the top menu, click Participants.

- Click the Enrol users button.
- In the pop-up Windows that opens, type the name of the person you wish to add in the Select users field. You can add multiple users this way.
- In the Assign roles field, select from the existing roles.
- When you’re done, click the Enrol selected users and cohorts button. The names of the enrolled staff or student will now appear in the list of enrolled users.
- To modify a participant's role, click the pencil icon in the Roles column. Modify the role as needed, then click the save icon.
- To remove a user, click the delete icon under the Status column.
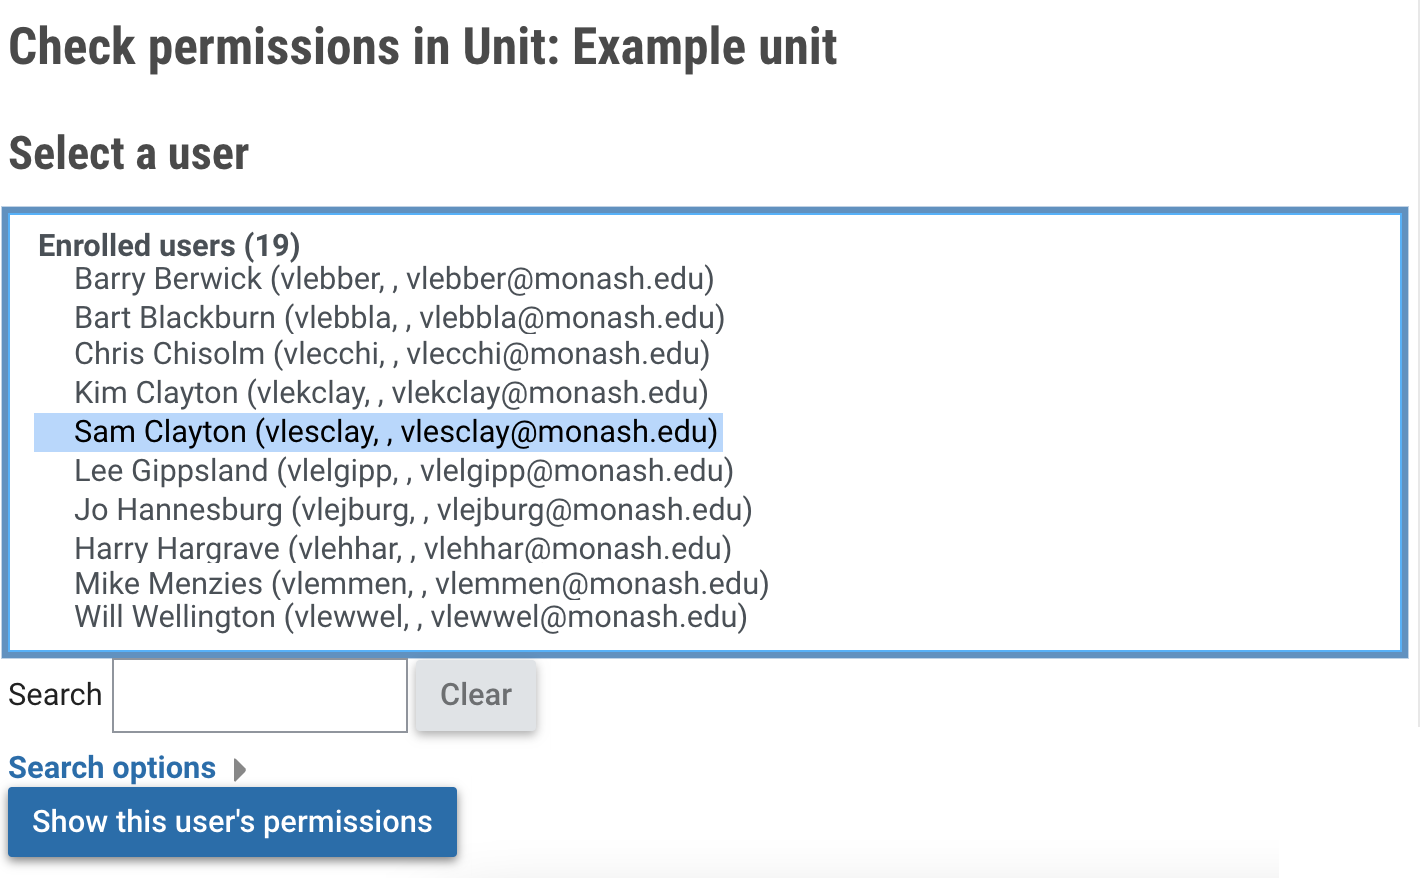
View role permissions
Each role has permissions that control how users assigned that role can interact with activities and resources in your Moodle unit. You can view permissions for roles or check permissions for specific users. Administrator roles can modify/override role permissions.