Microsoft OneNote
You can set up a shared notebook in Microsoft Teams that can be edited by you and the students with Microsoft OneNote. OneNote allows you to create rich documents with built-in pages and tabs for students to build resources and collaborate with their peers. If you have not downloaded the Microsoft Teams app, see the Getting started with Teams guide.
Examples of activities using OneNote:
- Create rich documents with built-in pages and tabs for students to build resources and collaborate with their peers.
- Provide one central location for real-time collaboration in pairs or groups or even for whole class activities, like brainstorming or collective research.
- Guided notes for those students who need additional support.
- Concept maps (mind mapping)
- Guided worksheets where students provide answers collaboratively to a series of questions.
- Minute paper (reflections based on video, readings or previous activity)
Whole class group collaboration
For whole class activities, like brainstorming and collective research, you can create one collaborative document available for everyone in the team or channel.
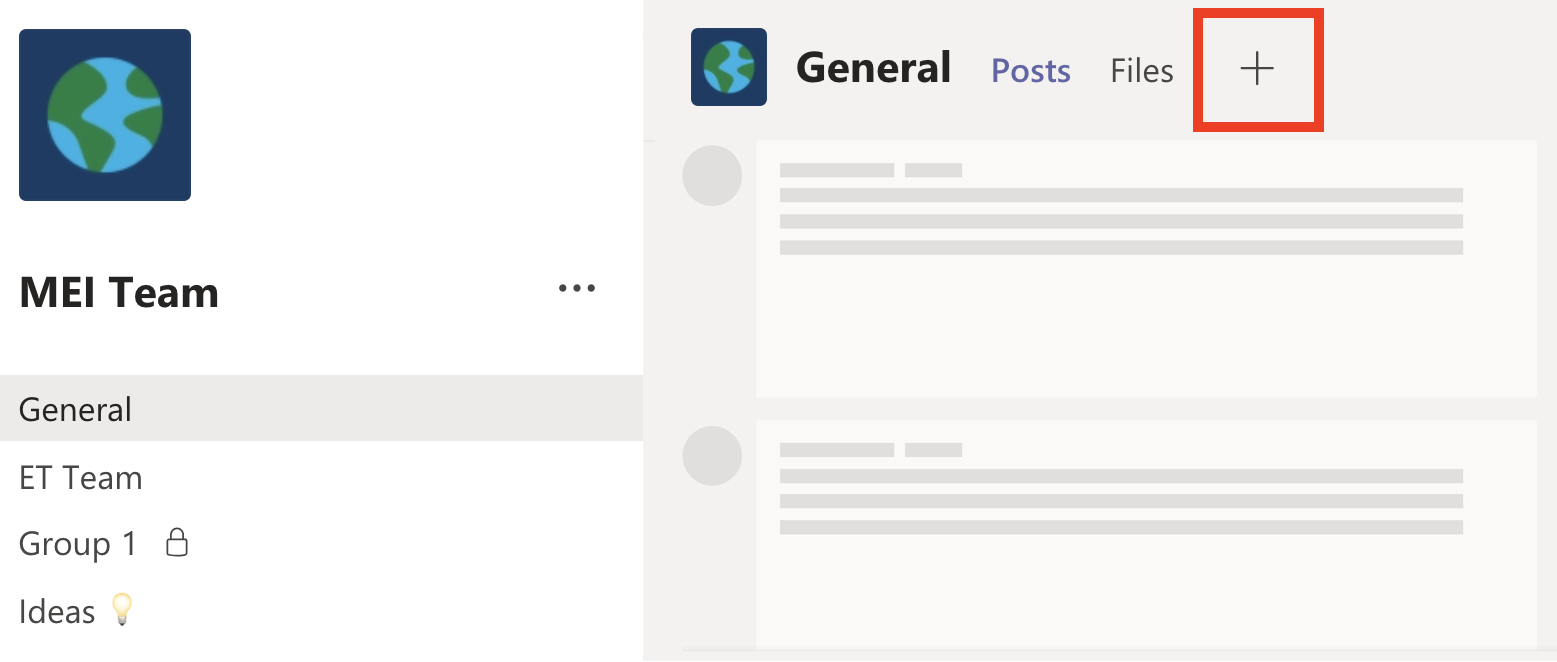
- Navigate to the Team, Channel or Chat where you would like to add a collaborative OneNote document.
- Click on the plus in the top toolbar.
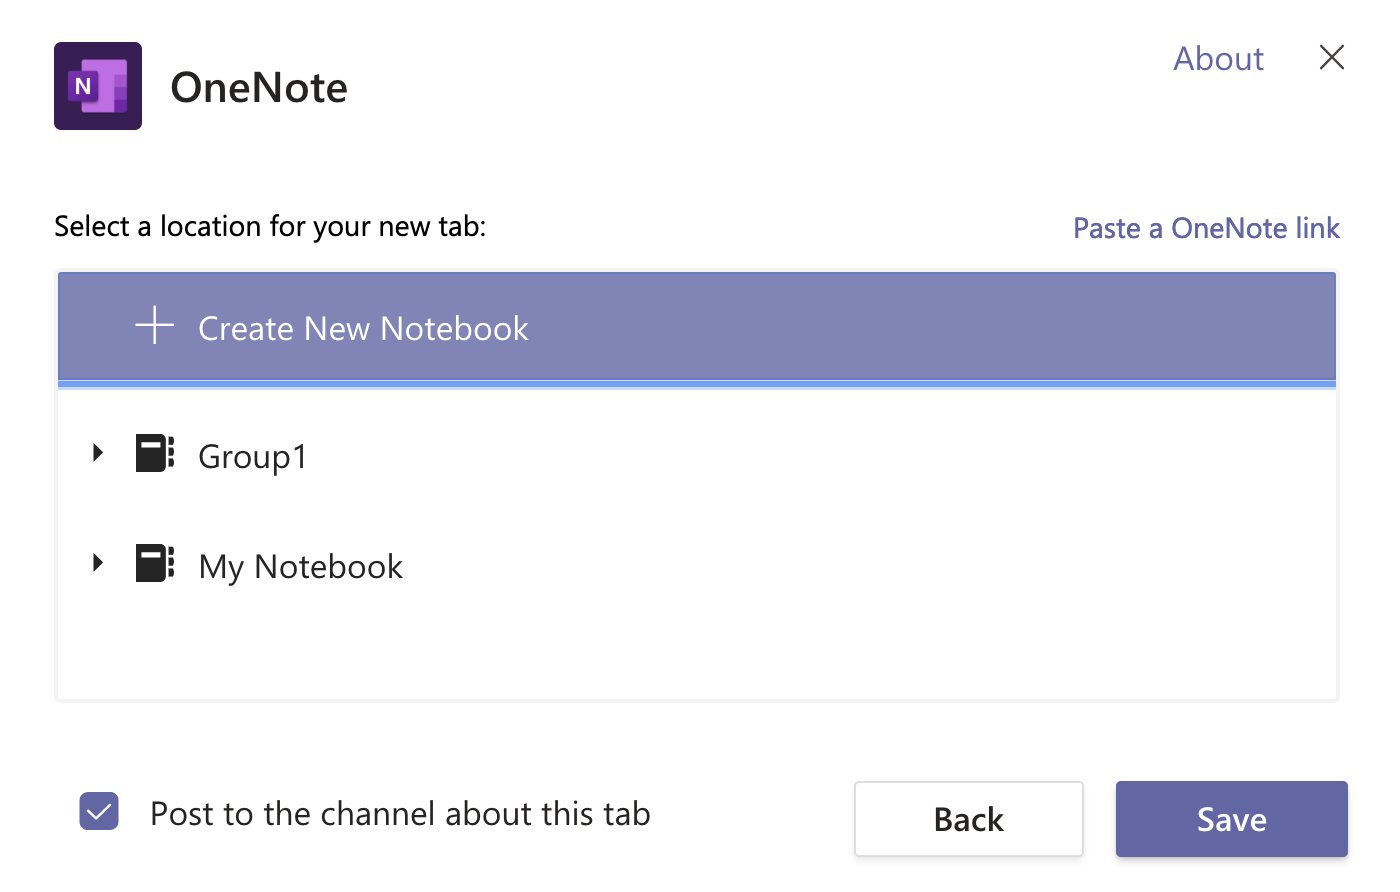
- Type OneNote in the search field and select OneNote.
- Click + Create New Notebook and enter a name to create a new OneNote or select an existing OneNote document from the list, the click Save.
- The OneNote document will be now added as a tab in your Team or channel, which all members in the Team will be able to access.
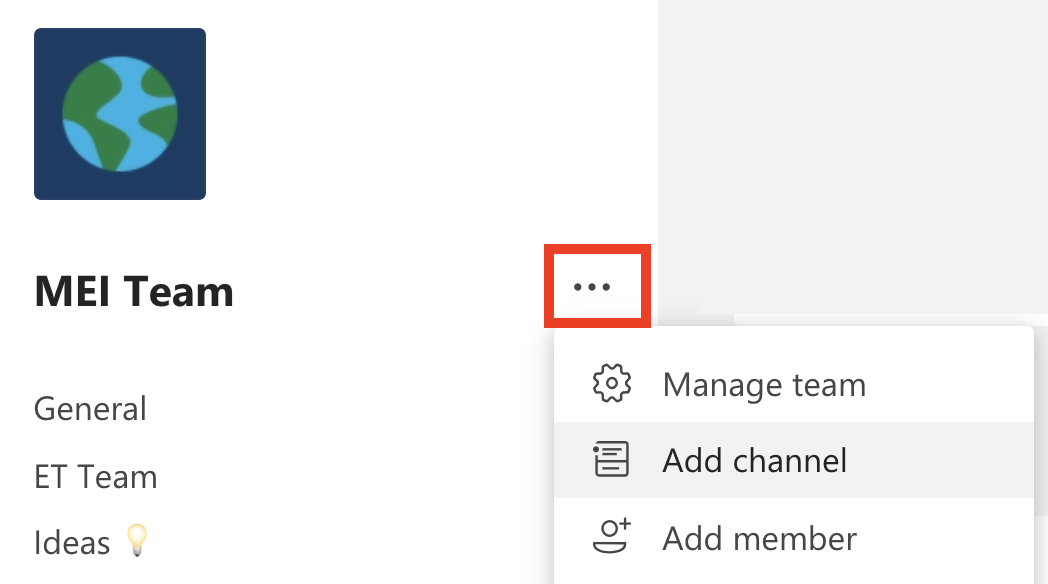
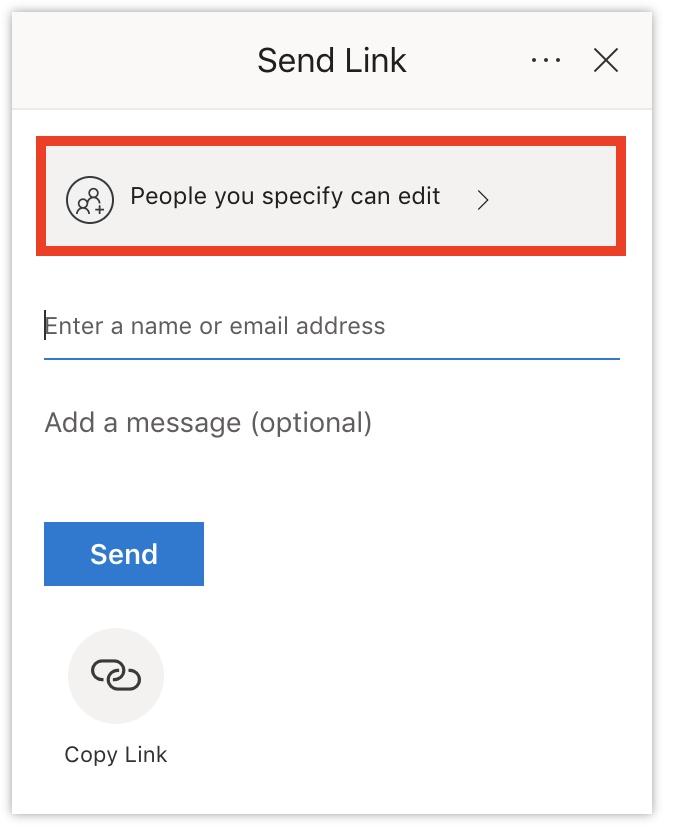
Note: If you want the OneNote to be accessible only by a specific group of students, you can create private channels for each group. See Small group collaboration below.
Small group collaboration
For group work you might want to one or more collaboration documents with restricted access. It is recommended you pre-assign the groups prior to the online activity to avoid any technical issues.


Edit a OneNote document
- Navigate to where you have added your OneNote document as a tab and click on it.
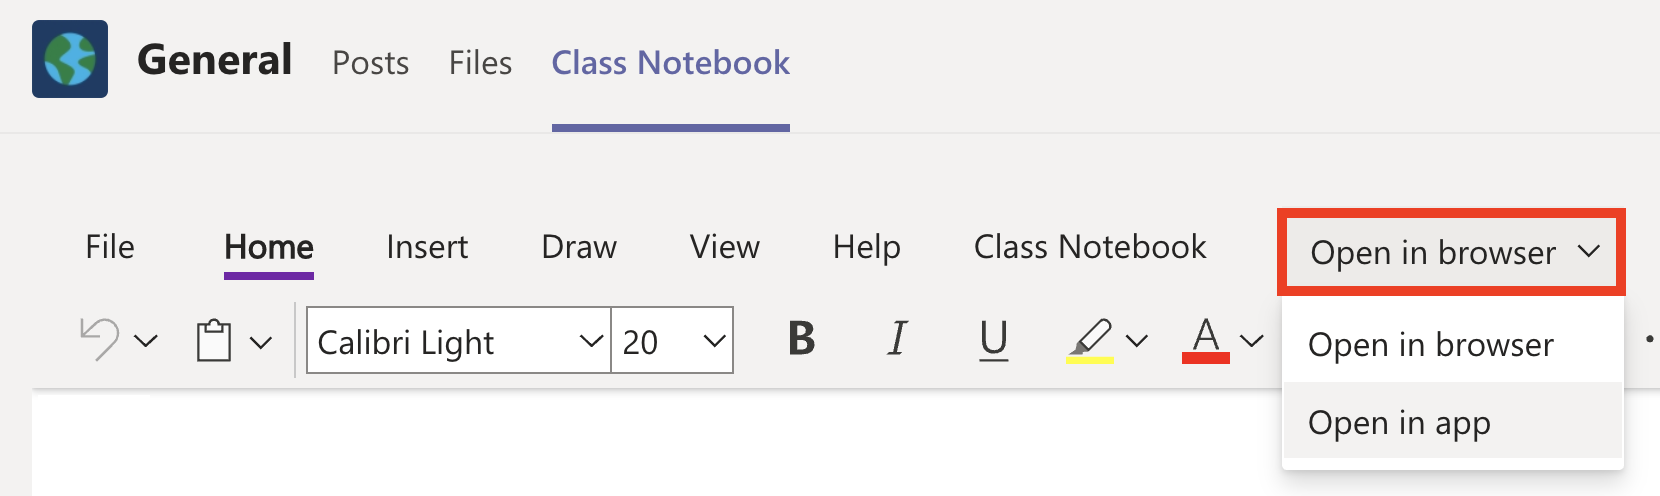
- In the toolbar, select Open in browser.
- From the dropdown menu, you can choose to Open in browser or Open in app. It is recommend that you edit in the app if you installed it previously, as editing in browser will open a new window.
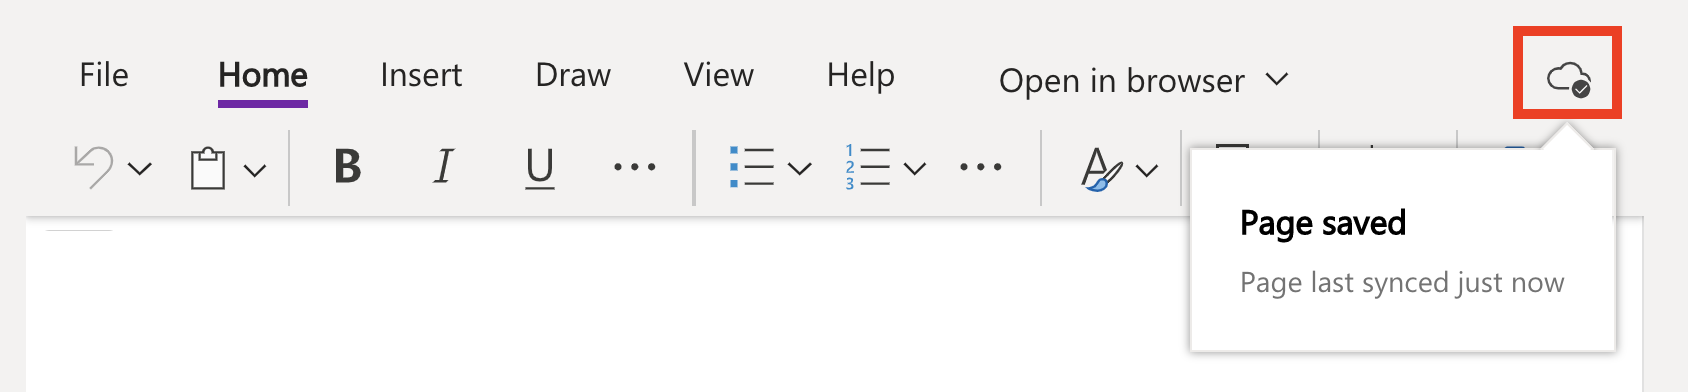
- Your OneNote document will autosave your changes to the cloud, as indicated by the sync status icon in the top right corner. You can click on the sync status icon to check the save status.
Educator tips:
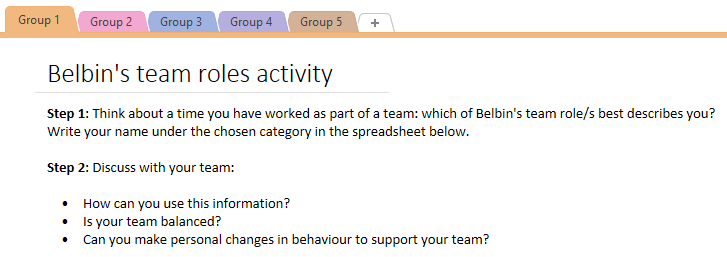
- When using collaborative documents with students, clearly explain your expectations for the activity and what content is/isn’t allowed to be shared. It is recommended that you write task instructions inside the OneNote document.
- Students' inputs into the content sometimes can be disorganised and the final document will look messy. In order to avoid that you might want to provide a table or a template (for example, by integrating a spreadsheet) to structure students’ answers the way you want it.
- For better navigation, use coloured tabs to divide content into sections, chapters or student groups. Within each group/chapter you or students can also create multiple pages for more extensive collaborative projects.