Twine
NoteThis guide is provided for a tool that is not centrally funded or supported by Monash University. While a limited free tier may be available, full functionality typically requires a paid licence. Consult your faculty contacts regarding support, access, or funding before adopting this tool. |
Twine is a free tool that lets you easily create engaging text-based scenario activities that can be played in any web browser. These scenarios feature branching choices that can lead your students to a deeper understanding of course material and concepts by letting them work through authentic experiences in your discipline. You can also use it to get students to create their own branching scenario or interactive story.
Twine can also be used as a storyboarding tool for branching scenarios or for website design.
This guide will introduce you to the Twine interface and quickly get you started creating your own Twine activities. It covers:
- Accessing Twine
- Navigating the Twine interface
- Creating and editing a story and publishing it.
Note: Monash University does not provide support for Twine.
Access Twine
Twine can be used online in a web browser without installing any software or you can download and install Twine on your personal laptop or desktop computer free for Windows, Mac and Linux (32 bit) operating systems. The functionality is the same as in the desktop software, however files are only saved in the browser.
Download and install Twine on your personal laptop or desktop computer
Note: If you intend to work on a larger sized project, particularly one including other files like images or audio, it is advisable to use the desktop app version instead for better file management.
If you can’t install Twine on your Monash laptop or desktop computer through Software Centre / Self Service, you may need to contact eSolutions to request that they install it for you. Alternately, you should still be able to access the web based version of Twine.
Twine interface
The main screen of Twine is minimal, with a library of your projects and a basic menu. Click on the icons below to learn more about the Twine interface.
Twine Passages View
The Passages View is your main workspace in Twine. A story is made up of individual web pages called passages. The Passages View provides a map of the different pathways created by building decisions into the passage, with the new passages created automatically as you write the initial passage.
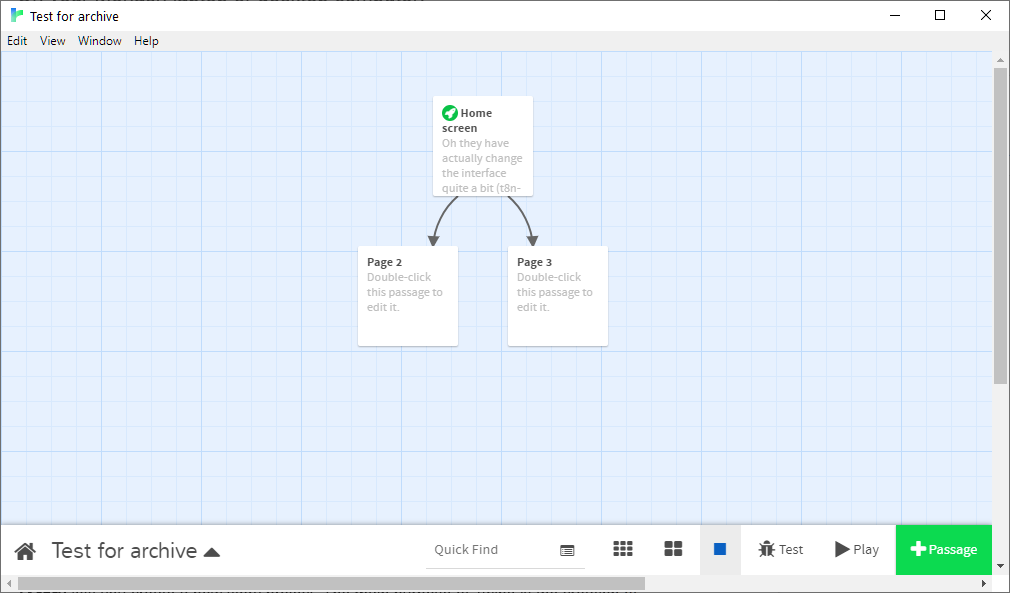
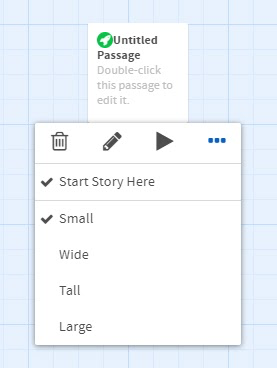
Click the +Passage button to create a new passage. This will place an icon in the view for your passage. Clicking the passage gives you options to delete, edit, play/test, set it as the start of the story and change its appearance.
Editing your passage
The passage editor is feature rich, with many options to format text that are similar to those found in Word or Google Docs, like bold, italic, strikethrough, colours and bulleted lists. It is important to remember that Twine is not a WYSIWYG (what you see is what you get) editor like Word or Google Docs. There will be ‘markup’ code amongst your text that tells the browser how to format the text. To hide the markup code to only see the text, click the Eye icon button.
There are two ways to edit and format text in Twine, the toolbar buttons and ‘markup’ code, similar to HTML. This guide will focus on the toolbar buttons.To learn what the button does, hover over it and a tooltip will pop up to provide extra information.
Note: While getting started, it is advisable to avoid the more complex functionality in Twine in favour of getting familiar with the tool and building your activity.
Create links
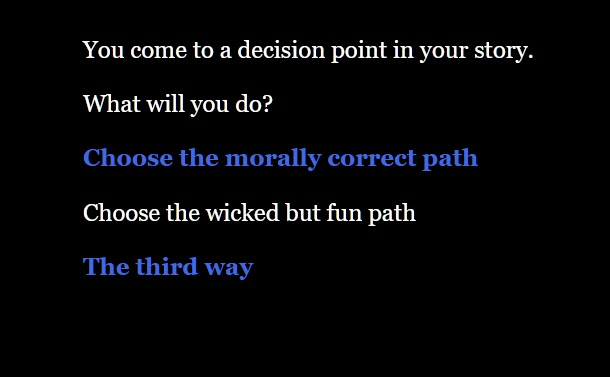
Links to other passages are the most important part of your Twine story, as they create opportunities for readers to make decisions and interact with the content.
There is no limit to the number of choices that you can offer, but bear in mind that each can act as a multiplier for the number of paths you create and subsequent passages that you need to write. (It is also possible that after making a choice, all paths lead back to a single passage).
You can either create a link to a new passage or link to an existing passage.
- Select the text that you want to use as a link.
- Click the Link… button in the toolbar
- This will open a dialogue box with options for your link.
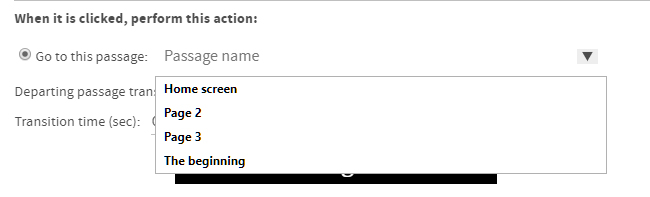
- There are a range of options for your link - for now, we will focus on the Create a hyperlink… option, which should already include your selected text, and the Go to this passage option.
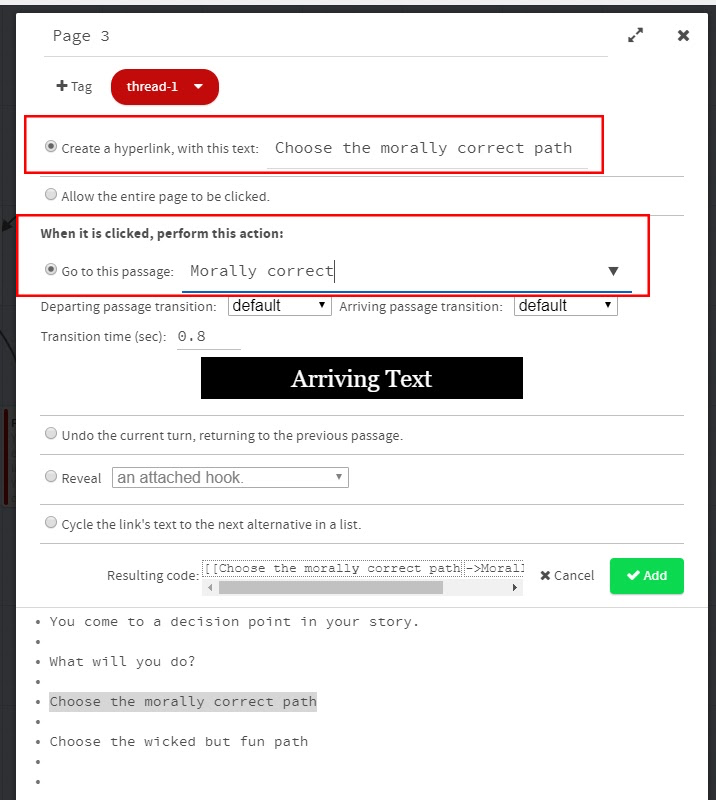
- Go to this passage will either create a new passage in Twine with the name that you enter, or allow you to select an existing passage using the dropdown arrow on the right side.
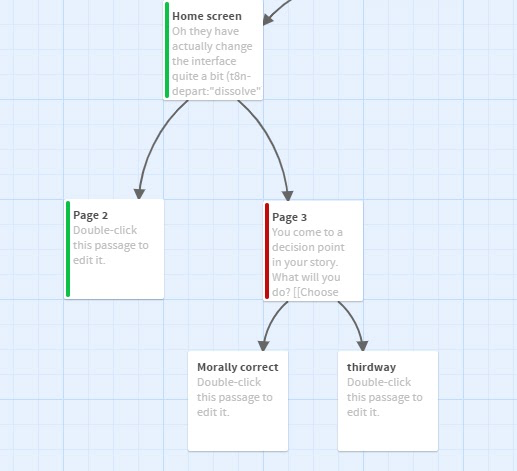
When you have set up your links, click the X in the top right corner to return to the Passages view. You will see that new passages have been created based on your links.
Preview your story
- Preview your passage with the decision points by hovering your cursor over the passage and clicking the Play button.

- This will open your passage in your web browser and try the links
- Test your links and when you are happy, return to Twine and continue to build your story.
Publish your Twine story
- When your Twine story is ready, click the up arrow icon next to the name of your story in the bottom left corner of the Passage viewer.
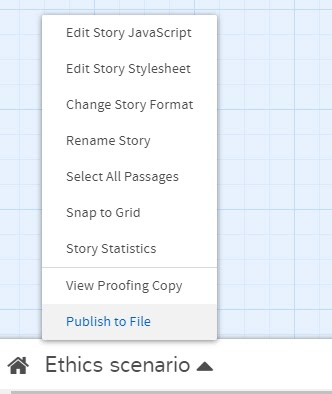
- Select Publish to File
- This will create a single HTML file that contains your entire story.
- You can re-open this in Twine at any time to continue working on it. You will need to Publish to file again to save any of those changes.
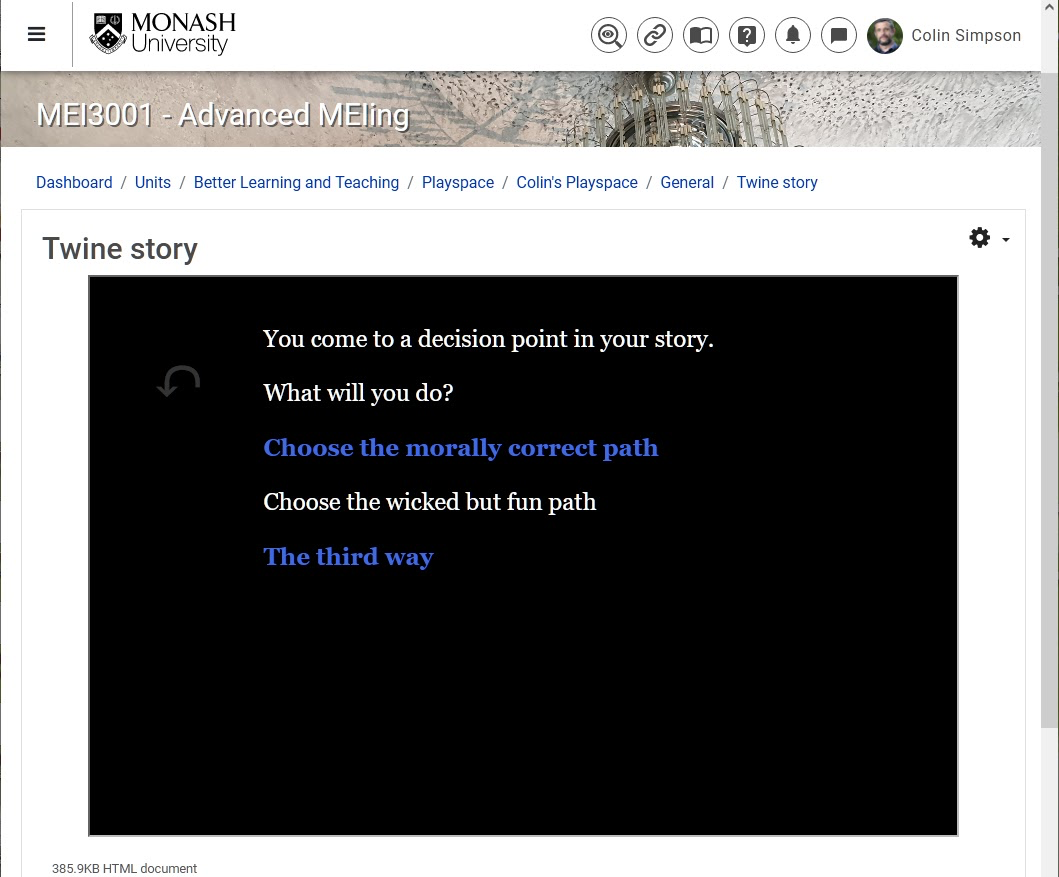
- You can now share your Twine story HTML file with the world. Anyone can simply open the HTML file and start playing through the story in a web browser.
Add your Twine Story to Moodle
- To add your Twine story as a resource in your Moodle unit, turn editing on.
- In the section you would like to add your Twine story, click +Add an activity or resource and select File.
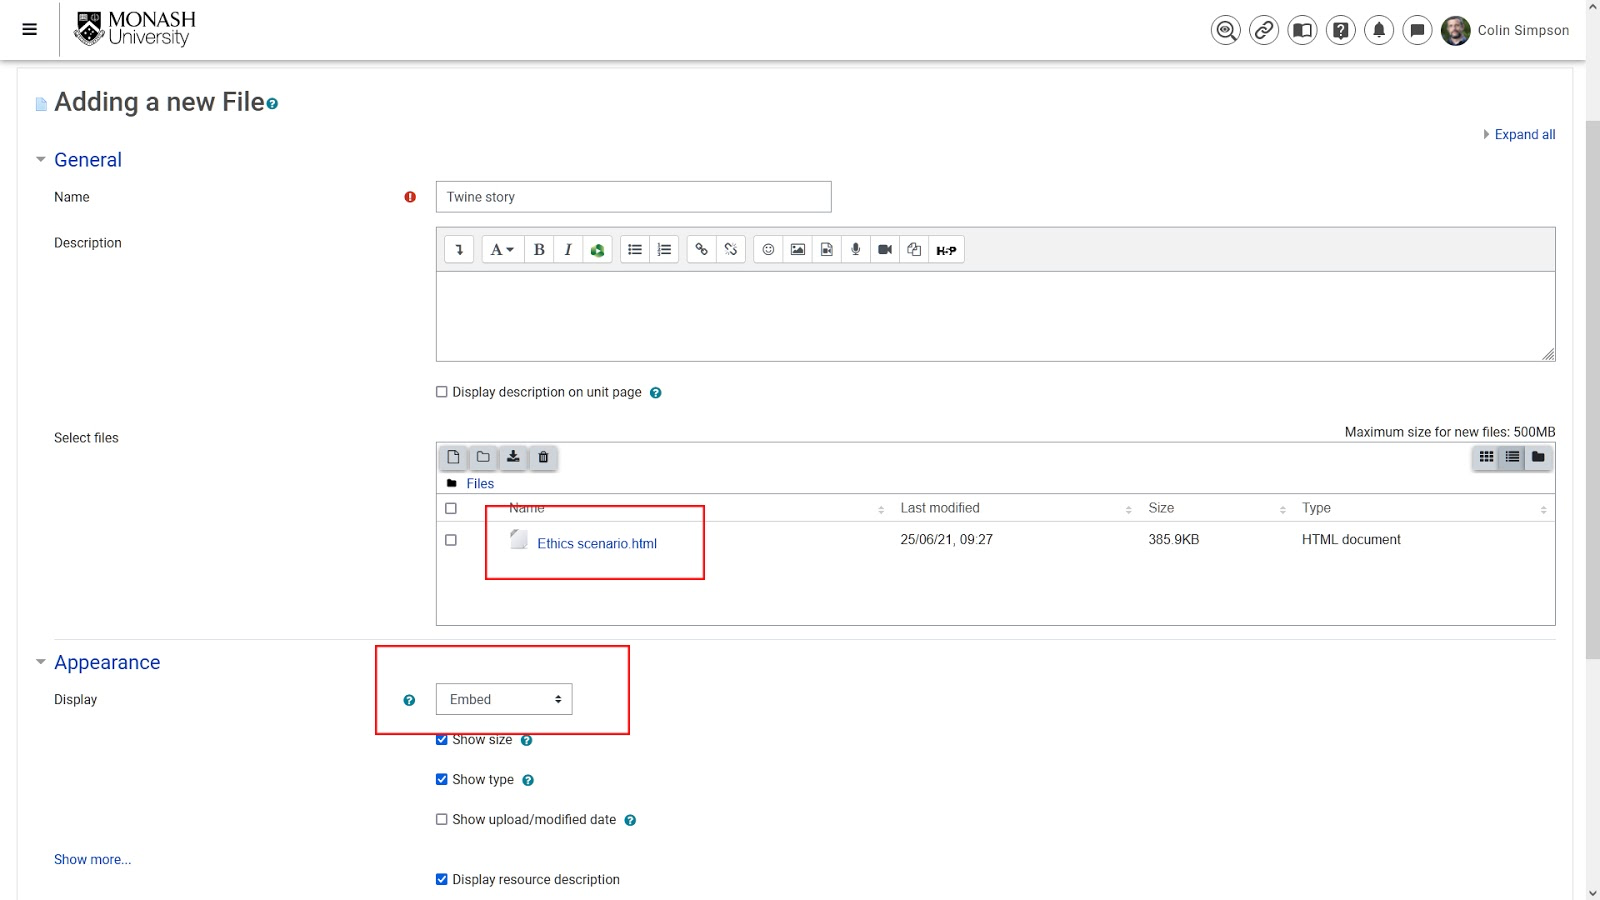
- Upload your Twine HTML file
- In the Display option in Appearance, select Embed. (This will place the Twine story in the page)
- Click Save and Display and you will see your Twine activity in your Moodle unit.
Further information
Twine has a very rich set of features that can allow you to create scenarios with images and multimedia and complex coding. As an open source tool, Twine is constantly evolving. The best place to learn more about using Twine is their extensive online how-to guide, the Twine Cookbook.
Twine also has a large community of users on their community forum at who can be very helpful with even the most obscure questions.