Use dictation in Moodle
Many modern computer devices allow you to dictate notes on your computer using the in-built microphone. You can select any text editor box in Moodle and dictate comments aloud, which will then be converted into written text in the textbox. This can save you time typing out lengthy comments or feedback.
Dictation on PC
Note: To use dictation on Windows PC, you will need to be connected to the internet.
- Select the text editor box in Moodle where you want to add text using dictation.
- Press Windows logo key + H.
- A "Listening..." bar with a microphone icon will appear on your screen. To start recording, click the microphone icon.
- Begin dictating your text. To add punctuation, say the name of the punctuation mark aloud. For example, to add a comma, say “comma”.
- To stop dictation, say "stop listening" or click the X on the right side of the bar.
For more information, see the Microsoft dictation support guide.
Dictation on MAC
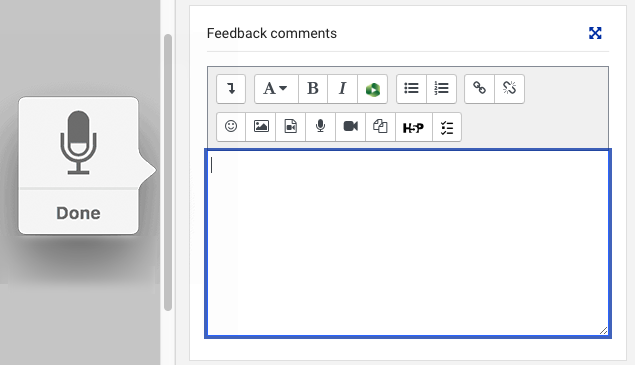
- Select the text editor box in Moodle where you want to add text using dictation.
- Hit the control key twice.
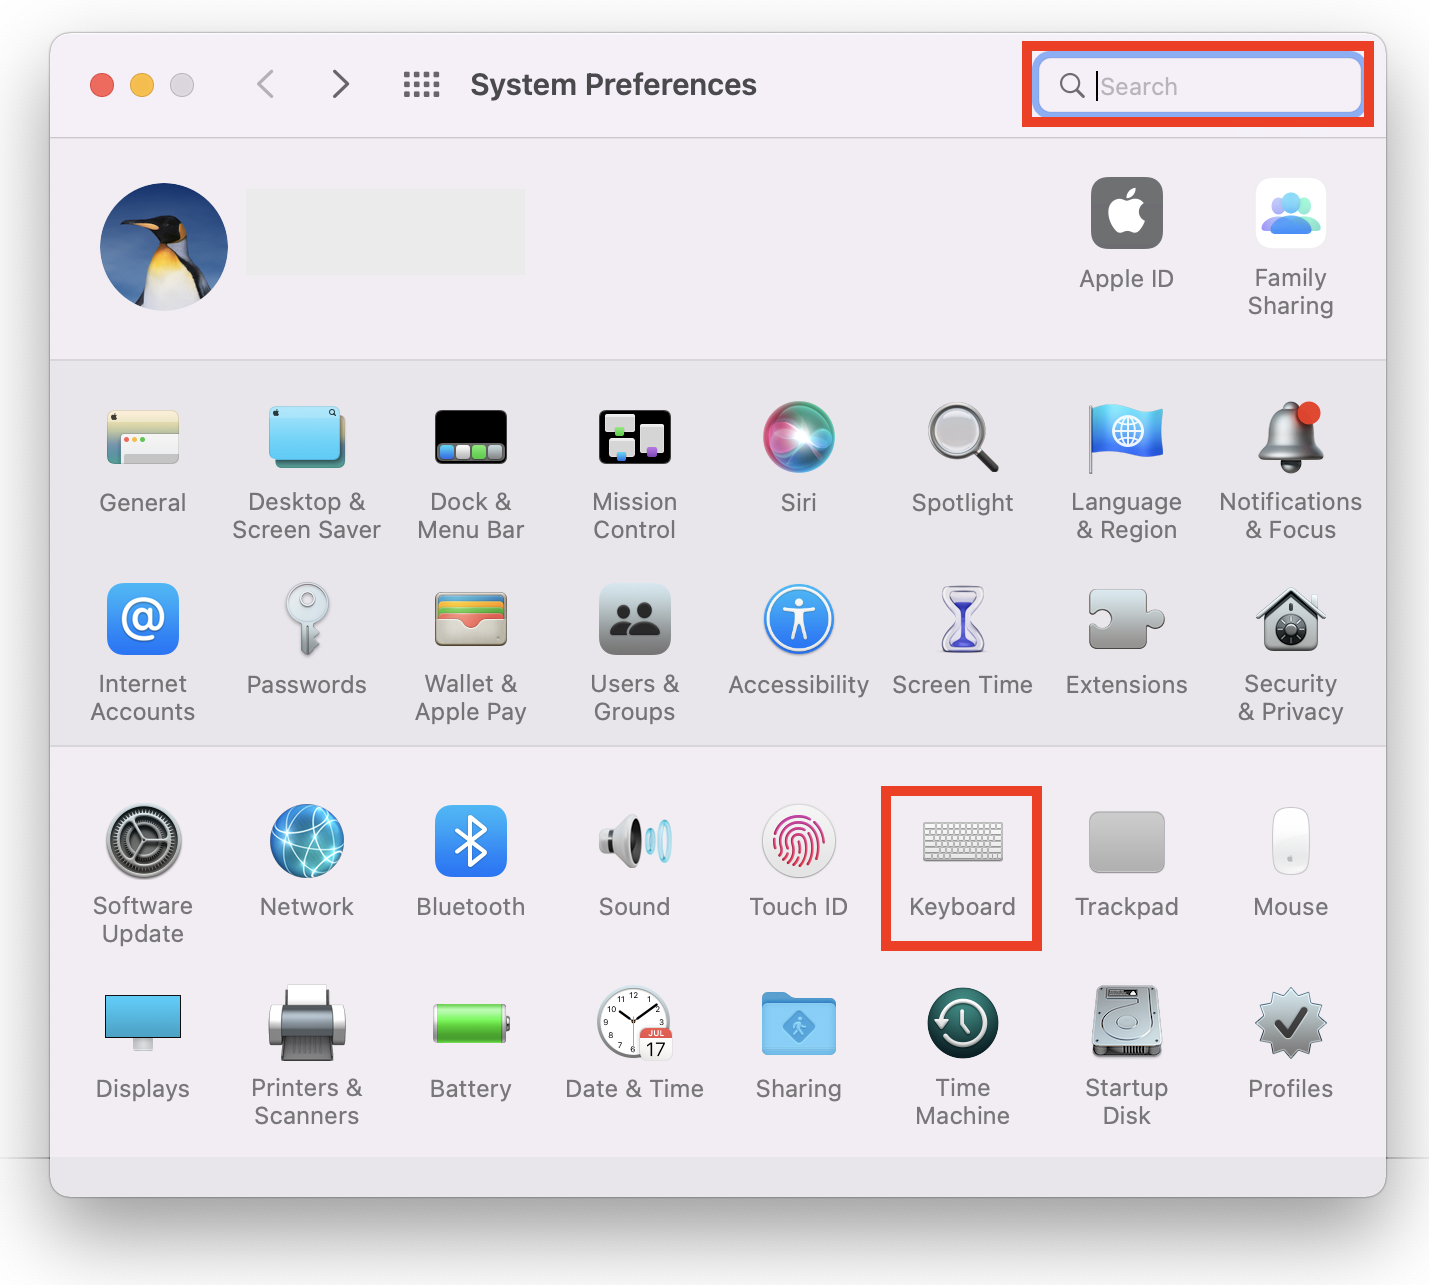
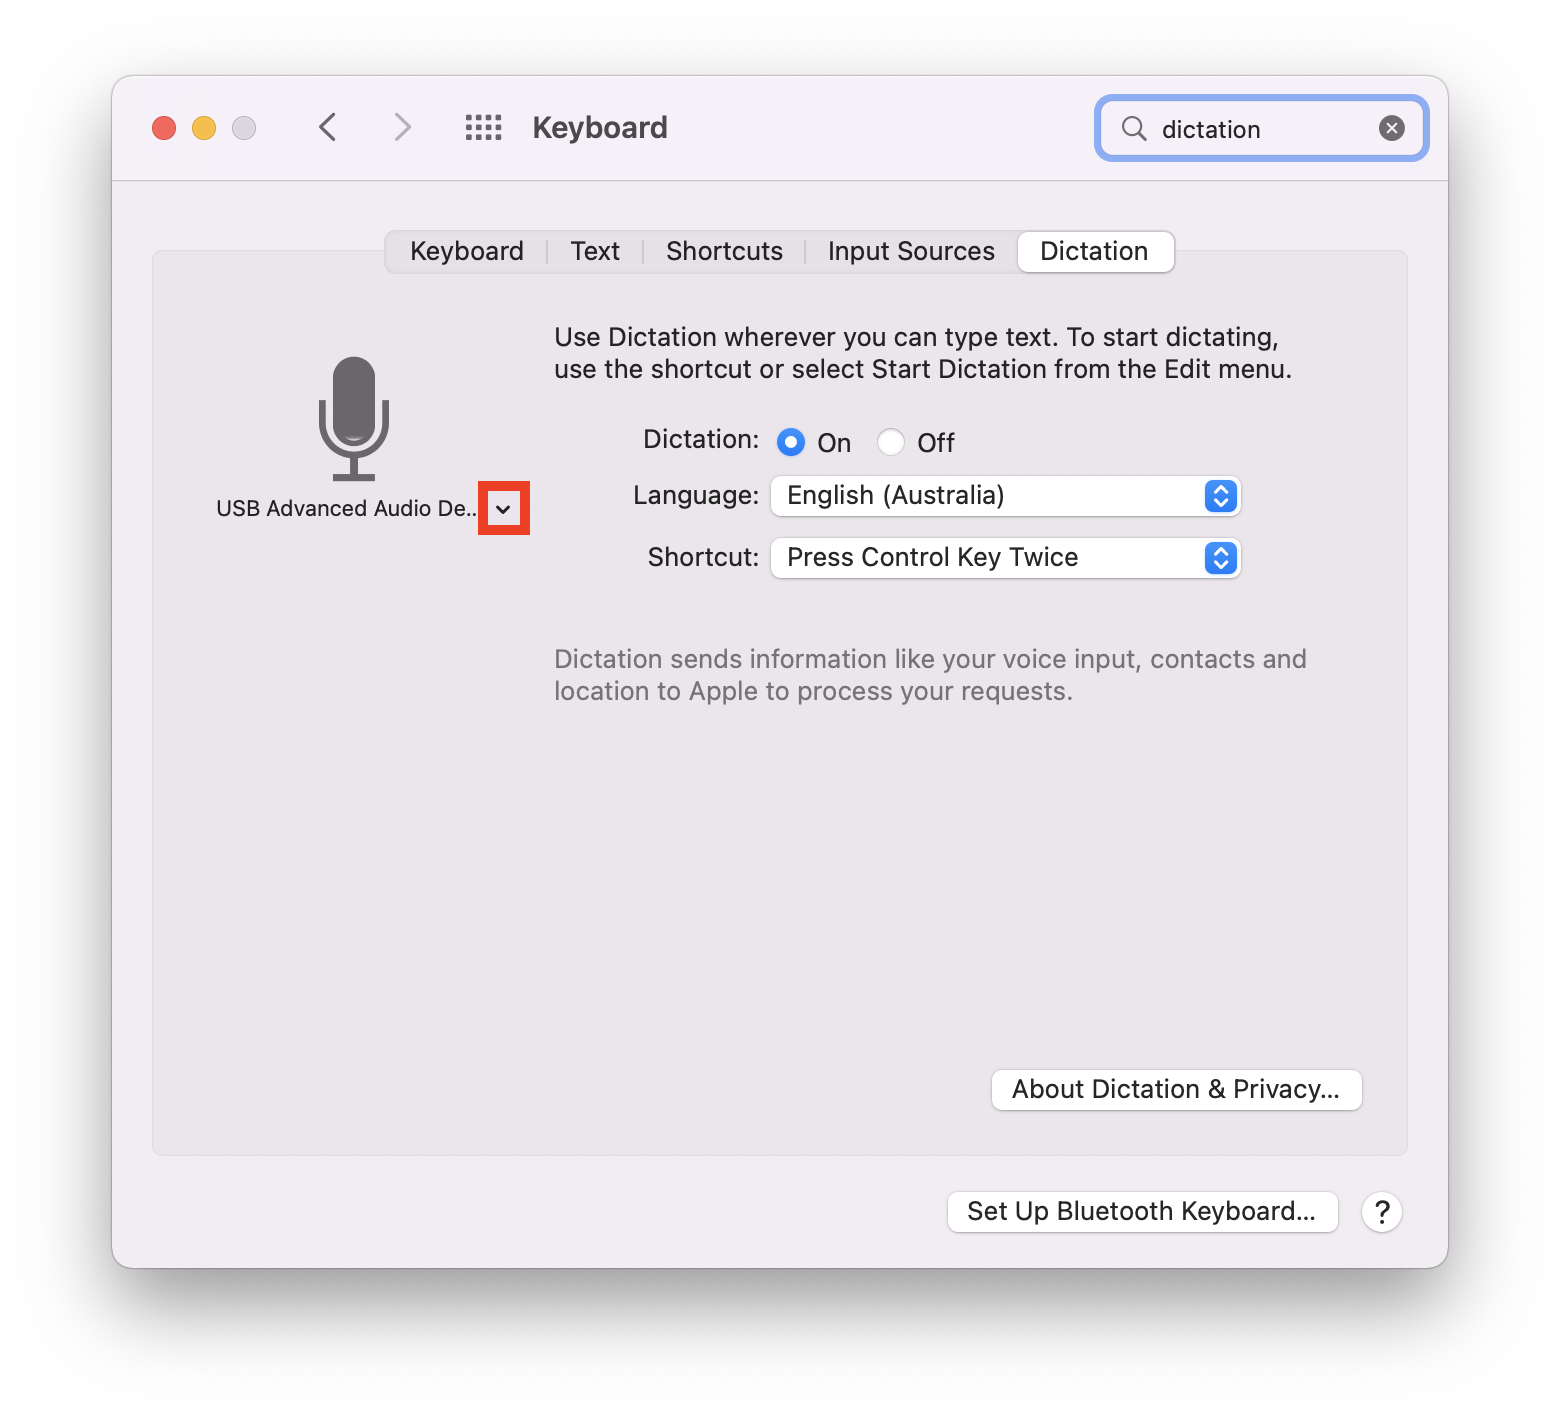
- A microphone icon will appear. The microphone icon will fluctuate when you speak. If the microphone icon does not respond to sound, you may need to check your audio input source in your dictation settings (below).
- Begin dictating your text. To add punctuation, say the name of the punctuation mark aloud. For example, to add a comma, say “comma”. To add a new line or paragraph, say “new line” or “new paragraph”. The new line or new paragraph will appear once you have finished dictating and clicked done.
- To stop dictation, click Done. Dictation will also stop automatically when no speech is detected for 30 seconds.
Note: If you have turned on Voice Control to control your Mac using your voice instead of a keyboard and trackpad, you will not be able to use Dictation.
For more information, see the Apple dictation support guide.