Zoom integration with Moodle and Panopto
The Zoom integration allows you to create Zoom meetings inside Moodle, and for your students to access them through the Moodle unit. Any Zoom meetings that have been scheduled through the Zoom plugin that are recorded to the cloud will now automatically be added to your Moodle unit's Panopto folder, if enabled. Zoom recordings will automatically appear in Panopto within a few hours. This applies both to meetings set up using your personal Zoom meeting ID or with the meeting ID created by the system.
Note: Recordings that are moved to a Panopto folder will be deleted in the original Zoom Cloud recordings folder. These recordings will sit in the Zoom recycle bin for 30 days before permanent deletion.
Adding the Zoom integration
- In your Moodle unit, turn editing on.
- In the section you would like to add the Zoom integration, click +Add resource or activity.
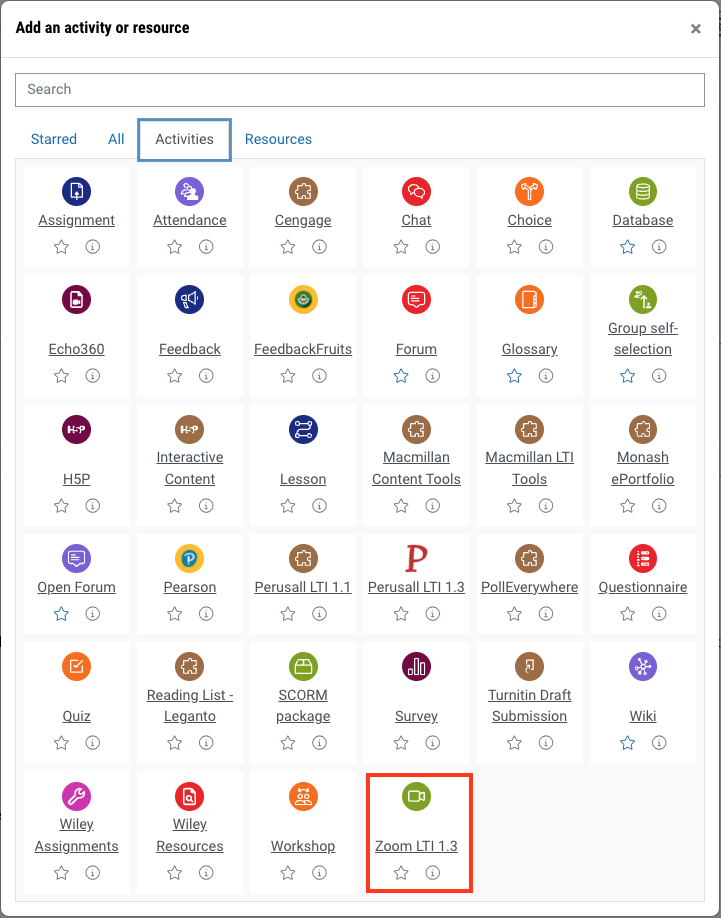
- From the activity picker, select Zoom LTI 1.3.
- Give it a name, for example “Zoom meetings”.
- Adjust other settings as appropriate and then click Save.
The Zoom integration
This is how the integration looks once you have it installed. From here you can view upcoming and past meetings, and schedule new meetings.

Upcoming Meetings shows events scheduled in the future. The Previous Meetings tab shows meetings that have ended. Personal Meeting Room gives quick access to a personal Zoom space that you can run at any time, which is good for informal chats and quick meetings. Cloud Recordings are not used by default.
Scheduling meetings
- Click Schedule a New Meeting.
- Enter a Topic, When the meeting will run, and the Duration.
Note: Any Zoom meetings created or listed in the integration will be visible to ALL members of the unit, so it is recommended that your give your meeting topic a name that will be clear to students.
- If you wish, you can make a meeting Recurring by ticking the selection box. If so, select when it repeats, and how often.
- It is advised to Mute participants upon entry.
- Enter the names of any tutors/demonstrators, other lecturers or co-presenters in the Alternative Hosts box. This will mean they are automatically made Co-hosts, and in the event of your absence they can take over as Host.
- Click Save.
- AFTER you have saved, you will be given the option to upload poll questions if you have them enabled. They are uploaded in a CSV template that can be downloaded directly.
You can also Import meetings by clicking the three dots icon. You will need to do this to use some advanced features such as pre-assigned breakout rooms. Enter the Meeting ID of a meeting you have previously created through the interface at monash.zoom.us
Starting meetings
Once they are scheduled, upcoming meetings appear under your Upcoming meetings tab. If you scheduled the meeting, you will see buttons to Start or Delete the meeting. If a colleague created it, you will only see the option to Join.
What your students see

Students have a simpler view. They cannot schedule meetings, and only have a Join button for upcoming events. Under the Previous Meetings tab, they can only view a listing. Note that the Recordings column refers to Cloud recordings, which are not enabled by default.
Note: Any Zoom meetings created or listed in the integration will be visible to ALL members of the unit.
Automatically move Zoom meeting recordings to a Panopto folder
By default, any meetings that have been scheduled through the Zoom plugin that are recorded to the cloud will automatically be added to your Moodle unit's Panopto folder. You can also map recurring Zoom meetings to a Panopto folder of your choice via your Panopto user settings. For example, you may wish to map your Zoom meeting ID to your MyFolder in Panopto.
Please note: In both instances, videos that are moved to a Panopto folder will be deleted in the original Zoom Cloud recordings folder. (These recordings will sit in the Zoom recycle bin for 30 days before permanent deletion).
NoteIf you are not using the Moodle Zoom integration, you can use the following method to map your Zoom meeting cloud recordings to Panopto folders. |
- Navigate to Panopto.
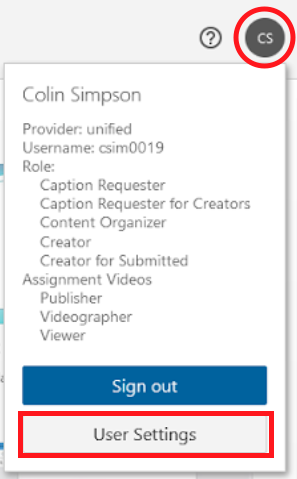
- Click on your user icon in the top right corner of the screen and select User Settings.
- Under Meeting Import Settings, you will see Meeting Mapping Source is automatically set to Zoom.
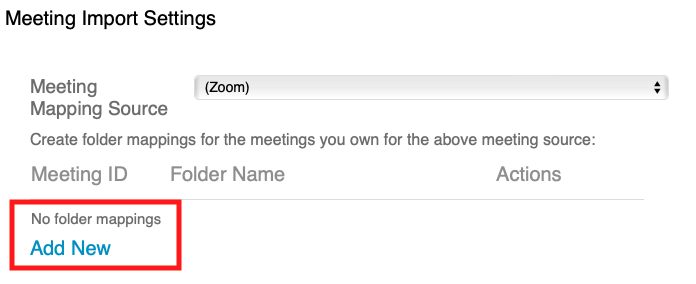
- To set up a new folder mapping, click Add new.
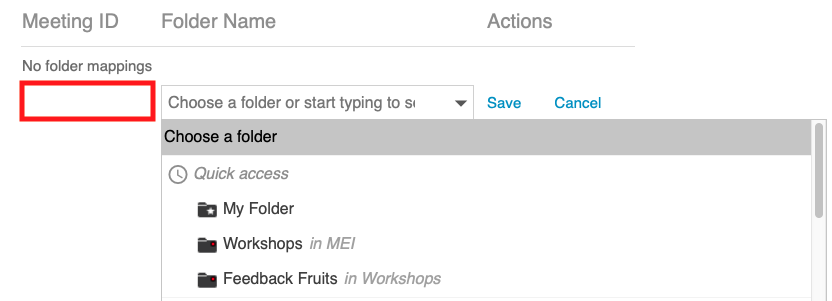
- Under Meeting ID, enter your Zoom meeting ID. Click the drop down list to select the Panopto folder you would like your Zoom meeting recordings to be uploaded to.
- Click Save.
Advanced options
This integration offers a streamlined and somewhat simplified meeting creation interface. If you wish to use some of the advanced features, such as pre-set breakout room groups, quiz options, you will need to set up the meeting at monash.zoom.us and Import the meeting.
If you want to adjust your personal settings to enable features or change defaults, that will also need to be done at monash.zoom.us, and the changes will carry through to the integration. The Zoom.us site is also where you can access Reports, including attendee lists.