Glossary (Moodle activity)
The glossary activity in Moodle allows you and/or your students to build, display and search a list and its definitions, like a dictionary.Enabling glossary auto-linking will allow students to click on selected entries in the Glossary wherever they appear in the Moodle unit and read the definition.

Suggestions on how to use this tool:
- Students contributing to a list of terms.
- Collating content such as observations.
- Peer assessment using the glossary to allow students to comment on each other's entries.
- Collating and sharing websites or resources related to concepts.
- Create a list of key concepts and use comments for students to submit real life examples.
Create a glossary
- In the top right hand corner of the page, switch Edit mode to ON(Blue).

- In the section where you would like to add a resource or activity, click +Add an activity or resource.

Note: You can add new resources or activities above or below any existing activities or resources.
- Select Glossary.
- In the Name and Description field, give your glossary a title and introduction. You can use the Description field to alert students to important information about the glossary or direct them to technical assistance. The description will be displayed when you open the glossary.
- In the Appearance section you can set the number of Entries shown per page.
- Select other glossary settings as required.
Note: Beside each field, you can click on the help icon for a description of each option provided.
- Once complete, click Save and return to unit.
Note: To set dates/ times at which the glossary is accessible to students, set the Allow access from and Allow access until date fields in the Restrict access section of the glossary’s settings.
Create glossary entries
- Click Add entry.
- In the Concept field, enter the term you wish to define in the glossary.
- In the Definition field, enter a definition of the term.
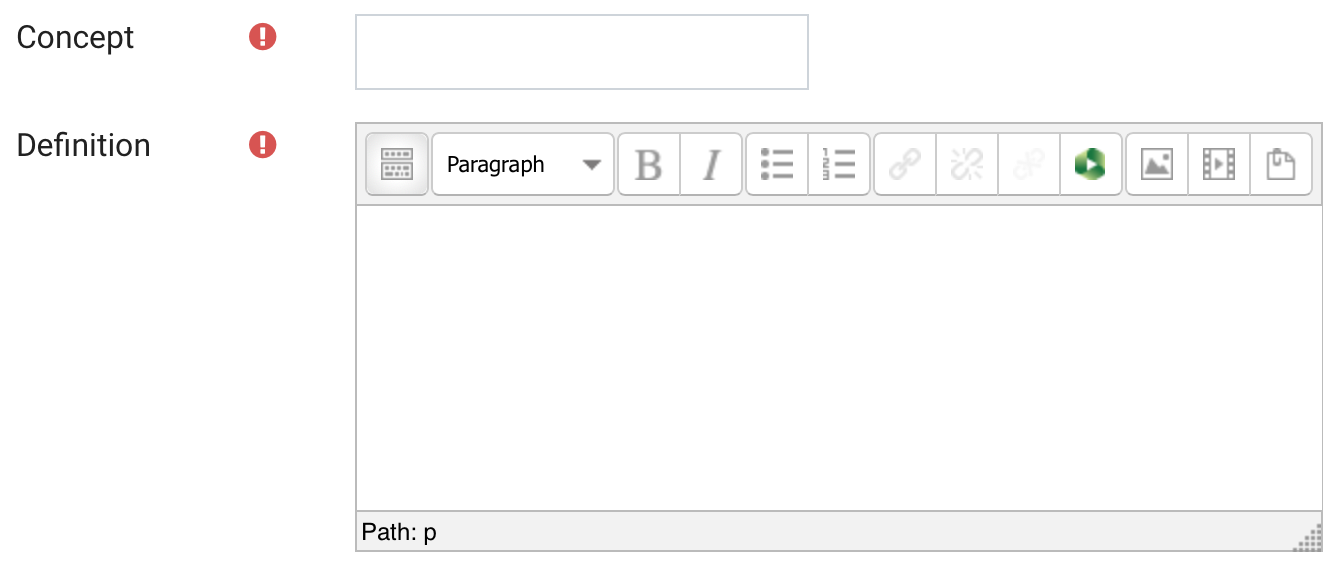
- Select other glossary settings as required.
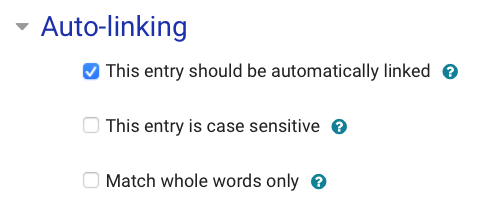
Note: Beside each field, you can click on the help icon for a description of each option provided. - If you would like to enable auto-linking for the glossary entry, in Auto-linking, make sure ‘This entry should be automatically linked’ is checked. You can also specify whether the glossary entry link should be case sensitive and/or match whole words only.
- Once complete, click Save and return to unit.
- To edit or delete a glossary entry, navigate to the glossary entry:
- To edit, click on the
 icon. Click Save changes to save your edits.
 - To delete, click on the
 icon. Click Yes to confirm your delete action.
- To edit, click on the
Enable glossary auto-linking
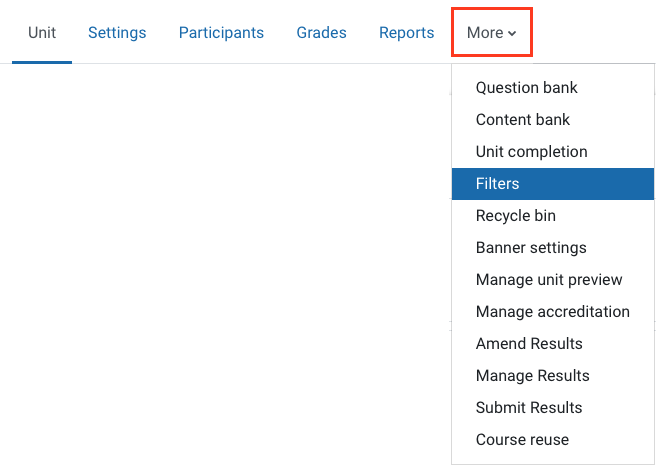
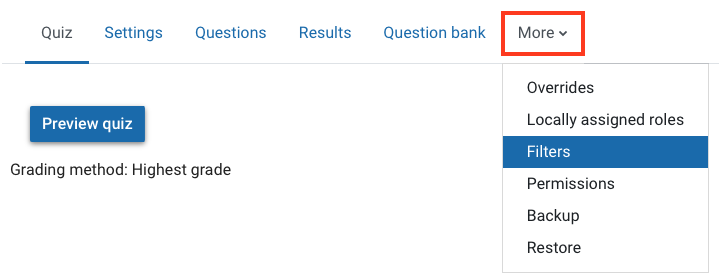
- Click on More in the top menu and select Filters.
- Change the Glossary auto-linking filter to ON.
- Click Save changes.
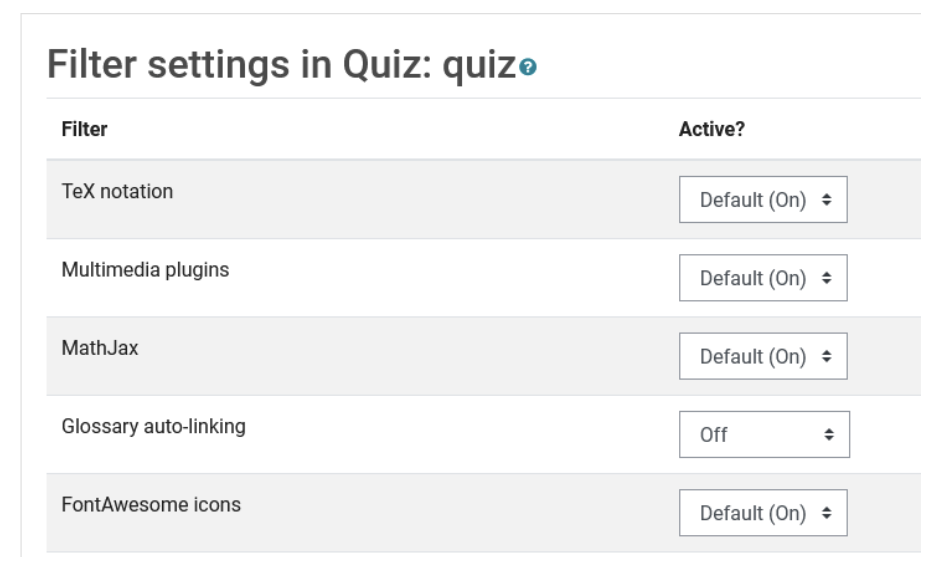
Disable Glossary auto-linking for QuizzesIf you use Glossary auto-linking, glossary words in any Quiz will also be linked to definitions. You can block this either by temporarily turning off auto-linking from the unit Filters panel above OR there are also Filter options in the settings of each individual quiz. |
- Navigate to the quiz you would like to disable glossary auto-linking for.

- In the top menu, click More and then select Filters.
- Change the Glossary auto-linking setting to off. (This only applies to this quiz)