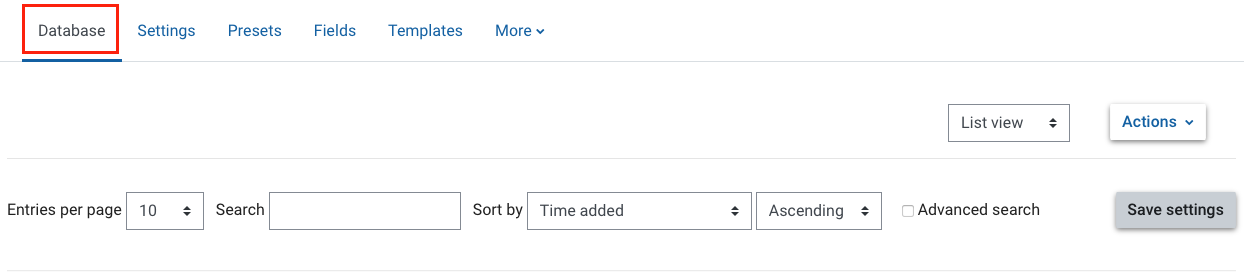
Databases (Moodle activity)

The database activity allows you and your students to develop and search a bank of records entries.

Suggestions on how to use this tool

  • Collate and share observations from field study
  • Create and comment on a shared collection of artefacts
  • Create and comment on lab results throughout semester
  • Create a list of key concepts and use comments for students to submit real life examples

Create a database

  1. In the top right hand corner of the page, switch Edit mode to ON(Blue).
  2. In the section where you would like to add a resource or activity, click +Add an activity or resource.

    Note: You can add new resources or activities above or below any existing activities or resources.

  1. Select Database.
  2. In the General section:
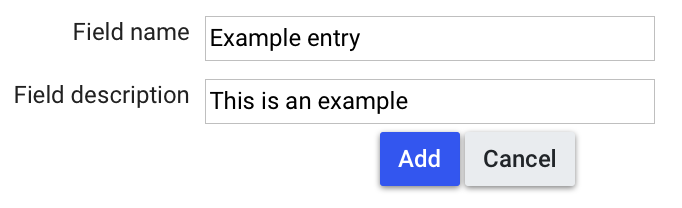
    1. Give your database activity a Name and Description. You can use the Description field to alert students to important information about the database activity or direct them to technical assistance.
    2. In the Availability section you can set Available from and Available to and / or Read only from and Read only to date fields to restrict student access to the database activity. Click on the Enable checkbox next to each field to set each date.
  3. Select other database setting options as required.
  4. Once complete, click Save and return to unit.

    Note: Beside each field, you can click on the help icon for a description of each option provided.

Database Presets

A selection of preset types cover many common use cases. You can preview the format of the Presets to see what the layout will look like. Selecting a Preset automatically creates the appropriate fields in your database.
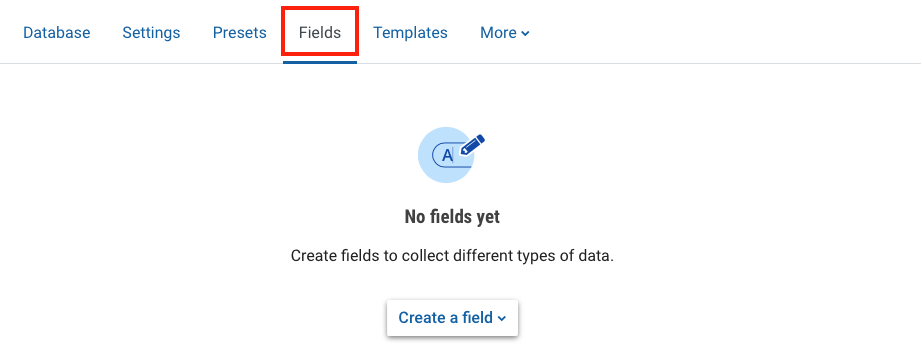
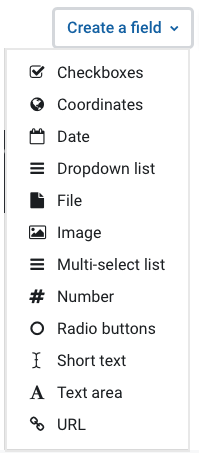
Database Fields

A field is a unit of information for your database activity.  The database can have just one field or multiple fields of varying types, depending on the kind of information you wish to collect.  An example of a field is a field called Monash University Australia Campus where the options are Berwick, Caulfield, Clayton, Gippsland, Parkville and Peninsula.

  1. Ensure edit mode is switched on.
  2. Next for database you want to edit, select the Fields tab.

Database Templates

Once you have added all required fields for your database activity, you can change the visual layout of the database activity for each of the database views, whether it is in list, single, search or add form. You change the layout of each view by amending the respective database template.

  1. Select the Templates tab.
  2. Click on Add entry template and select the template you would like to edit from the dropdown list. For example, click the List Template, if you wish to amend the List Template.

  3. Enter a header and footer for the database's View list page.
  4. In the Repeated entry textbox use the editor to change the presentation layout.

    Note: In some cases, you may need to highlight to select the text before pressing the button; you may also add text and/or amend the table. You may also change the order of the fields, remove and or add from the Available tags field by double clicking on the tag.

  5. Click on Save template.

    Note: Click on Reset template to restore the template back to its default presentation layout.

Search database

  1. Select the Database tab. You can view the database in lists or single entries with the View list or View single tab.
  2. To search the database, set your search criteria using the drop down menus and free text fields.

  3. Click on Save settings.

    Note: For Advanced search options, select the Advanced search checkbox. This will enable you to search additional fields.

Add database entry

  1. Select the Add entry tab.
  2. Create your new database entry.
  3. Click on Save or Save and add another

Export database entries

  1. Click on Actions in the top right corner.
  2. Select the Export tab.
  3. In the Choose the format you wish to export to section, choose your preferred exported file format.
  4. Choose the fields you wish to export by selecting the checkboxes next to the fields available. You can also export attached files.
  5. Click on Export entries.
  6. Click OK to save the file.