Workshop (Moodle activity)
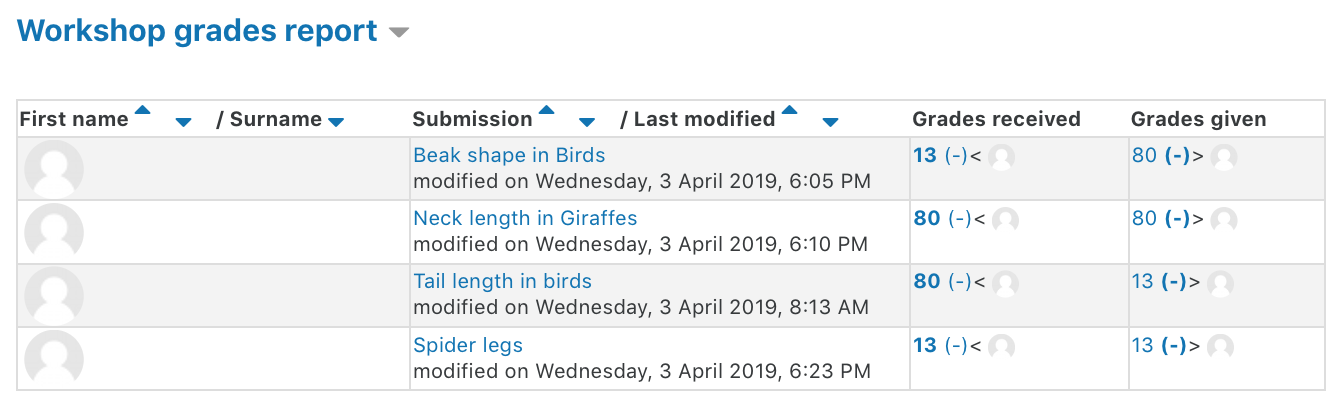
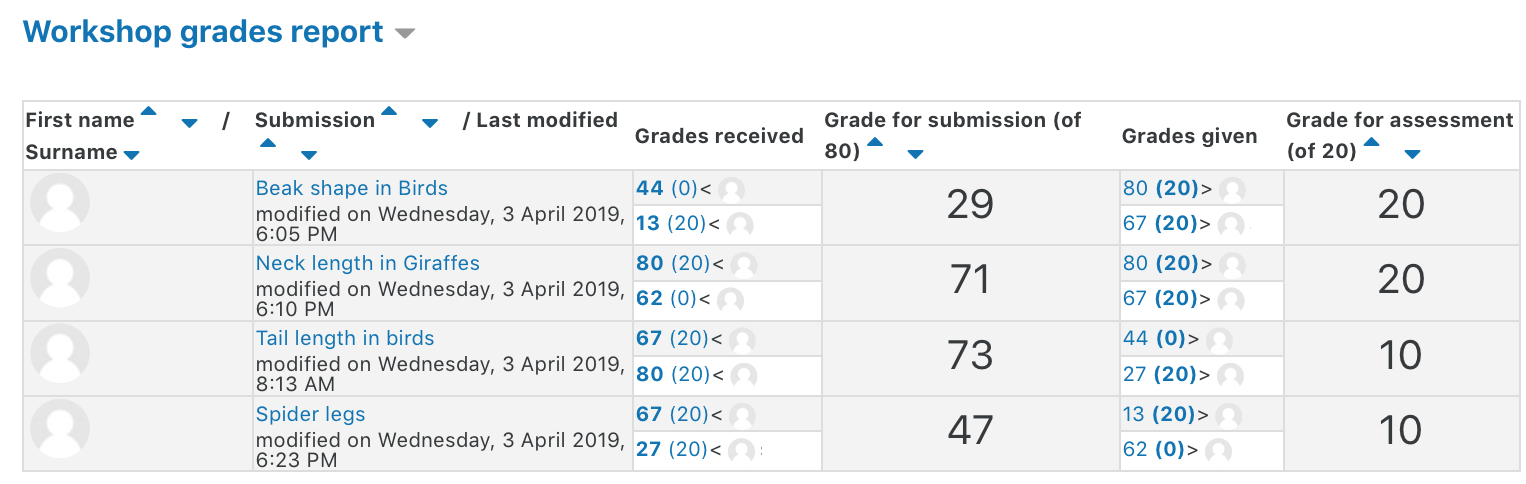
Workshops are a student-focused learning activity that allows students to engage in peer review and assessment in a structured multi-part activity. The workshop activity collects and distributes student work to student peers to be assessed. Student feedback can be made anonymously through enabling the blind marking setting. Two grades are given for a workshop activity, a grade for for their submission and for the quality of their peer assessment skills. This tool works only for student feedback, lecturers and tutors should provide their grades and feedback using other methods.
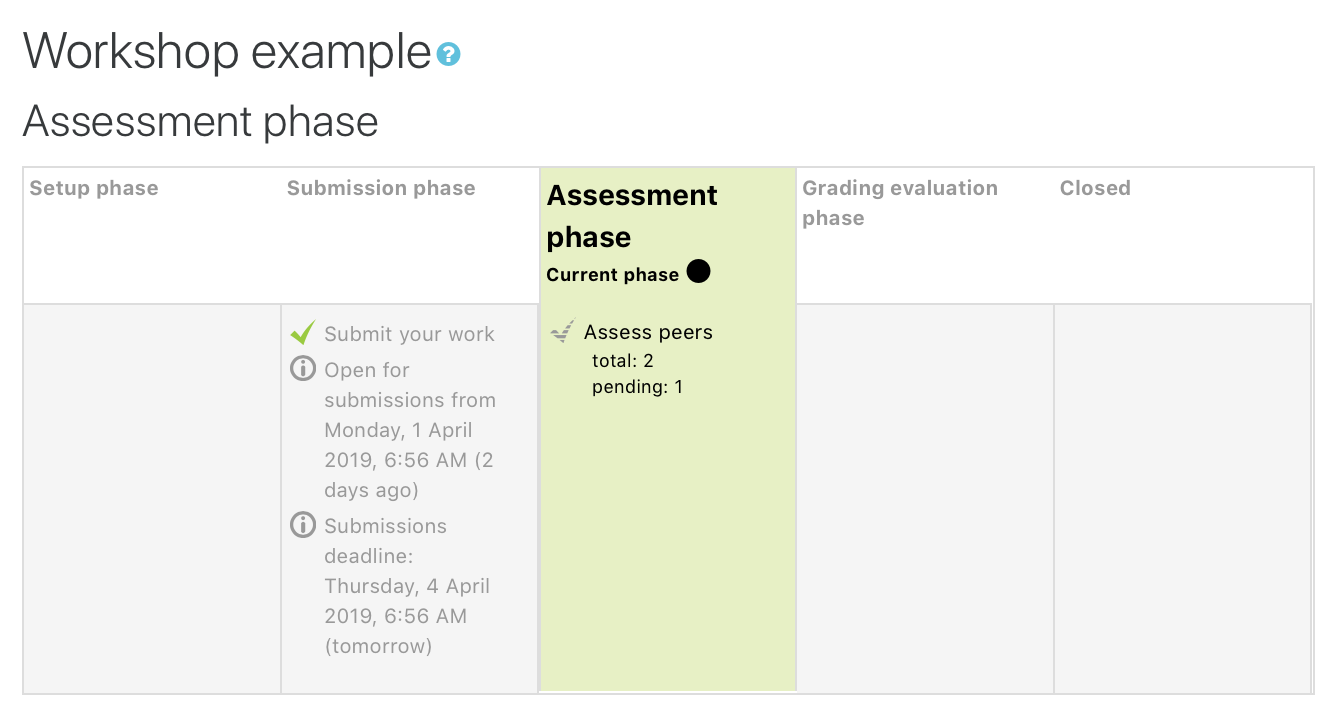
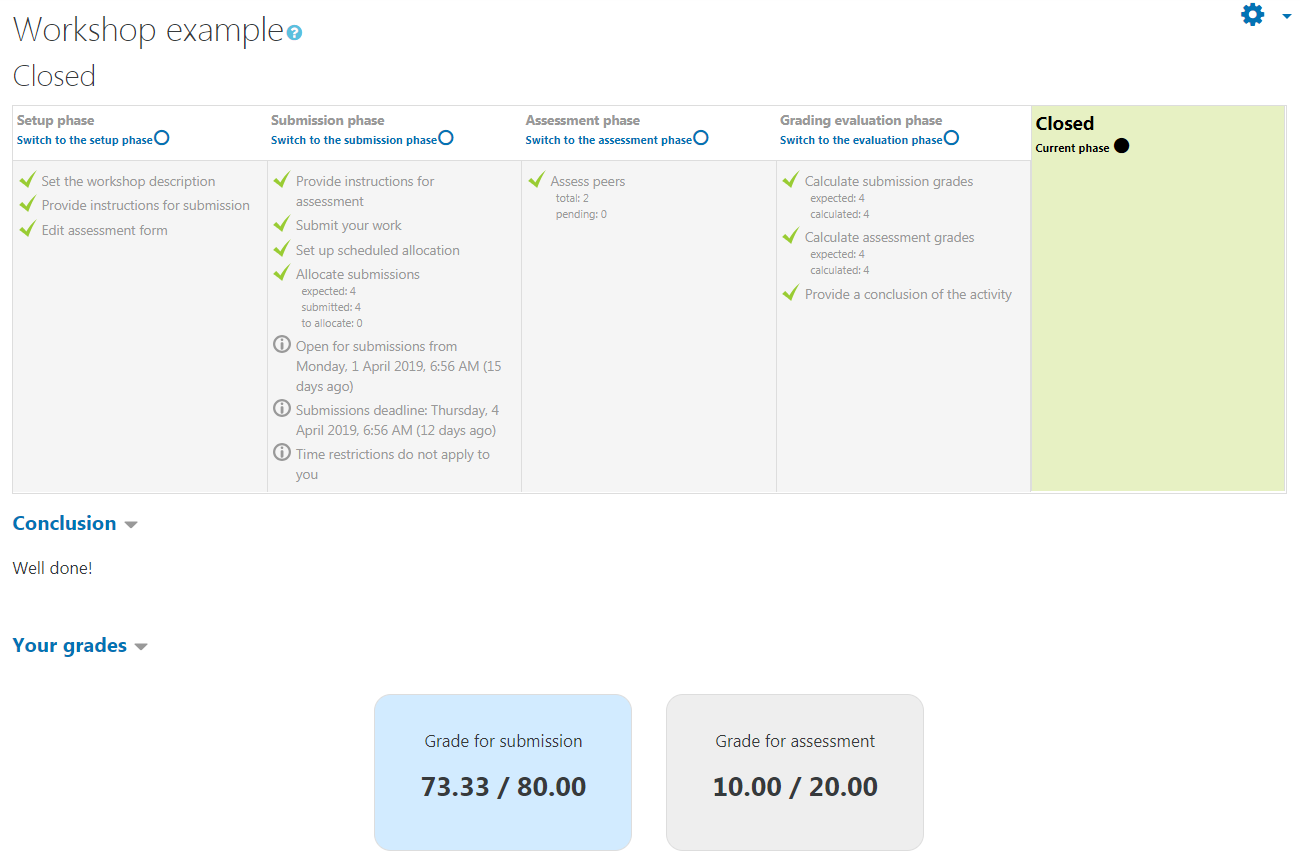
The Workshop activity is designed to work in a staged approach, where each phase has a specific goal.
- Phase 1: Setup - provide students with instructions and submission requirements
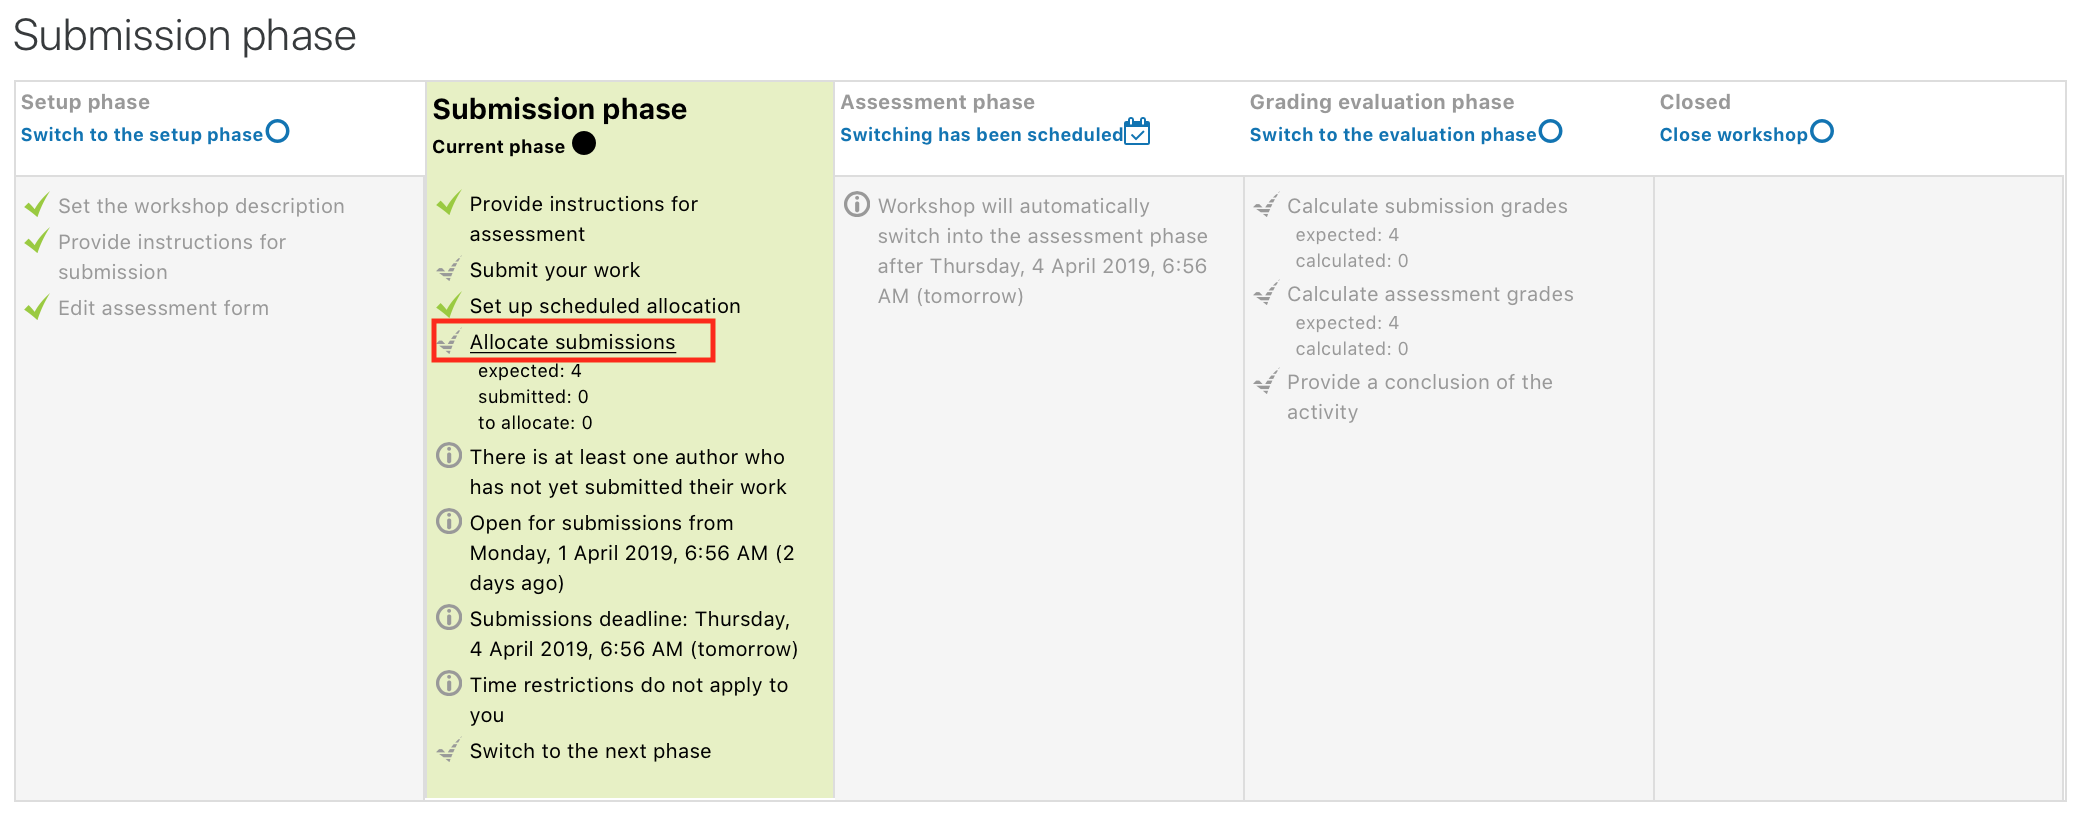
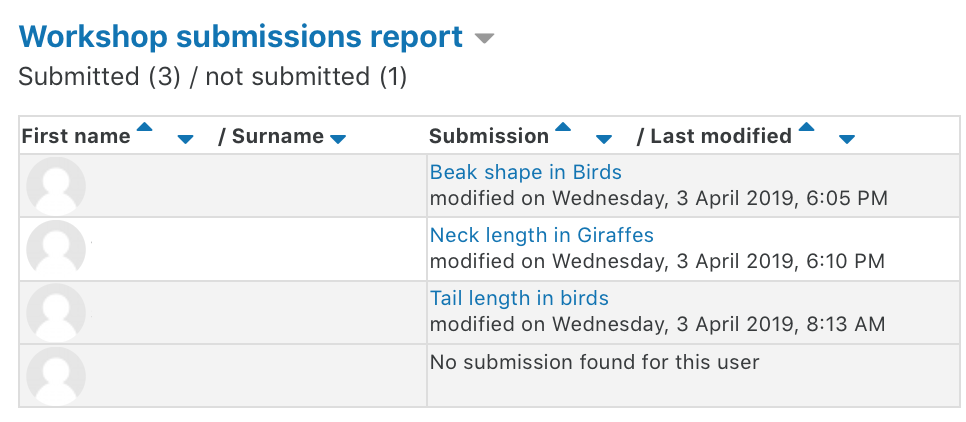
- Phase 2: Submission - students submit and are assigned peer reviewers
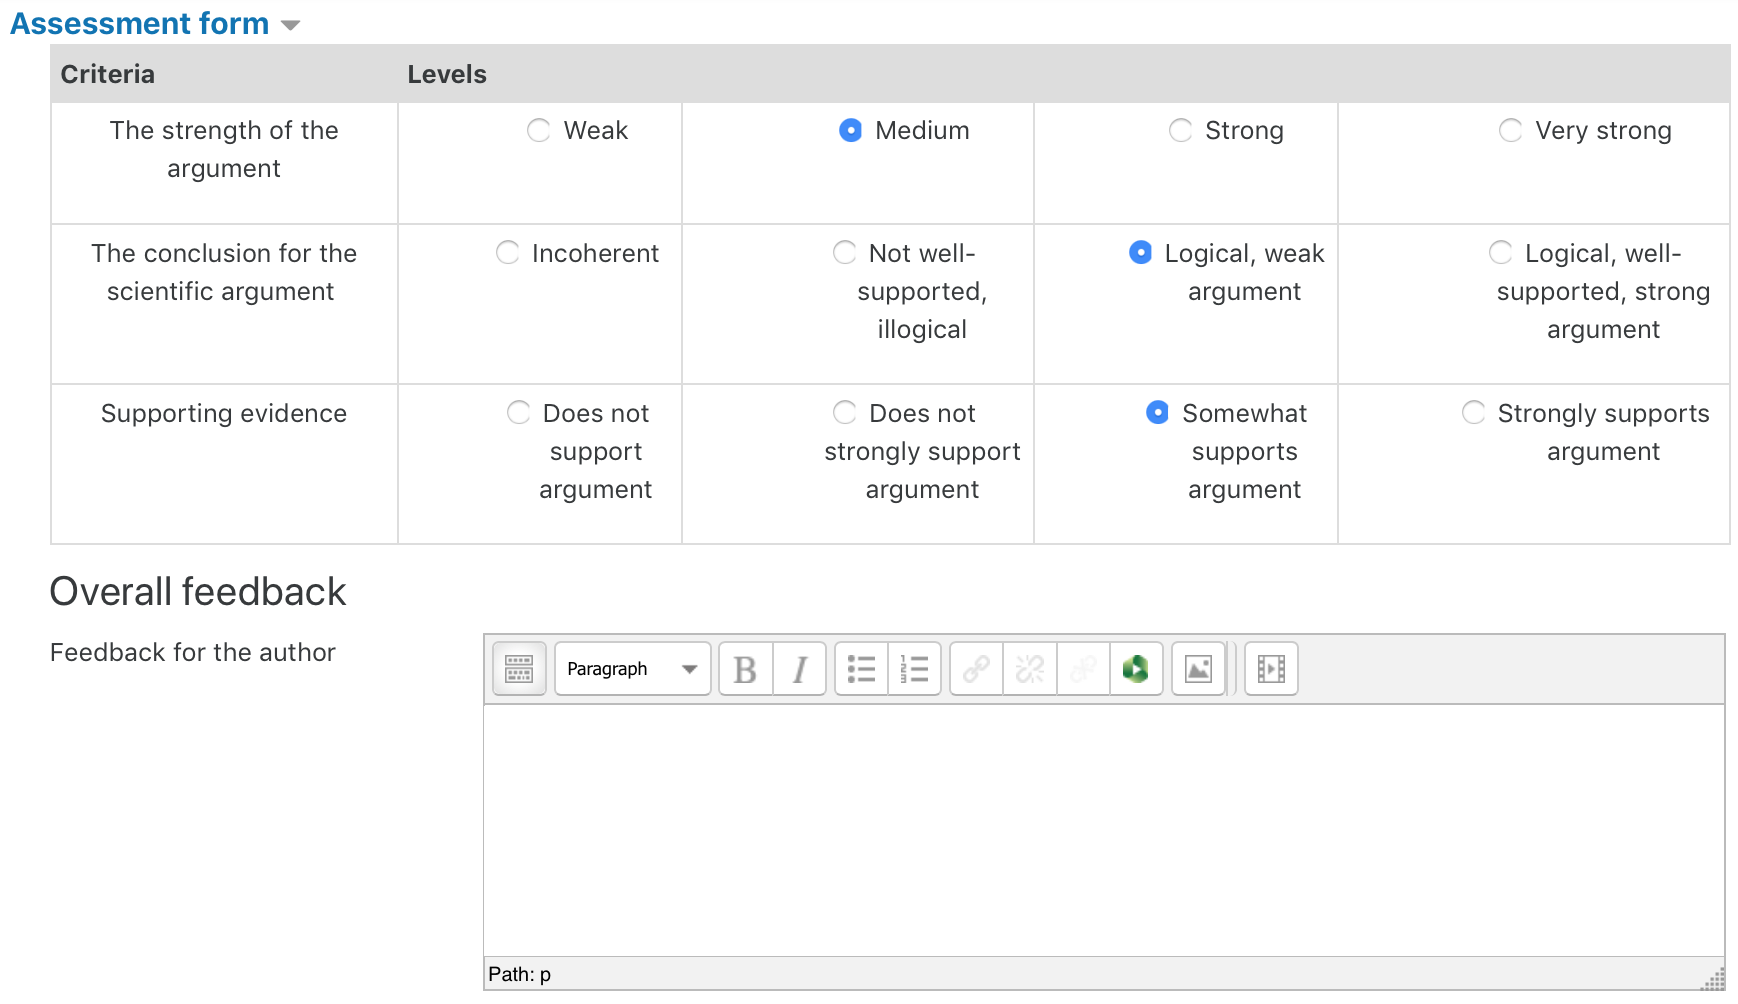
- Phase 3: Assessment - students assess each other’s work
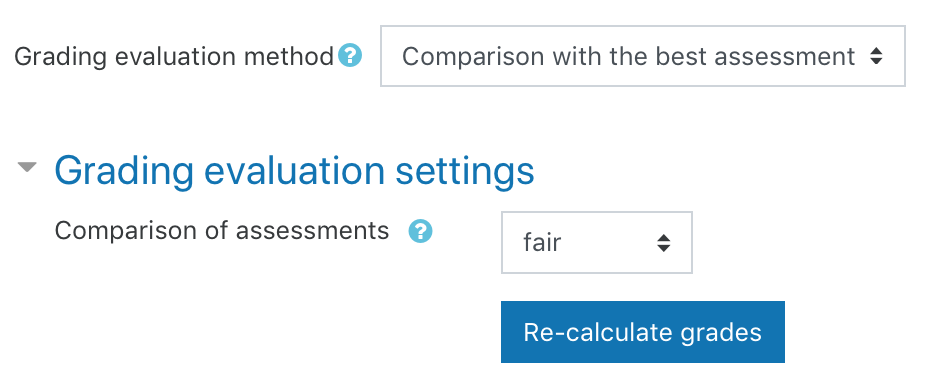
- Phase 4: Grading evaluation - students’ assessment of each other are weighted or adjusted as needed.
- Phase 5: Closed - push the results to the Gradebook
The Moodle Workshop activity is best used for:
- Students to give peer feedback to each other on work and then to have that feedback be part of student reflective improvement.
- Help students develop a stronger understanding of the assessment process.
- Engage students in their own learning and assessment.
- Encourage students to become more independent learners.
Create a workshop activity
- In the top right hand corner of the page, switch Edit mode to ON(Blue).

- In the section where you would like to add a resource or activity, click +Add an activity or resource.

Note: You can add new resources or activities above or below any existing activities or resources.
- Select Workshop.
- Choose settings for your workshop activity as required.
- General: Give your workshop a name a desciption
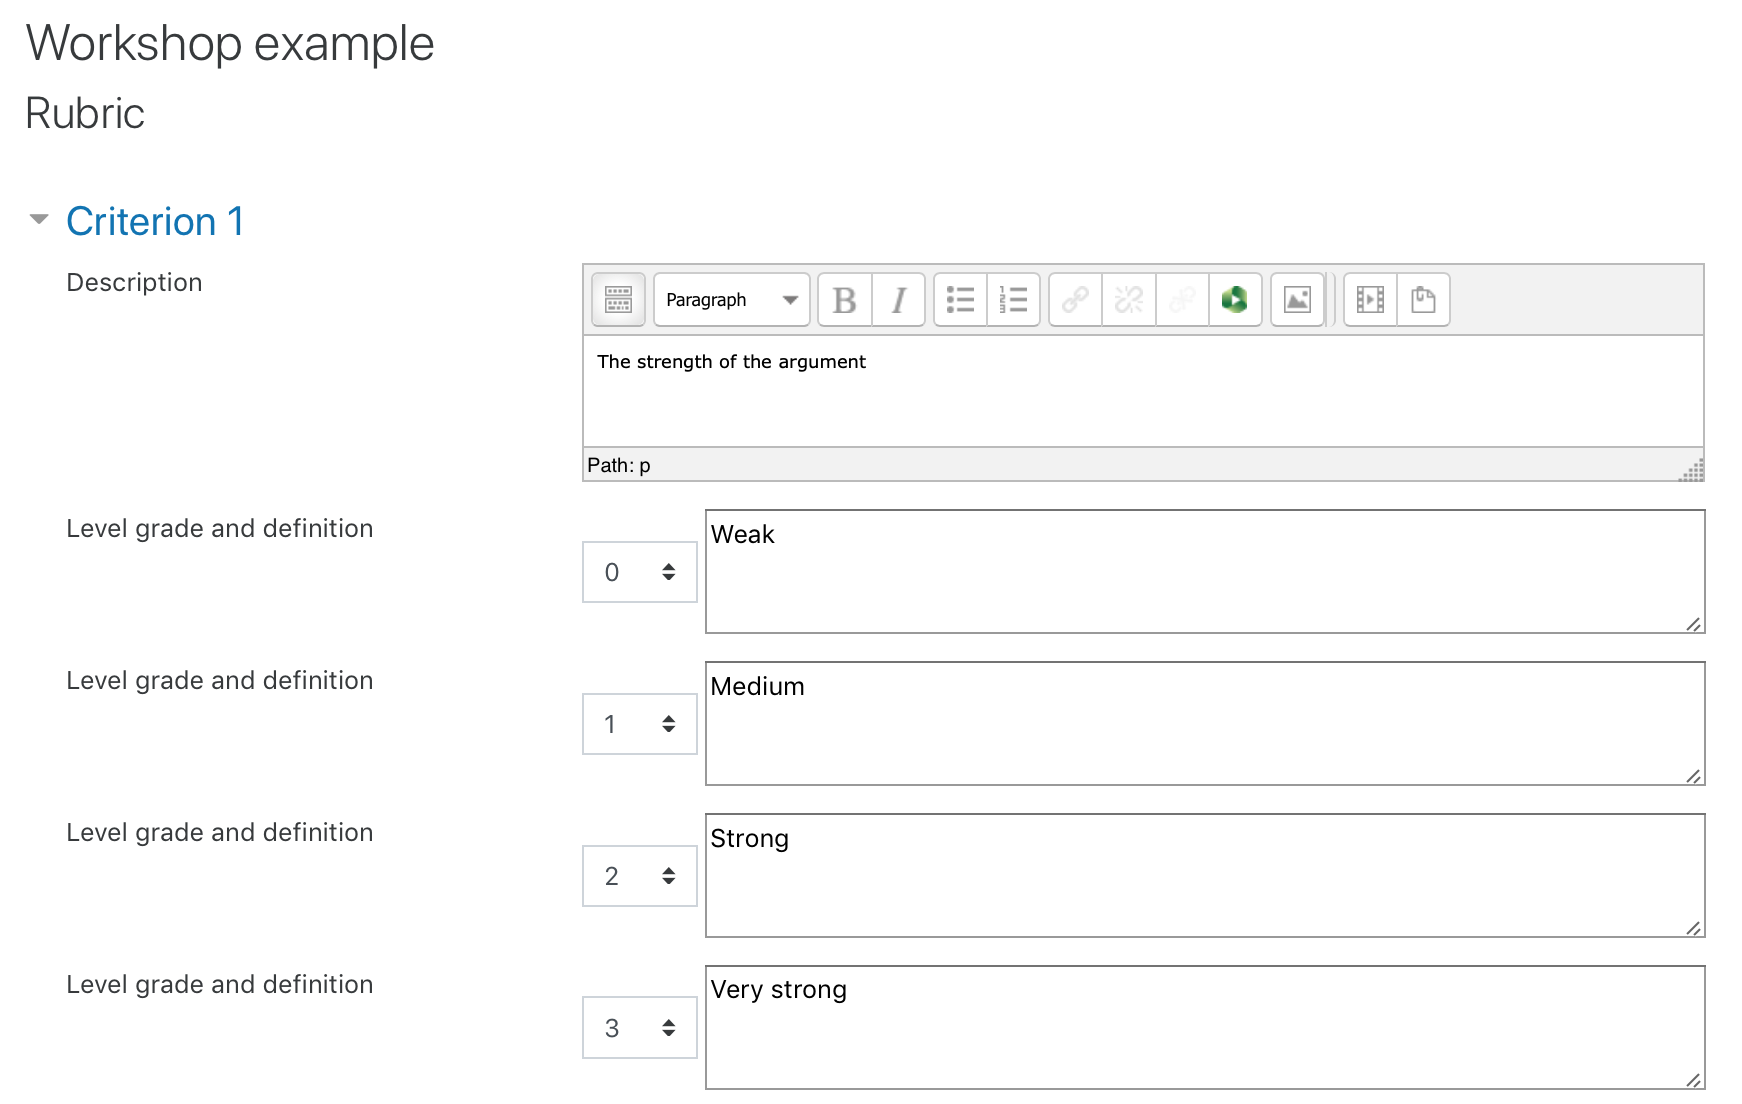
- Grading:
- Select a Grading strategy.
- Assign the maximum grade for the Submission and Assessment.
- Assign a grade to pass mark for the Submission and Assessment.
- Submission settings:
- Write clear instructions for students about their submission.
- If the submission will include attachments, you can choose the:
- Maximum number of attachments
- Allowed file types
- Maximum file size
- To enable late submissions, check the Allow submissions after the deadline box.
NOTE: If you do not want students to include attachments, set maximum number of submission attachments to zero.
- Assessment settings:
- Write clear instructions for students about how to assess submissions.
- If you want students to self-assess their own work, check the Students may assess their own work box.
- Feedback:
- Choose if students are required to give additional written feedback.
- If you allow additional feedback attachments, you can choose the:
- Maximum number of attachments
- Allowed file types
- Maximum file size
- Write a conclusion message that students will see when the workshop has ended. This can be helpful to instruct students how they can review their marks and any further actions you require from them.
NOTE: If you do not want students to include attachments, set maximum number of submission attachments to zero.
- Example submissions:
- Provide one or more examples of a submission to provide extra guidance, eg. examples of a good or poor submission.
- Allow students to practice assessing the examples, either:
- Before their submission is their own submission
- After their own submission but before they assess their peers
NOTE: Example submissions and assessments do not contribute to the grade.
- Availability:
- Select the start and end date for the Submissions and Assessment phases.
- You can check Switch to the next phase after the submissions deadline to automatically roll over to the next phase after the phase end date.
- Activity completion: Choose whether students must receive one or both grades to complete the activity.
- Once you have finished setting up your workshop, click Save and display.
- Once the Workshop has been created, you’ll see the Workshop activity homepage.
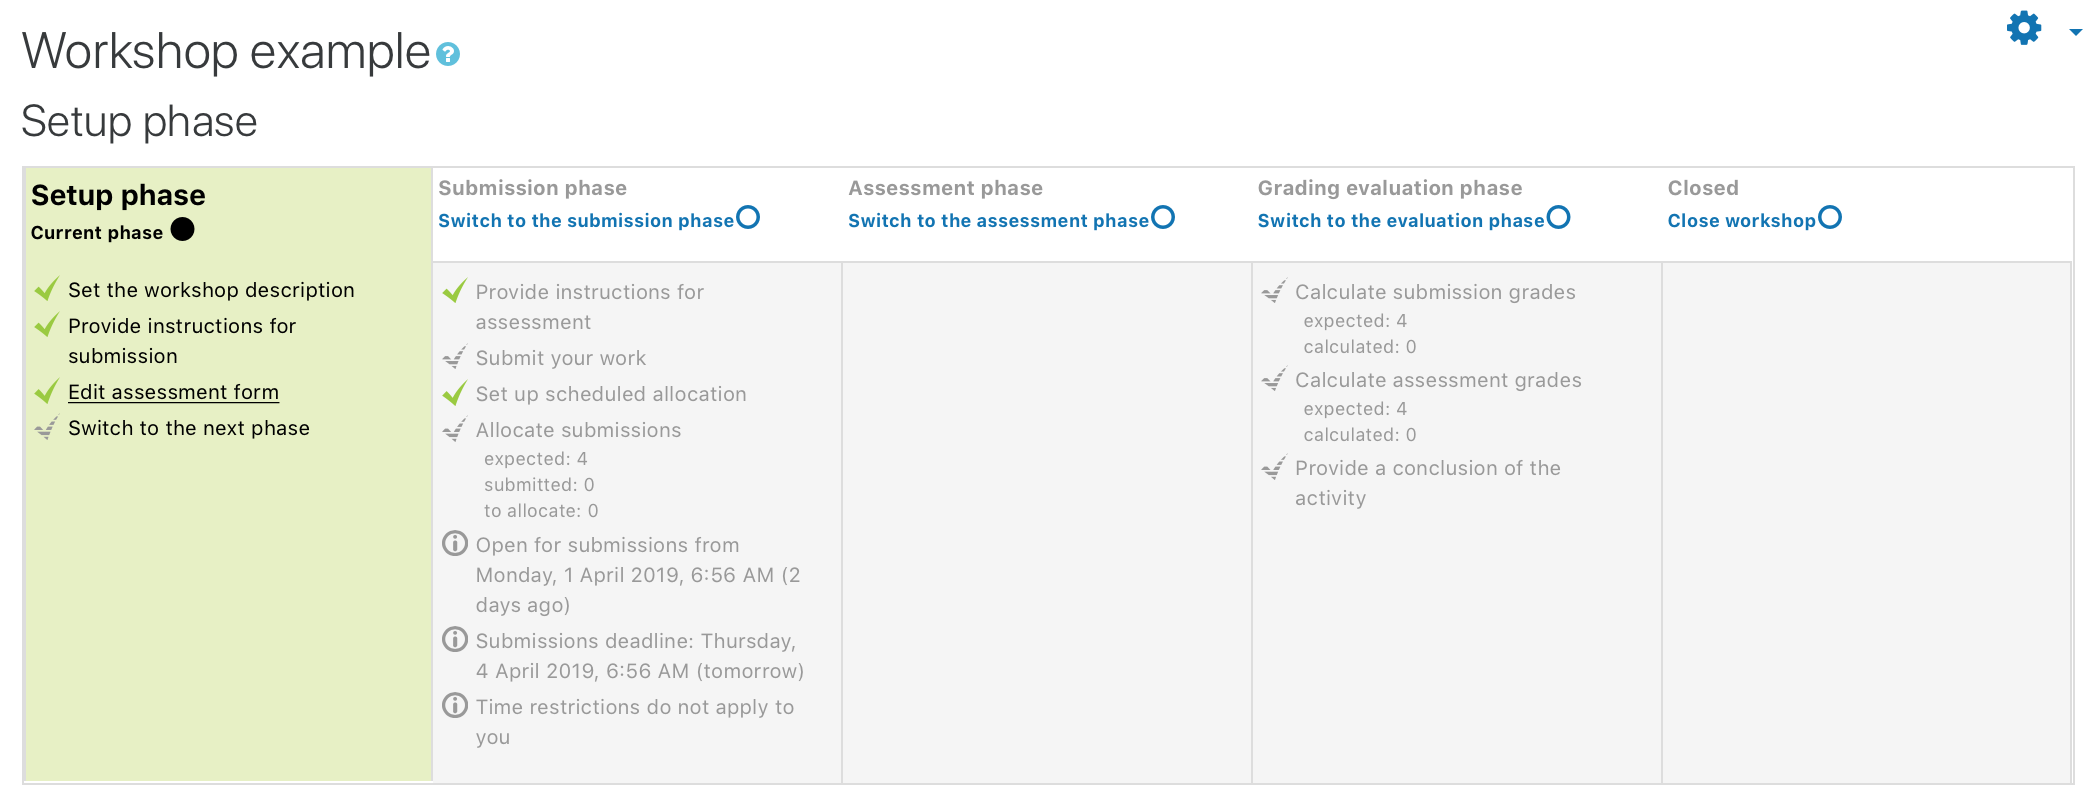
- A workshop has 5 phases, each phase of the activity has a checklist for you to complete to set it up properly. The current phase will be highlighted in green, this is the phase that the students will also see, with the exception of the Setup phase. Click on the accordion items below to learn more about each workshop phase.

- Complete all of the checklist items for each stage before releasing it to students.
- Clicking on the action will take you directly to that setting. You can switch to different phases with the Switch to next phase or Switch to ‘name of phase’ phase link.
- You can access the workshop activity settings page at any time with the settings cog in the top right corner of the activity home page, then click Edit settings.
NOTE: It is NOT recommended to change settings once the students have made submissions that have already been assessed.