Use hybrid-concurrent room technology
Hybrid-concurrent teaching is a mixed mode where some students will be present with you in the room while others join remotely. This guide will support your use of technology in the space for this form of teaching. In a hybrid teaching enabled room, you will have access to:
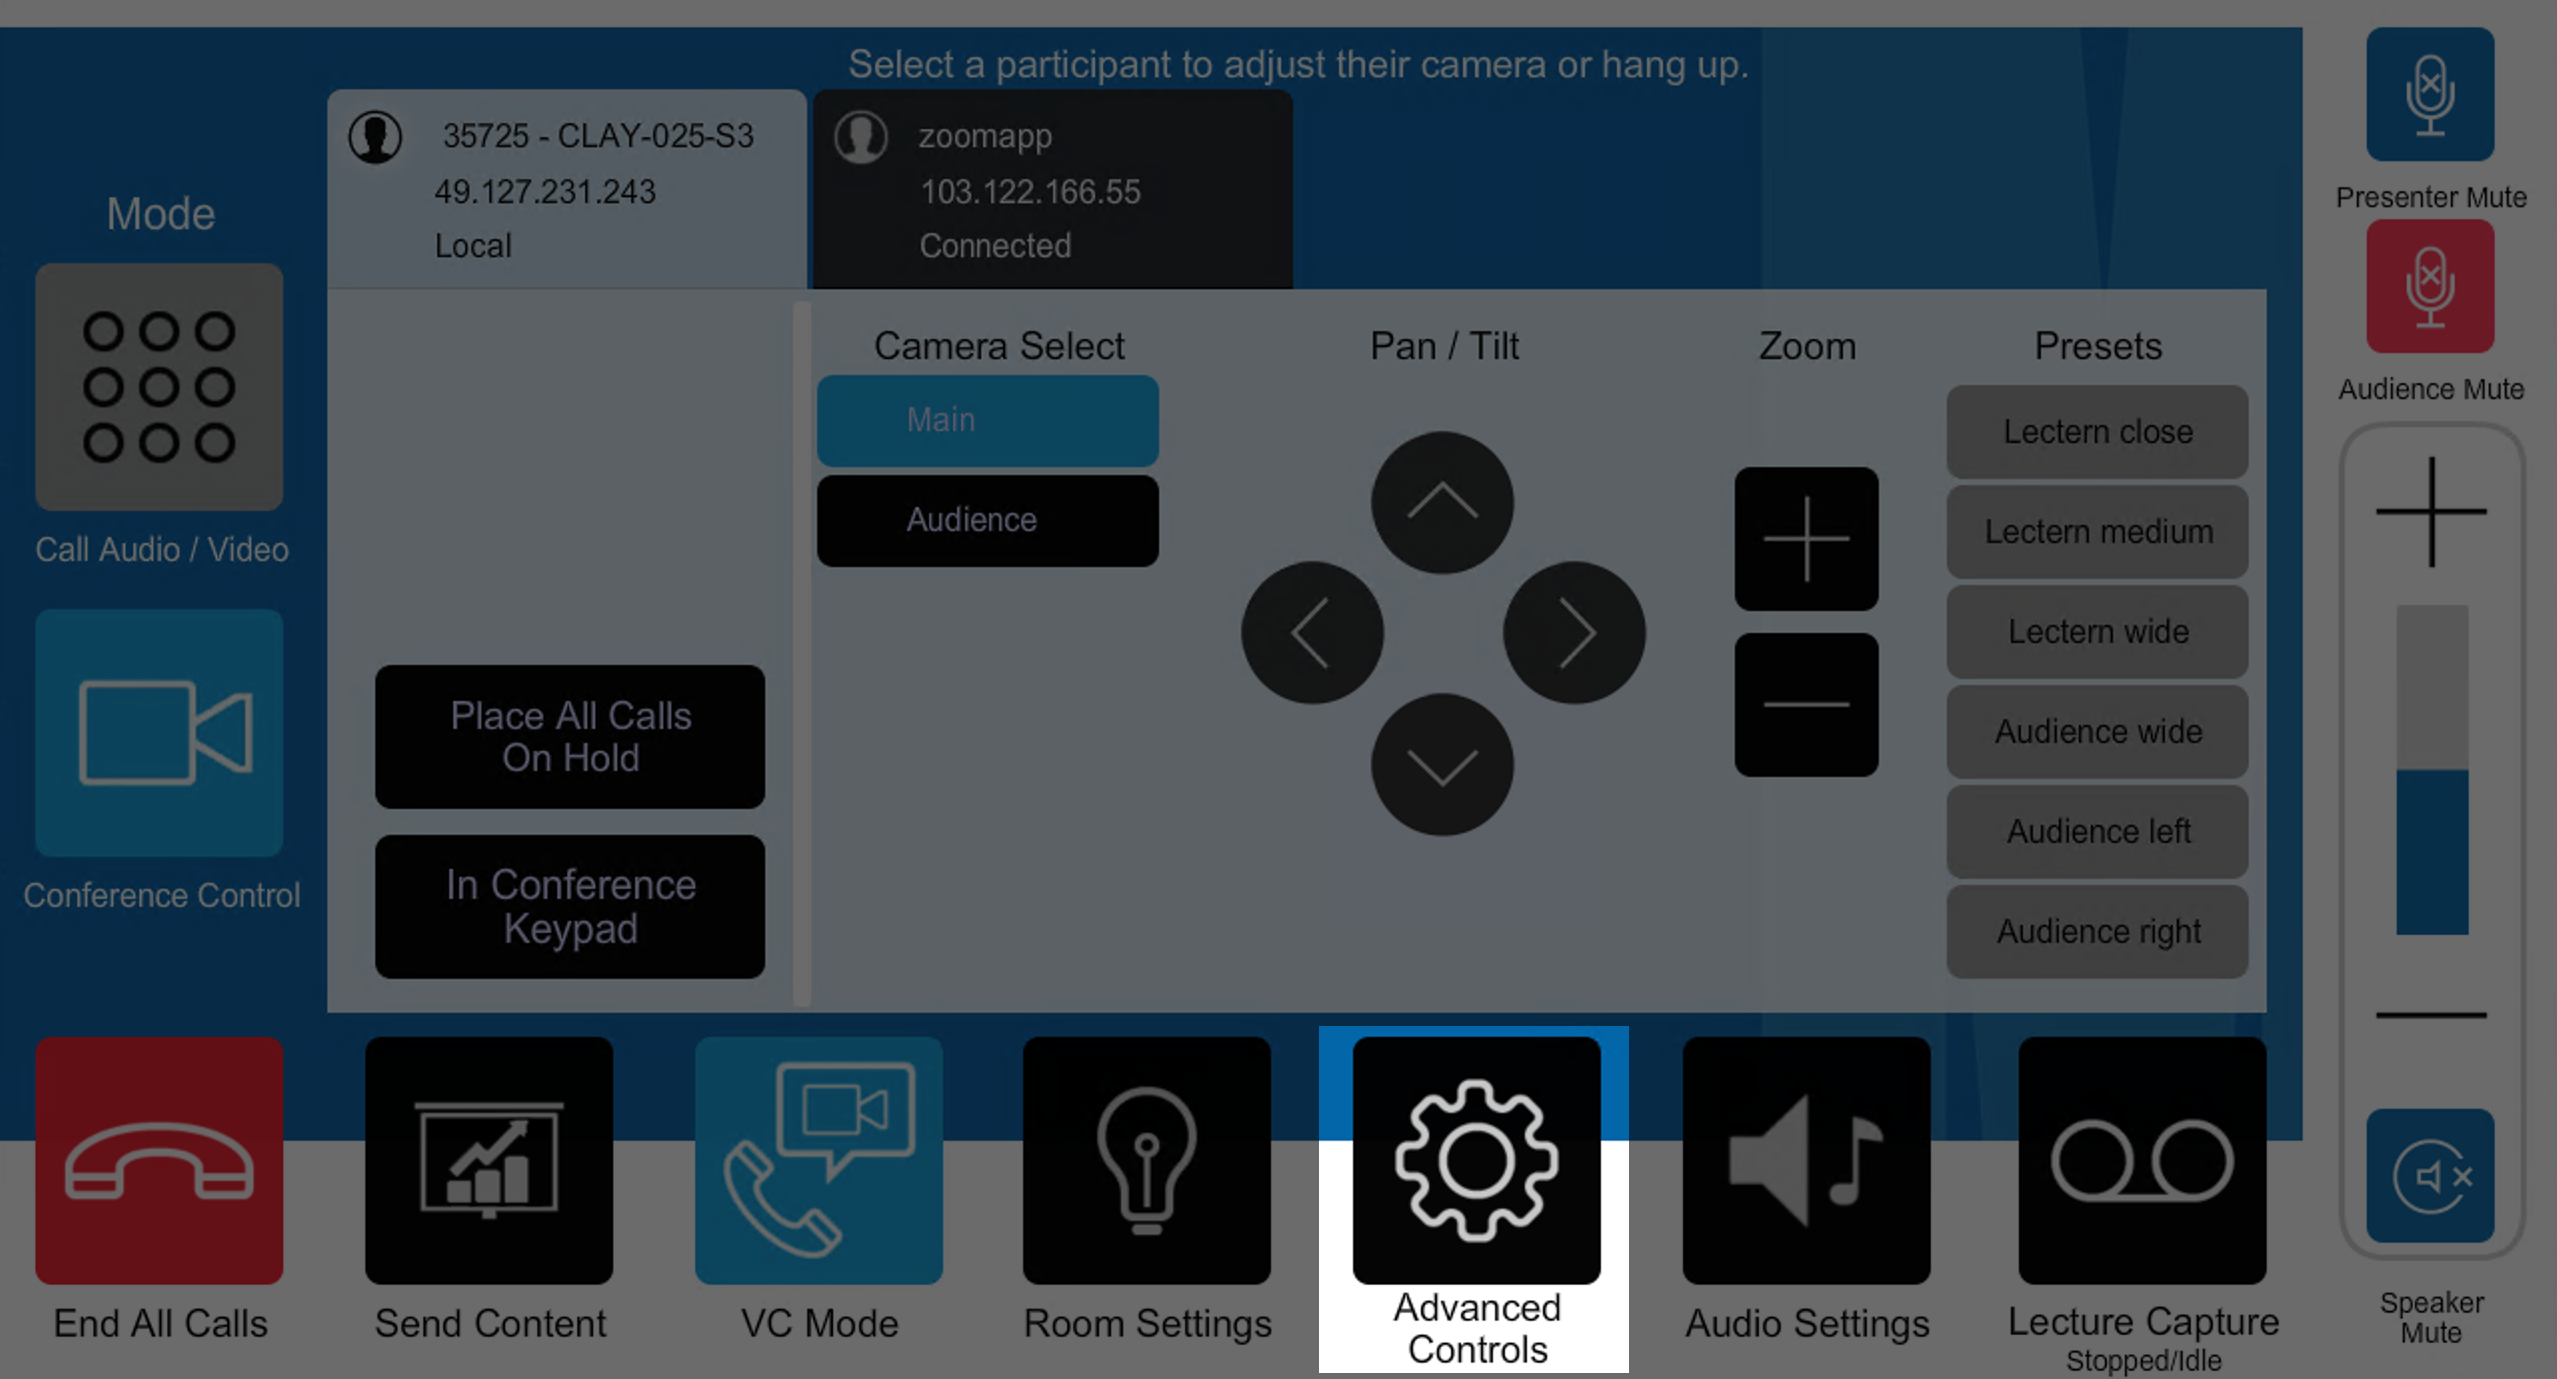
- Teacher touchdown point: The Room PC where you can access Zoom web client, or the touch panel that allows for Zoom calls via Cisco conferencing technology.
- Audio: You will have access to at least one head worn microphone and one hand held Q&A microphone.
- In-room camera: This camera captures a wide shot of the room near the Teacher touchdown point.
- Whiteboard camera: The in-room camera can zoom in to a close-up of the in-room whiteboards when the zoom enabled button is pressed. Ensure that you write all content within the corner markings.
Important note: If face-to-face students have brought their own devices to join the Zoom meeting, they MUST mute their audio and ensure that their headphones have been plugged in to avoid audio feedback. For more information, see Face-to-face student technology requirements(below).
Explore examples of hybrid teaching spaces
Use your cursor to click and drag to explore the space. Click on the icons for more information. For the best experience, click the icon in the top right corner to view in fullscreen. Click esc at any time to exit full screen.
Zoom enabled room
Zoom enabled Cisco(web conferencing) room
Note: The rooms depicted are Room 3.06 in the Alan Finkel Building for Technology and Design (top) and Room S12 in 16 Rainforest Walk (bottom). Your experience running a hybrid-concurrent session will depend on the technology available to you in the room, which may vary.
Getting started
Watch the following videos for a quick introduction for the suggested best practice for teaching and different possible set-ups available in hybrid teaching rooms.
Depending on your room, you can log [dial] into Zoom directly from the Room PC or via the touch panel (if the room is Cisco video conferencing enabled). Verify which room you are scheduled in and check which option will be available to you. A full list of Hybrid enabled learning spaces is available here.
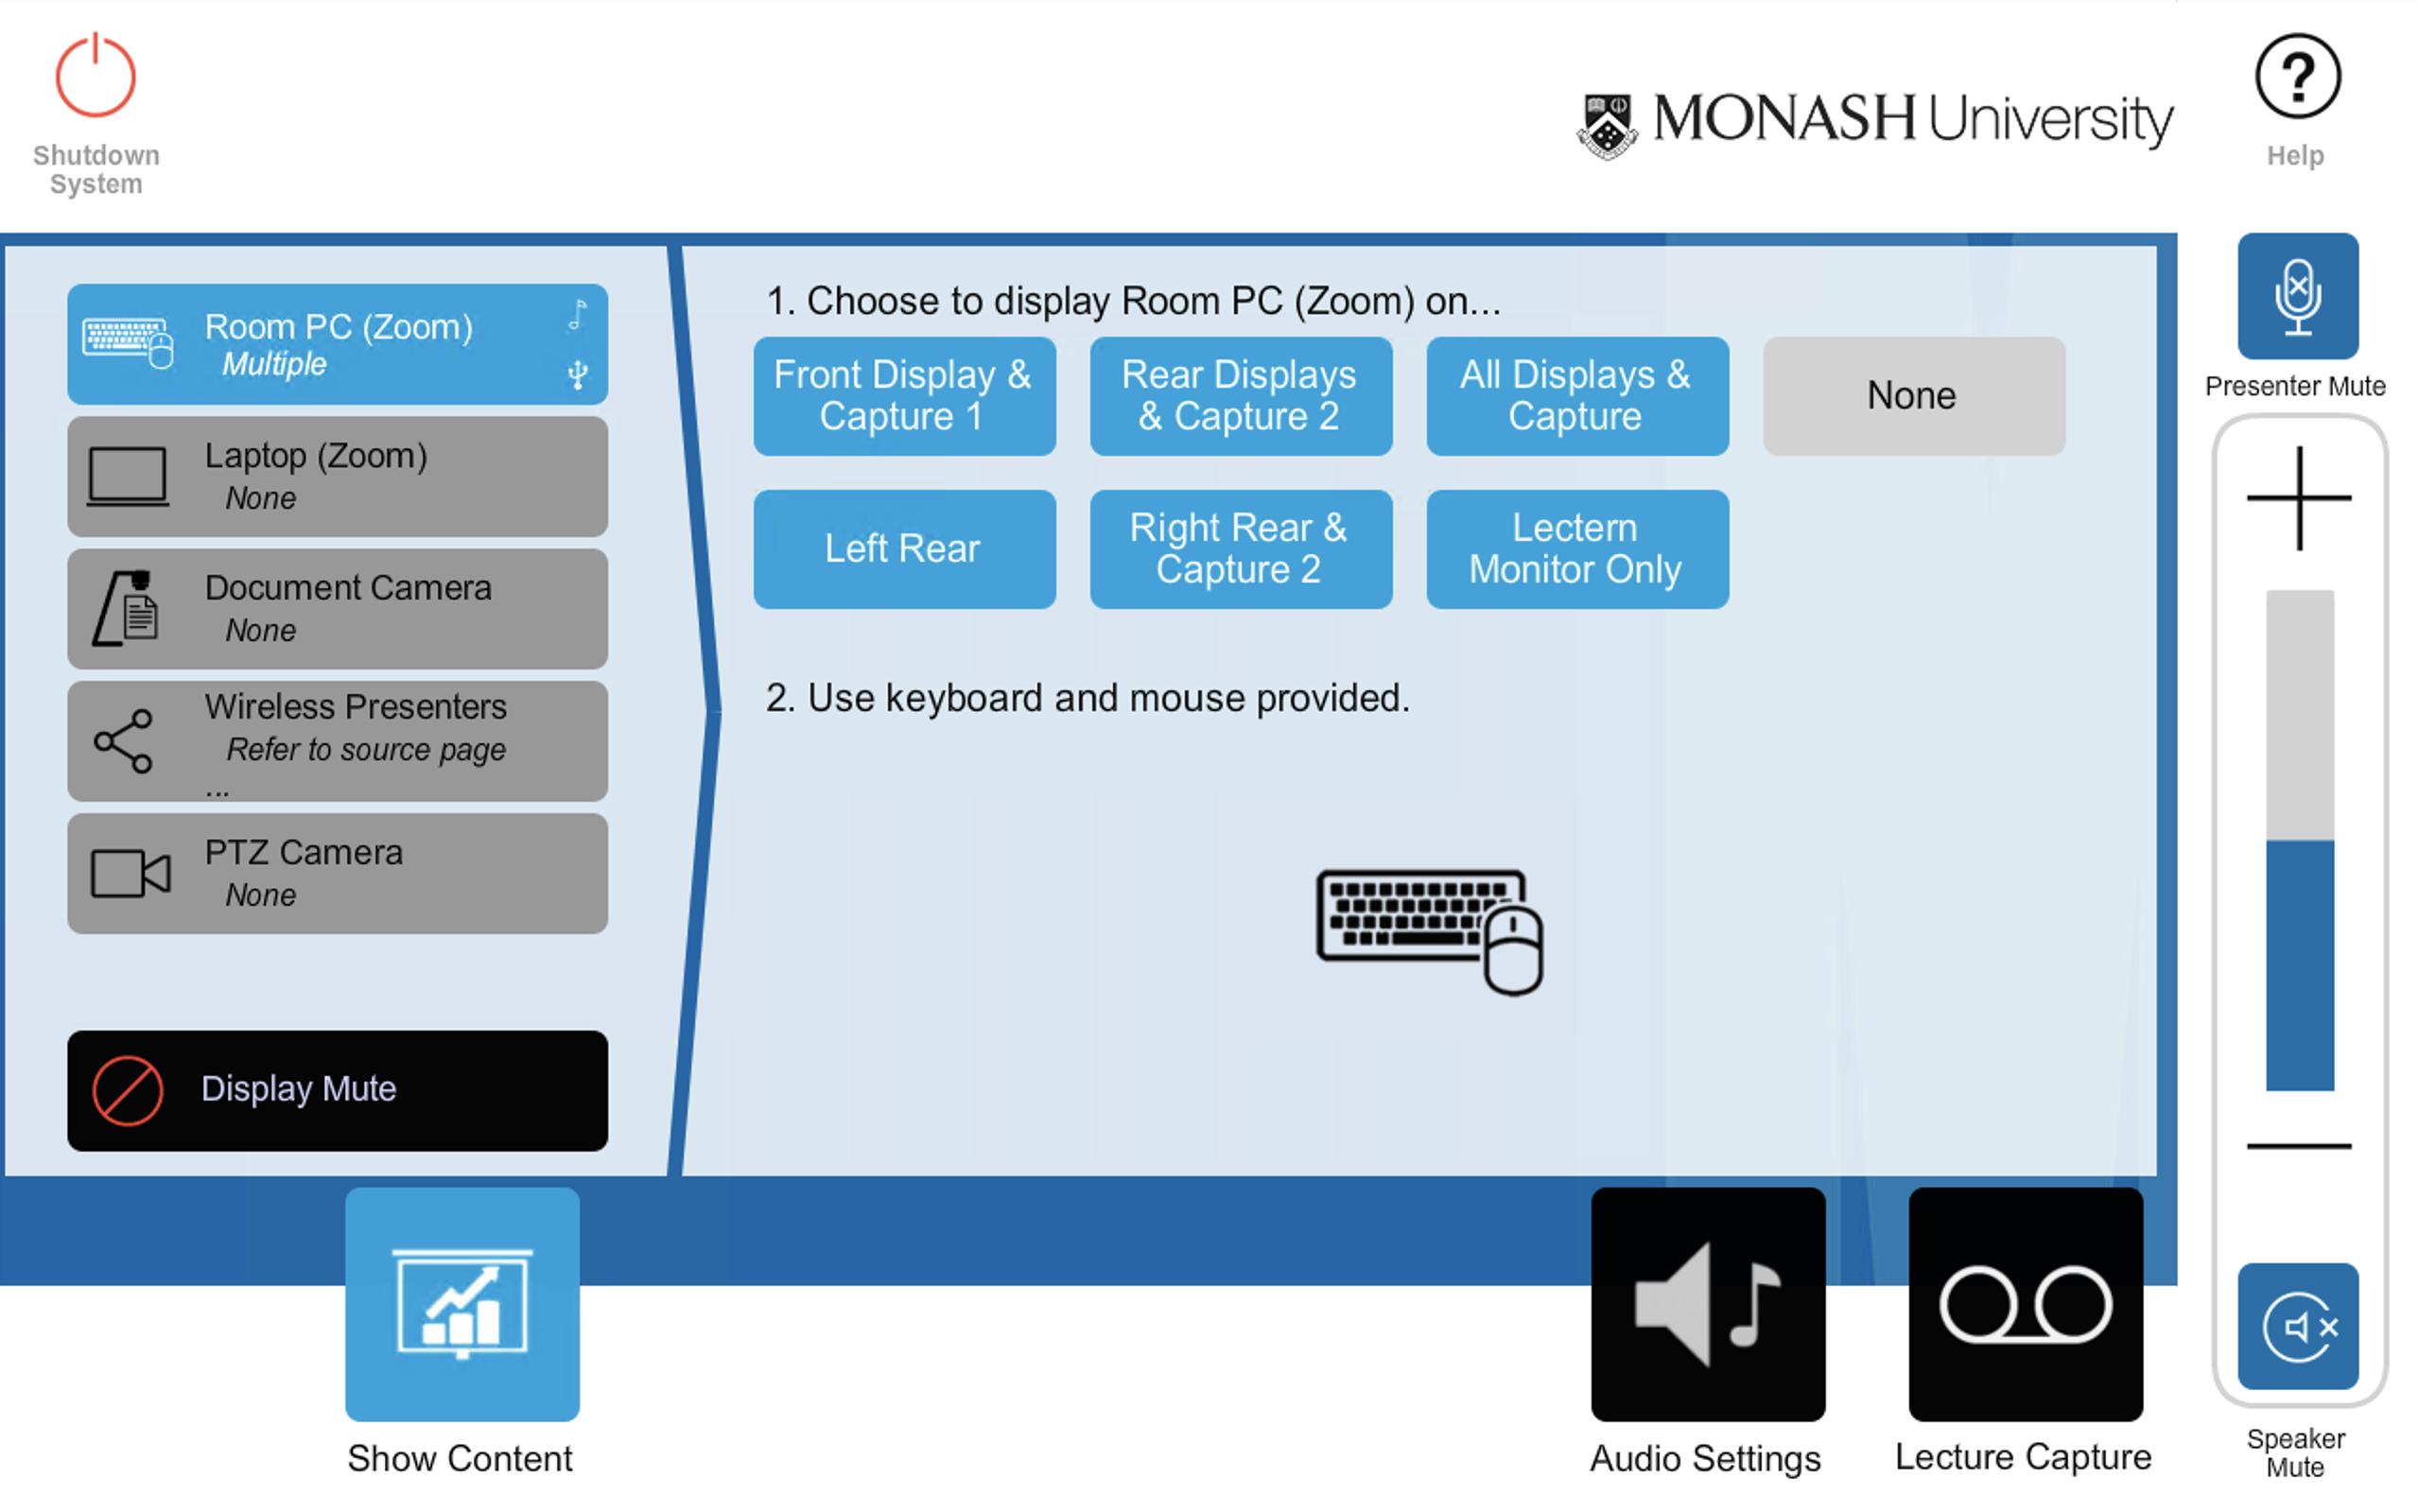

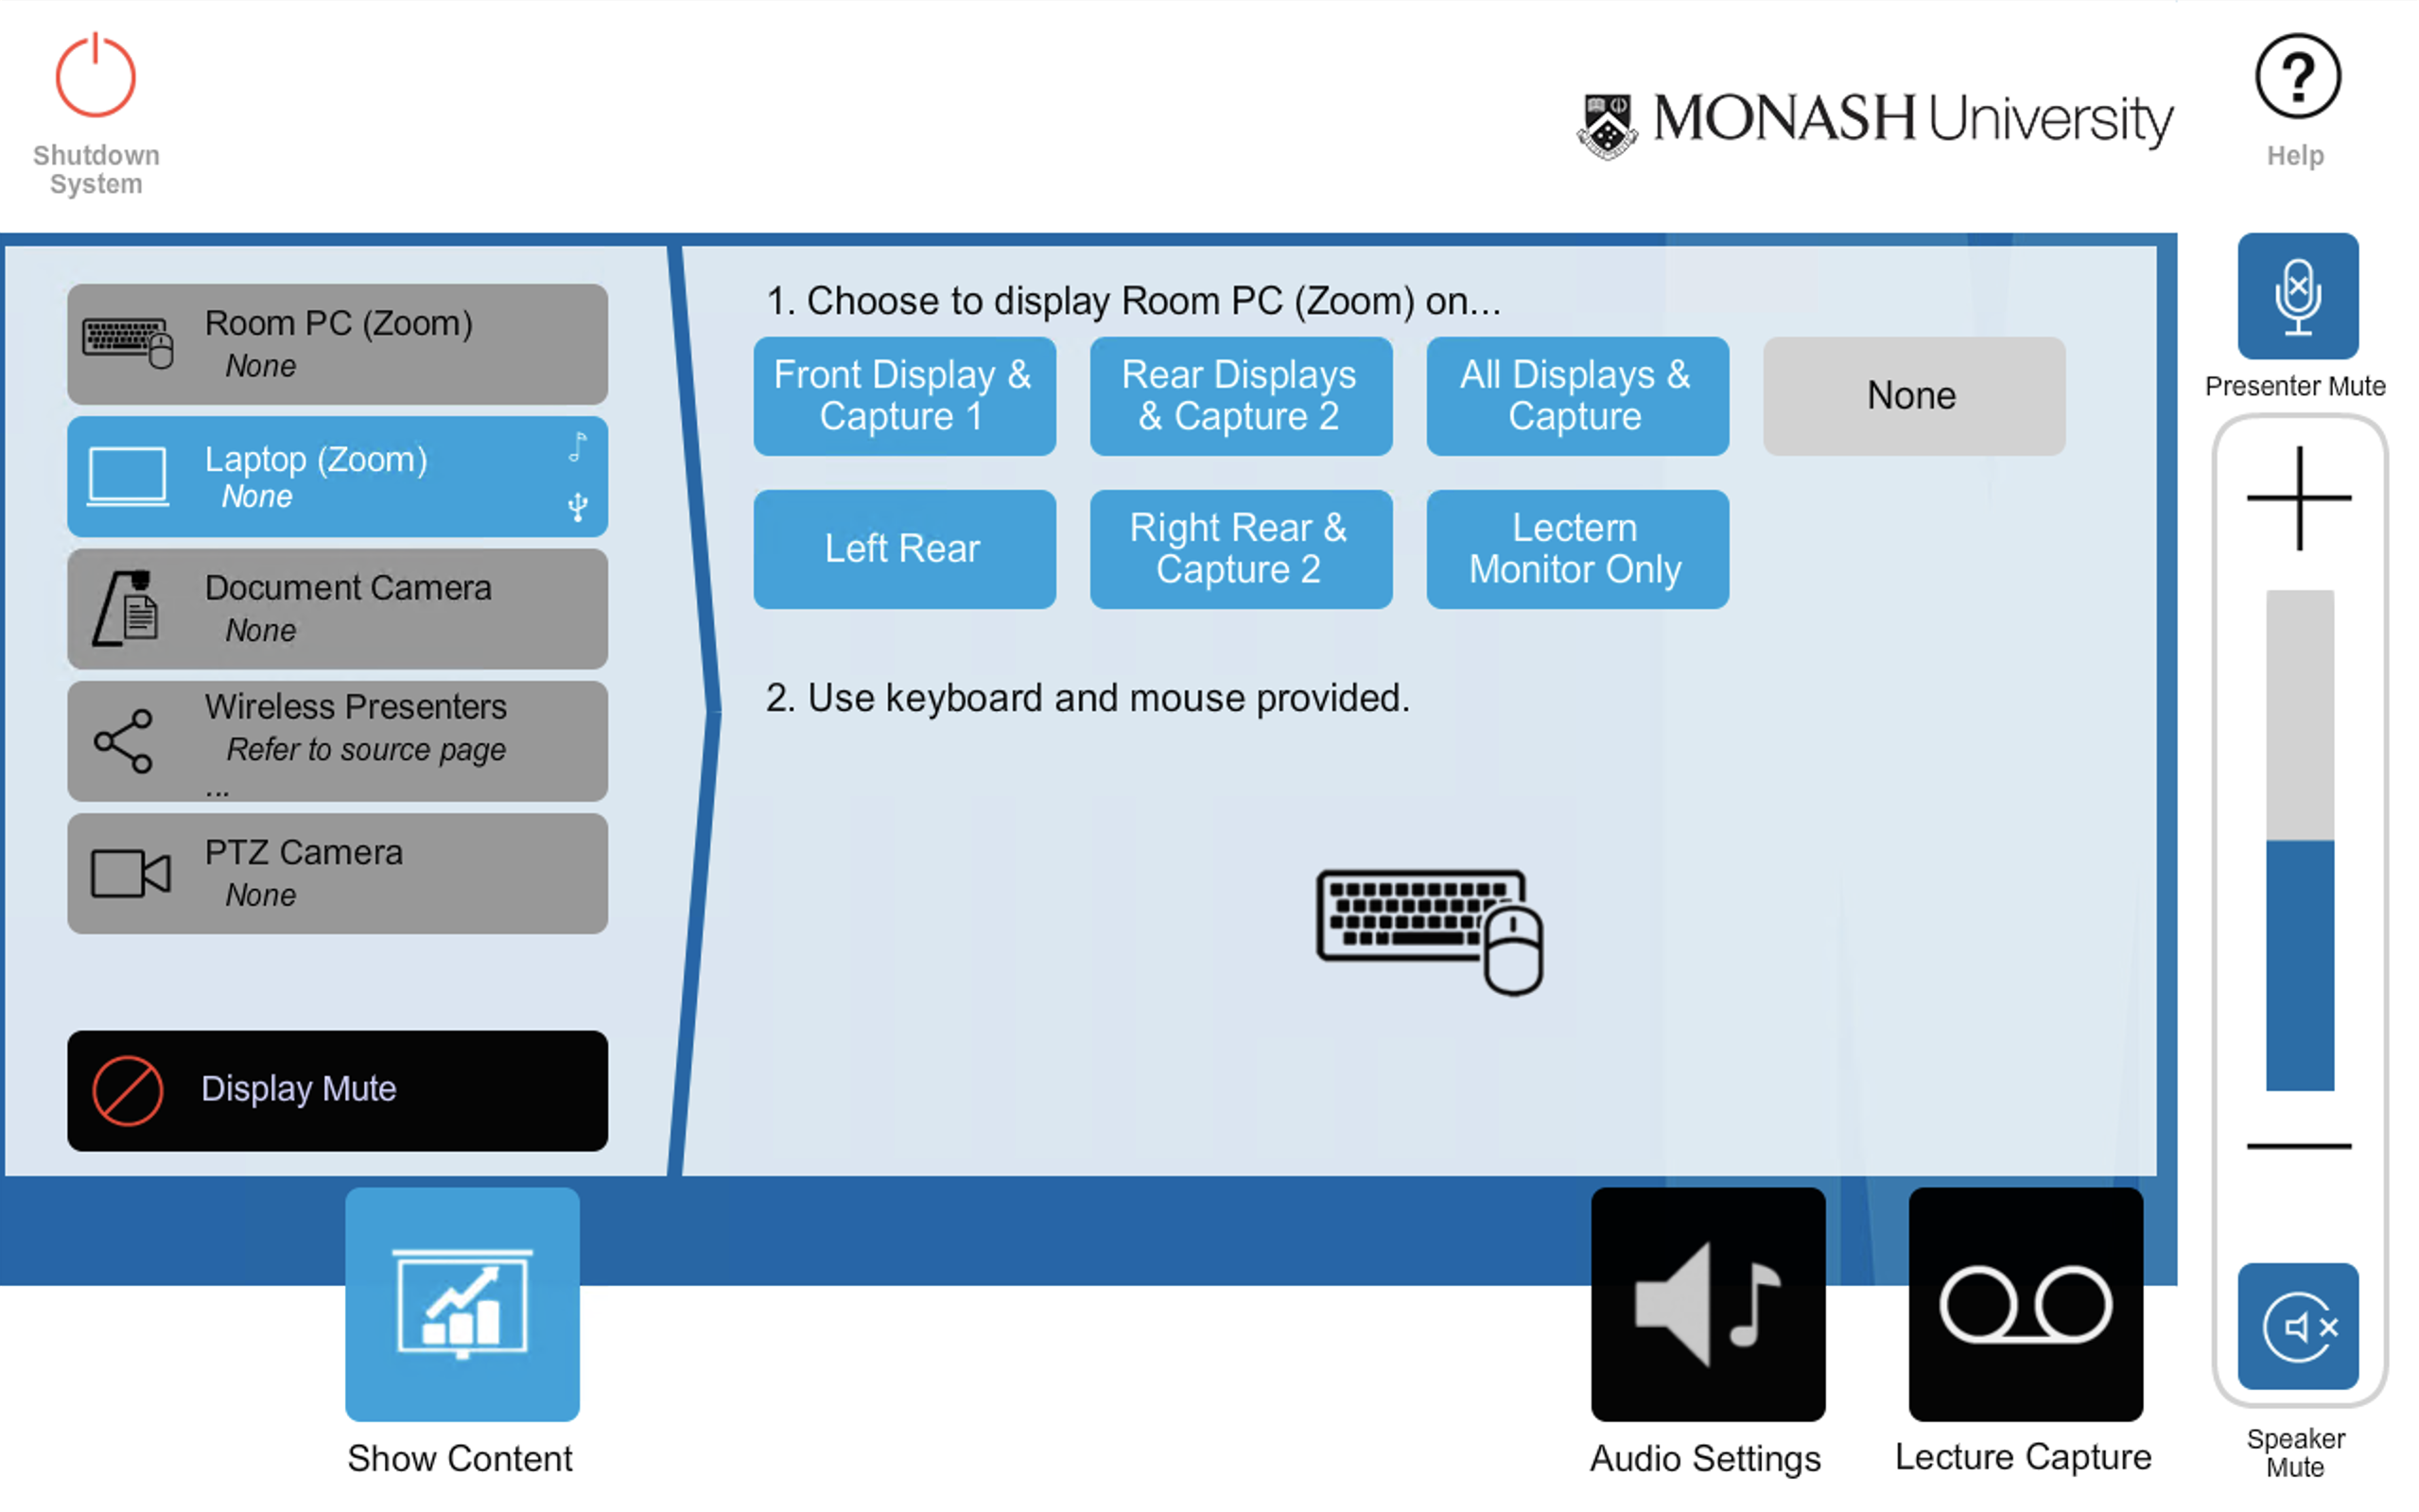
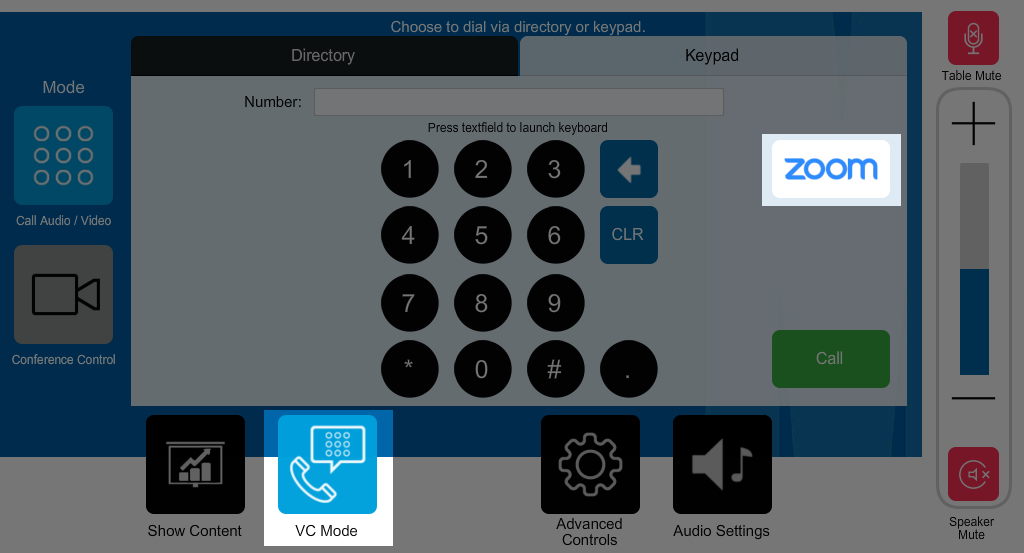
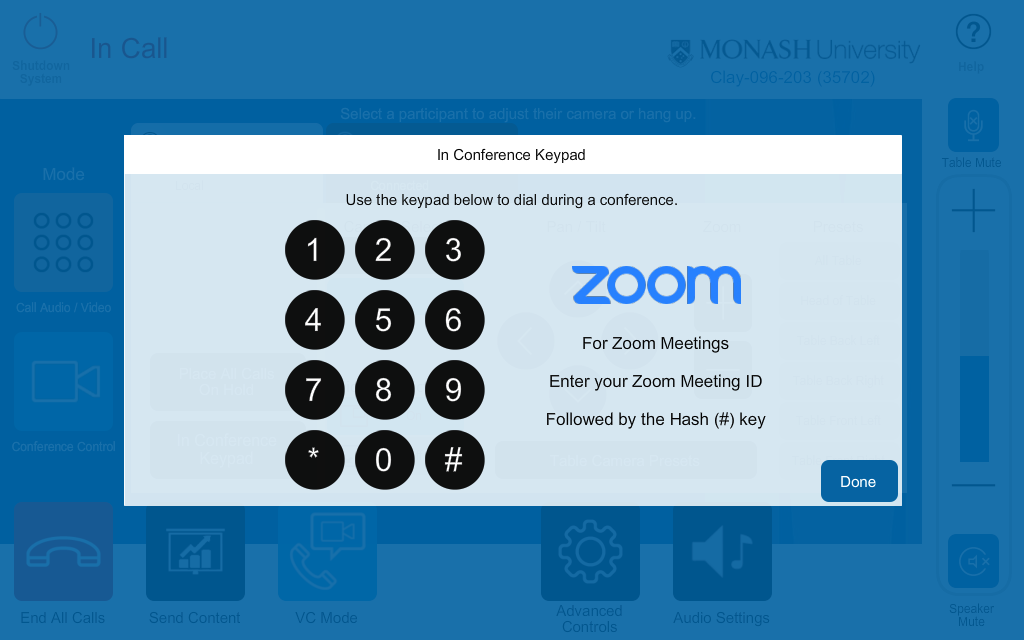
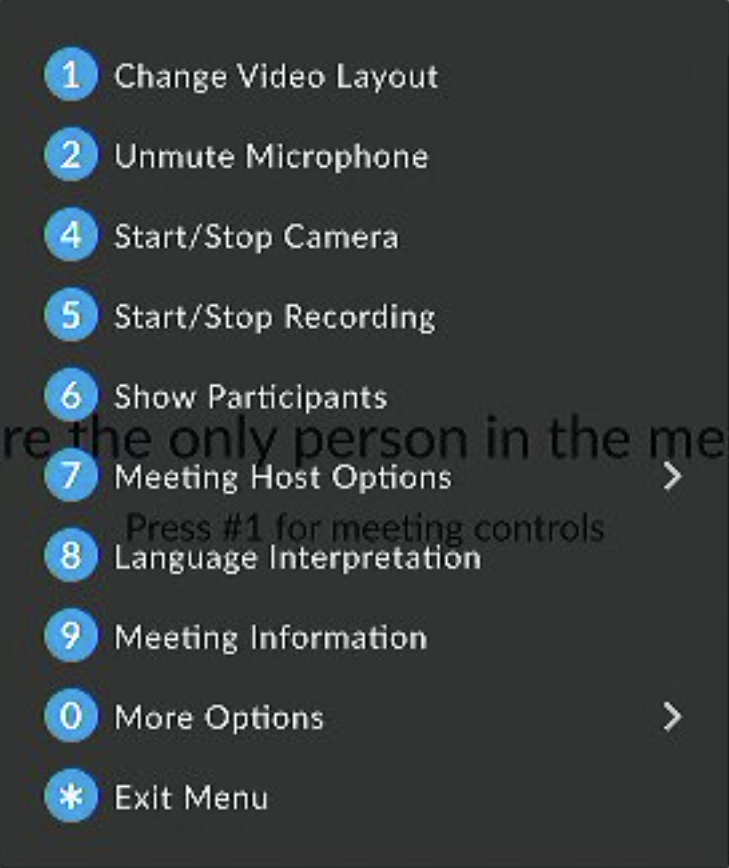

Note: If dialling into Zoom using Cisco video conferencing, you will NOT have access to the Zoom chat or Zoom host features. You will need to login to Zoom on a secondary device(your personal laptop or mobile phone) to access these functions (DO NOT join audio on Zoom from this device). Alternatively assign a moderator to manage the Zoom chat.
Hybrid-concurrent teaching in a non-hybrid room
If you are not scheduled in a hybrid teaching room, you will need to contact Scheduling Services to be allocated into a hybrid teaching room for the best teaching and learning experience.
Alternatively, you will need to bring your own devices to the classroom. No classroom camera or microphone will be provided. This is not an eSolutions AV standard; support by eSolutions AV will be best efforts only.
What you should bring to the room
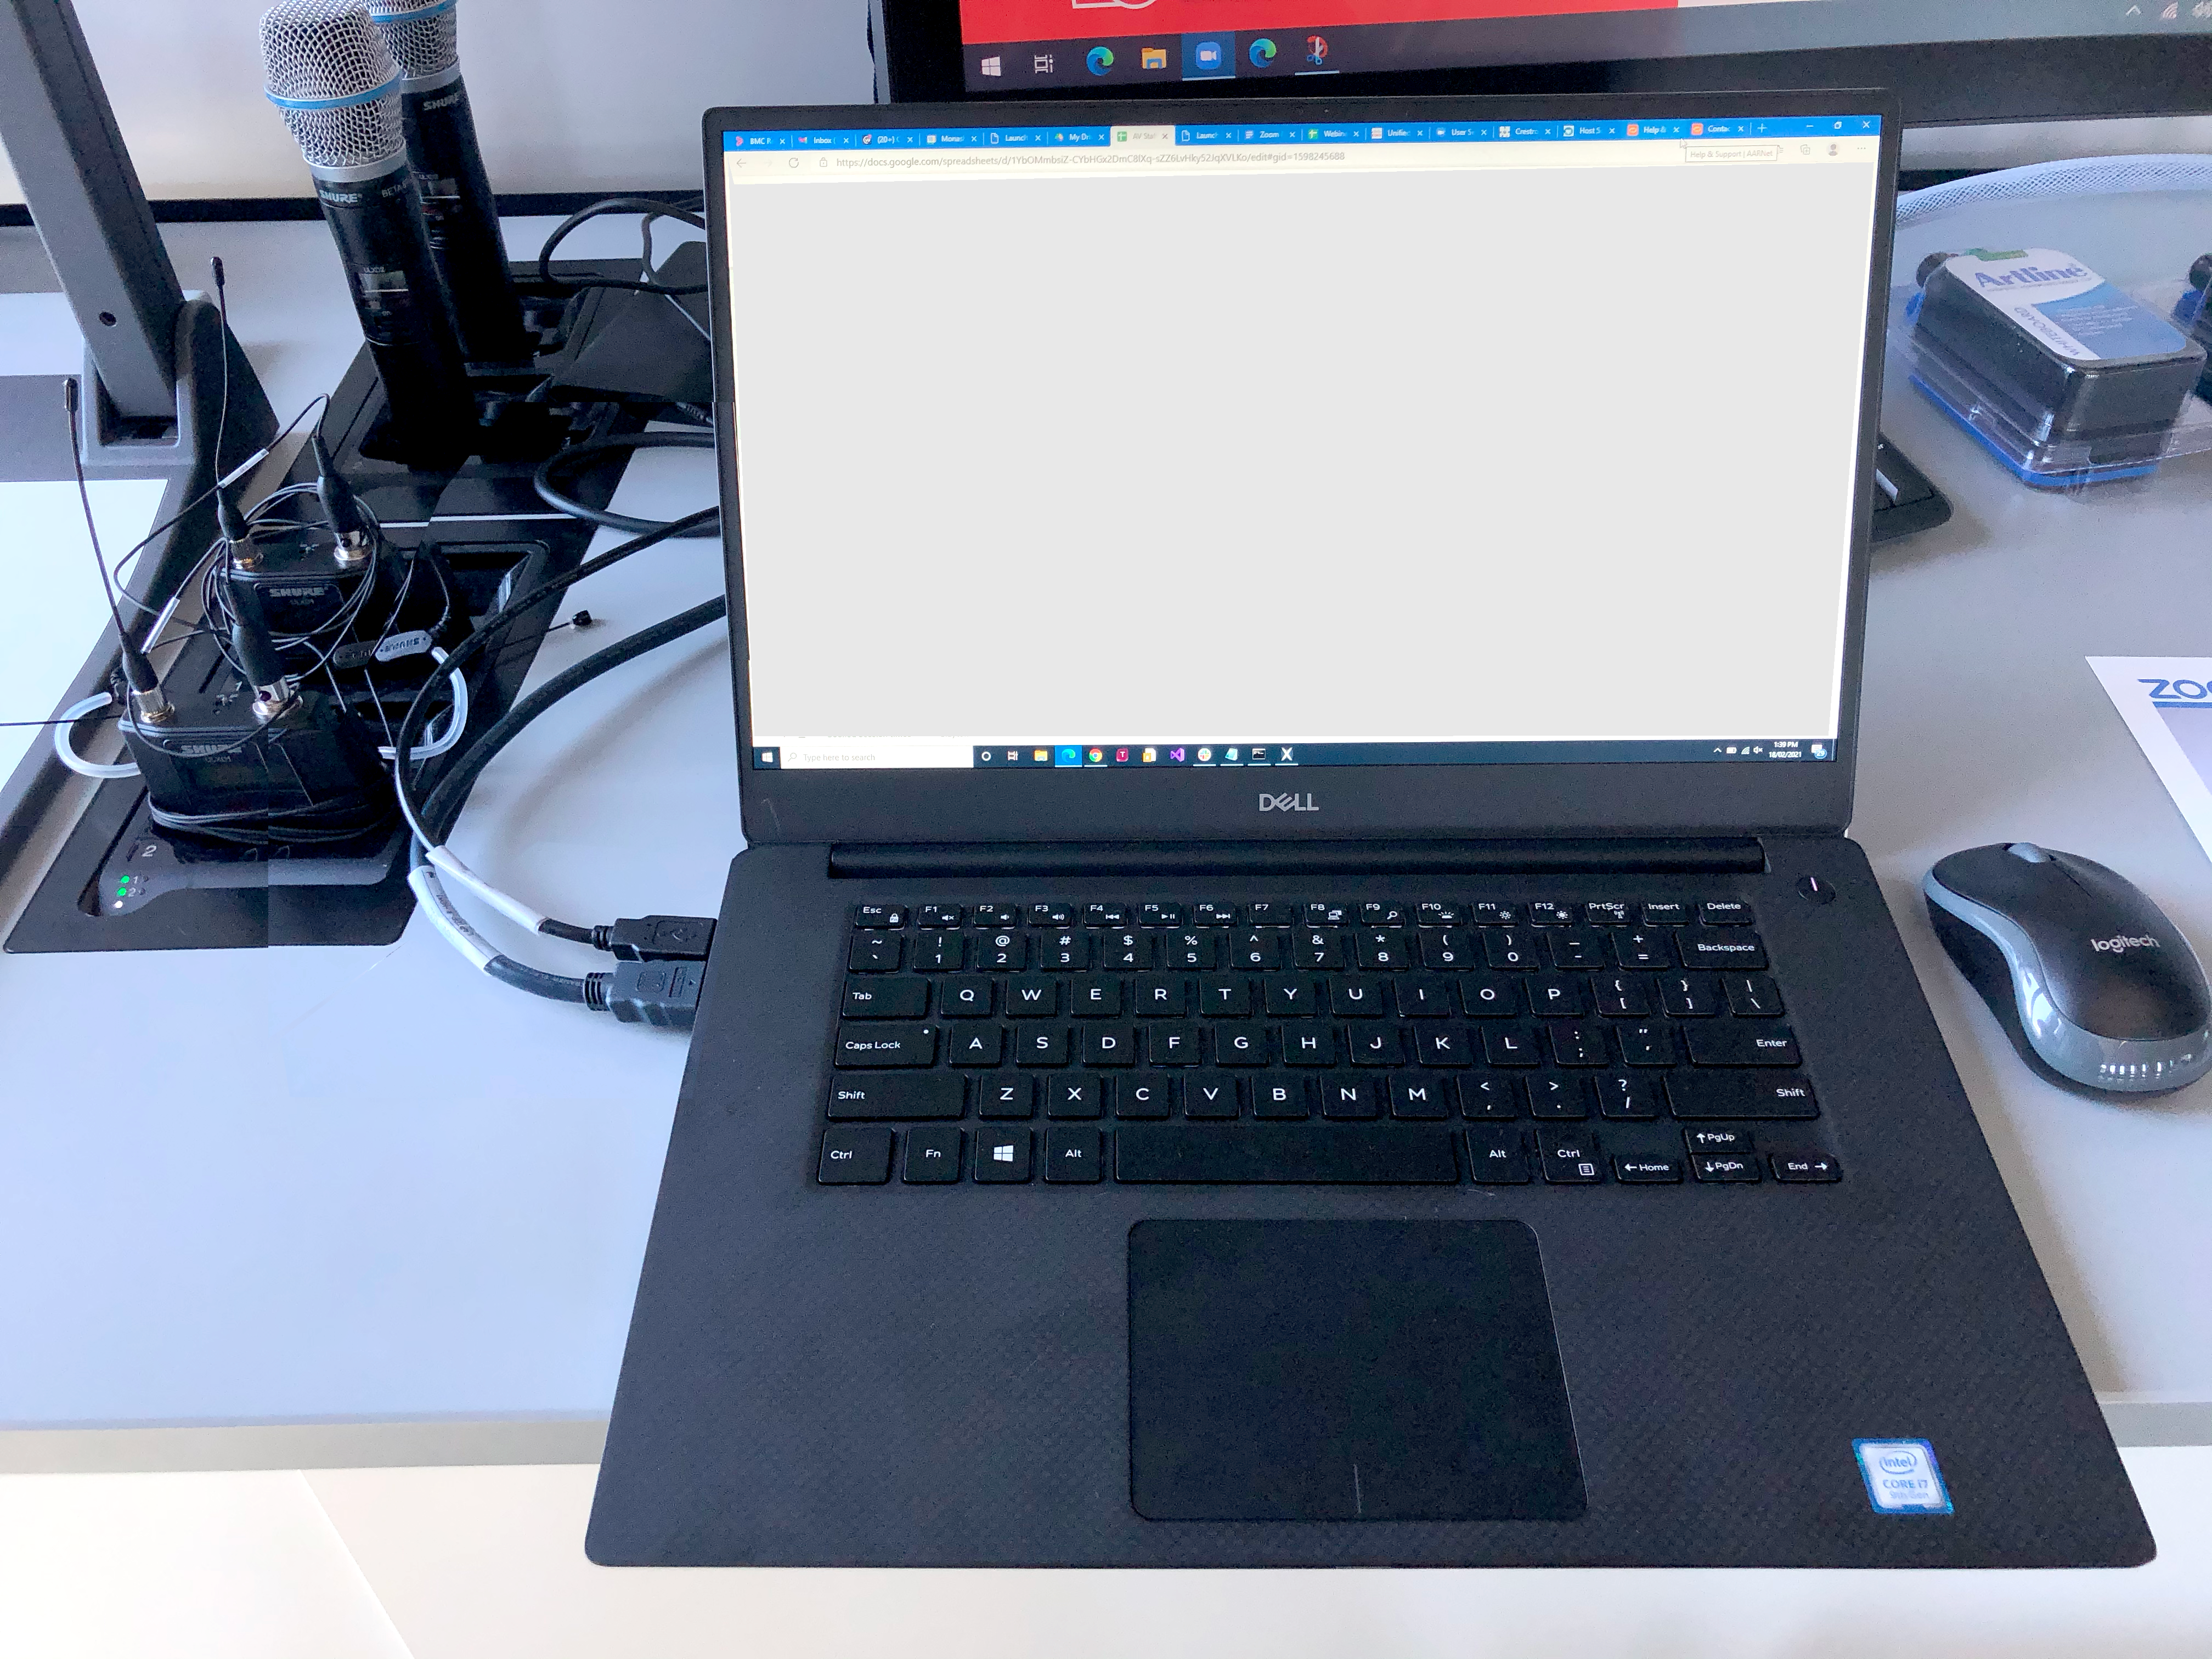
- A laptop: To connect to the screens in class
- An audio device: A personal wireless headset with microphone if you require the ability to move around.
- Presenter camera: Your laptop should have its own in-built camera, but you can bring along a separate webcam if you desire an alternative camera view. You can also additionally join the Zoom meeting from your phone if you want an additional camera view (DO NOT join audio on Zoom from this device)
- Audience camera: Suggest to get students to login to zoom on their device if you want a camera for students. See Face-to-face student technology requirements(below).
Face-to-face student technology requirements
It is recommended that you ask students to come to the classroom with their own device and a pair of headphones. Face-to-face students can join the Zoom meeting to participate in the chat, appear via webcam in the meeting, share their screen and use the Zoom whiteboard function.
However, students MUST mute their audio and ensure that their headphones have been plugged in, or alternatively choose not to join with computer audio when joining the Zoom meeting. This is the simplest way to avoid audio feedback issues which occurs where there are multiple audio inputs (microphones) and outputs (speakers) in close proximity.
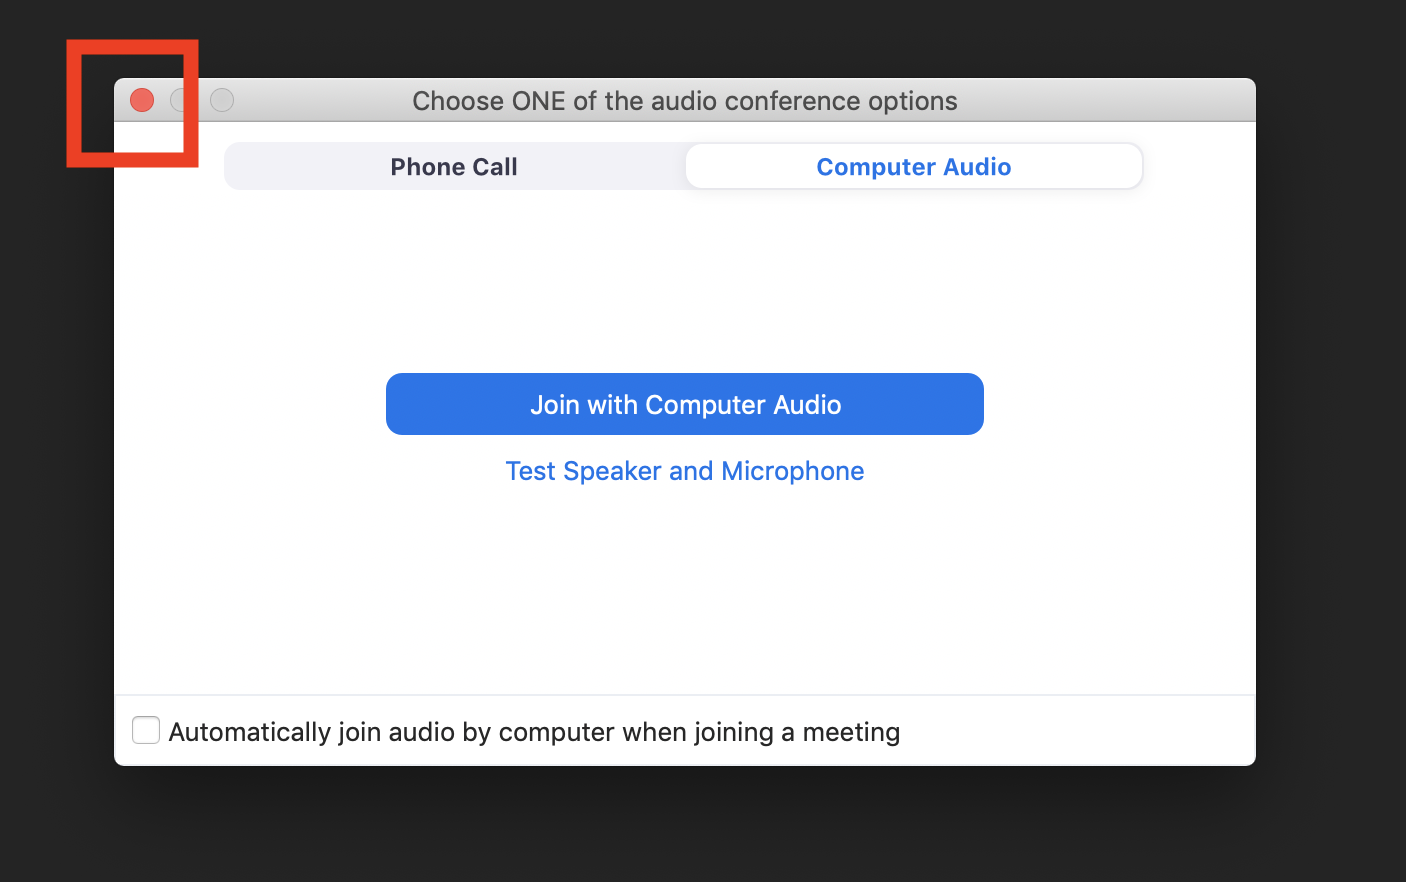
You should advise students to click close in the corner of the box instead of choosing to Join with Computer Audio when joining the Zoom meeting.
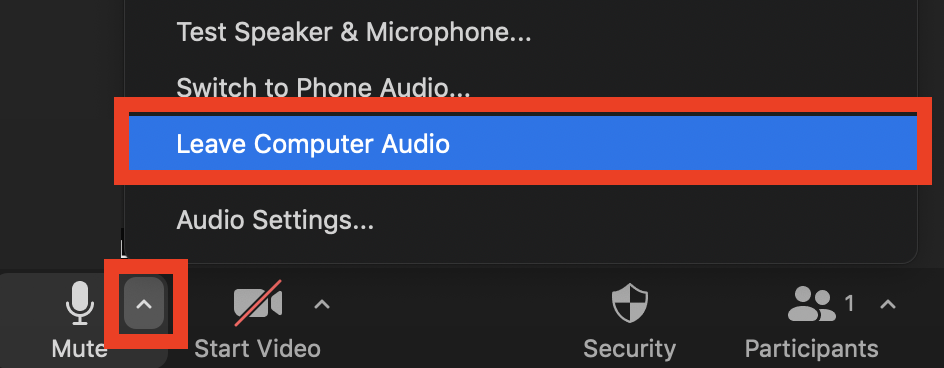
If students have already joined the meeting audio, they can leave computer audio by clicking the arrow beside the microphone and selecting Leave Computer Audio. Students can rejoin the meeting audio at any time if required by clicking the arrow beside the microphone and selecting Join Computer Audio.
You are also able to mute students from the Participants panel, if necessary. Students should be encouraged to use the room mic to ask and answer questions, so that students on Zoom will also be able to hear them.
Recording sessions
If you wish to record the session, remember to set this up prior to the start of the Zoom meeting. Select Record to the Cloud, so you can access the recording later from your Zoom profile page. For more information, see Recording a Zoom meeting. To upload your recording to Moodle after the session, see Share your Zoom recording in Moodle.
Important note: When using Room PC, you can only record to the cloud.