Files and folders in Moodle
You can add files to your Moodle unit and make them available to students. Organising your unit contents into folders can help you manage files in Moodle. There are two main ways of adding individual or multiple files to a Moodle unit: Drag and drop or add files or folder as a new resource.
Drag and drop
You can drag and drop files directly into an activity or resource or a unit section or topic.
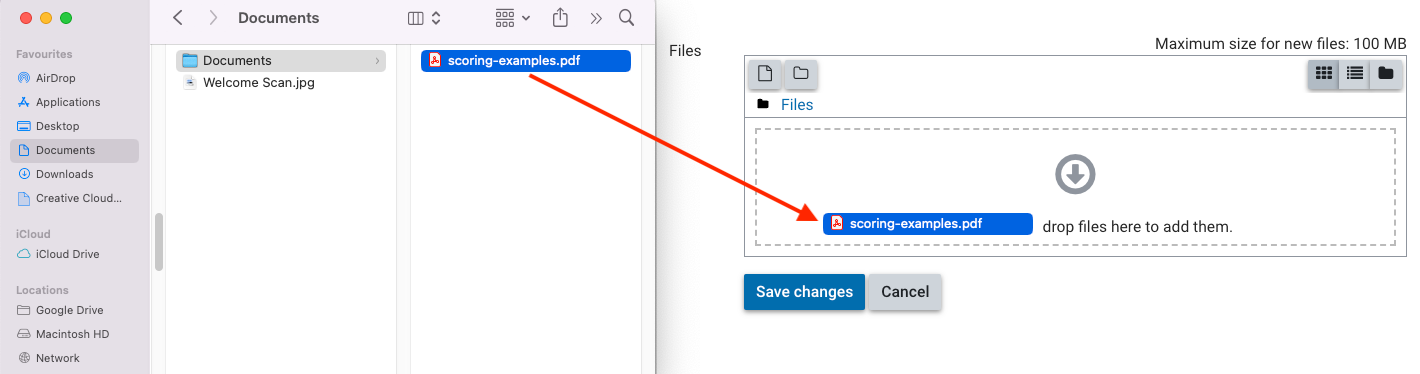

Note: Drag and drop only works with files, folders cannot be added this way.
Adding files and folders
- In the top right hand corner of the page, switch Edit mode to ON(Blue).

- In the section where you would like to add a resource or activity, click +Add an activity or resource.

Note: You can add new resources or activities above or below any existing activities or resources.
- Under Resources, select File or Folder.
- In the General section, give your file or folder a name and enter a description if needed.
- In the Content section, under Files you'll see a window where you can upload files (Maximum upload limit of 100MB)
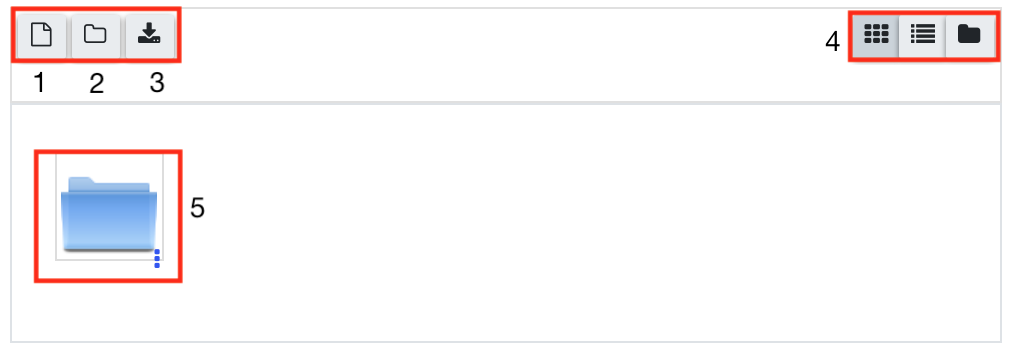
- Add file using the File Picker
- Add a new folder. If a folder already exists, this will create a new subfolder)
- Download all files (for existing folders only)
- Toggle between different views
- Existing subfolders will appear here
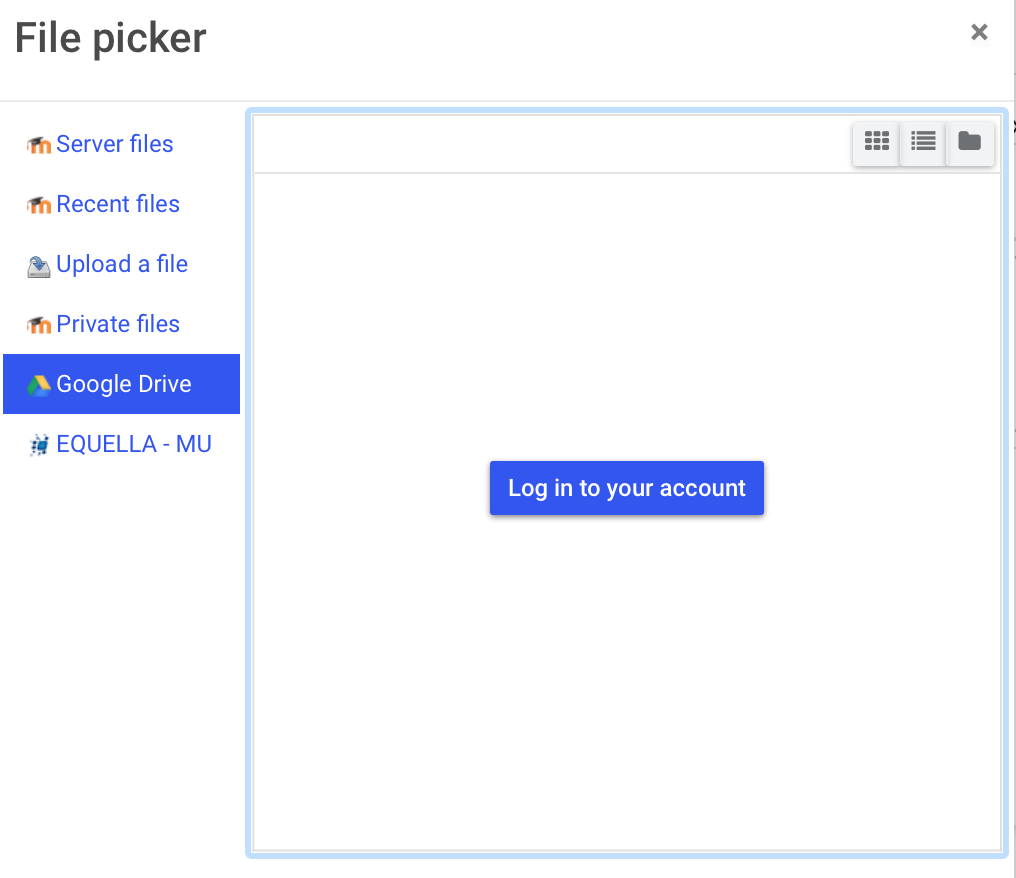
- Clicking on the Add file icon will open the File picker window. You can:

Update, delete or manage files
You can rename, update, delete or download the files you have uploaded:
- Ensure edit mode is on.
- From your Moodle unit homepage, locate the activity or resource containing the file(s) you wish to rename/update/delete/download and click the edit icon (
 ).
). - In the Content (or Attachment in Forums) section, click on the file previously uploaded.
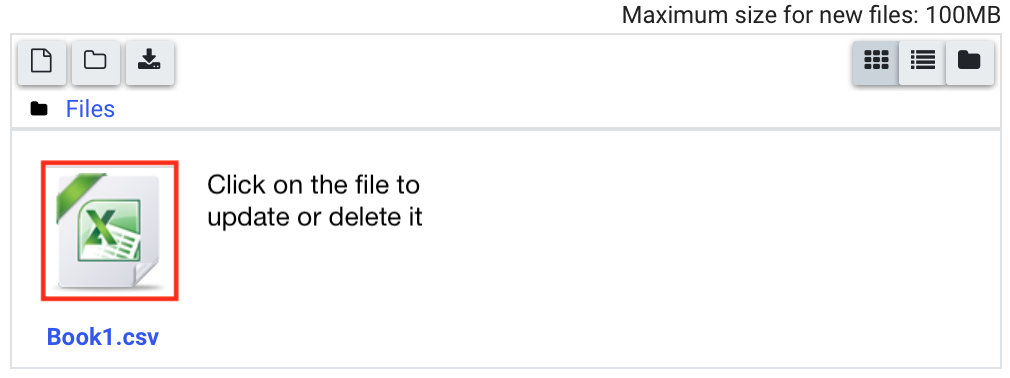
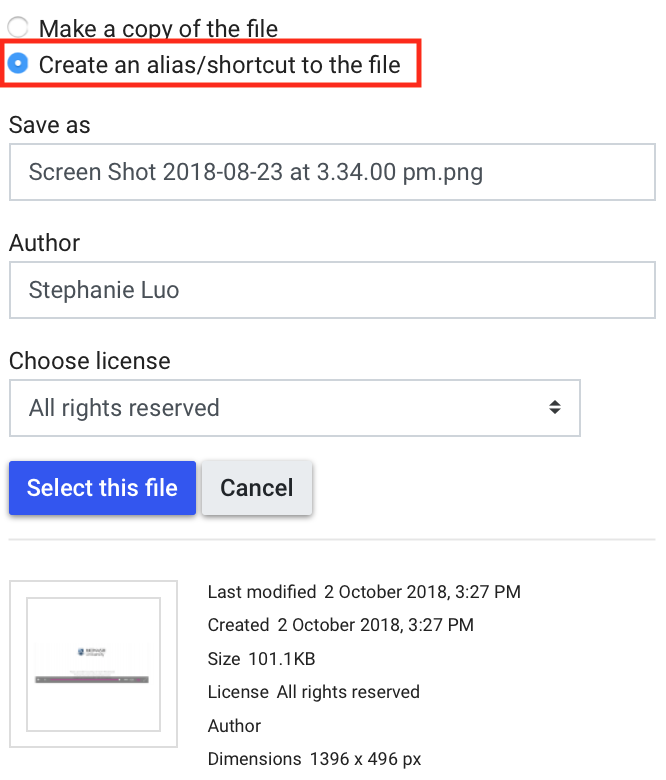
- Click on Download, Delete or change the Name, Author or Licence information as required.
- Click Update to save the change.
- Adjust other settings as required, then click Save and return to unit or Save and display.