Add Blocks in Moodle
Blocks are located on the right hand side of the workspace. Blocks allow you to navigate and adjust unit settings and enhance your core unit content for example, Blocks can be used to show activity completion progress, integrate learning technologies such as Panopto, Microsoft Teams, enable mass actions or provide useful links, such as to Library resources. Blocks can be specific to a particular page or can be made ‘sticky’ so that it appears in all pages of your unit.
Suggestions on how to use blocks
- Use the Administration block to display a shortcut to the settings within the settings cog for any Moodle resource or activity
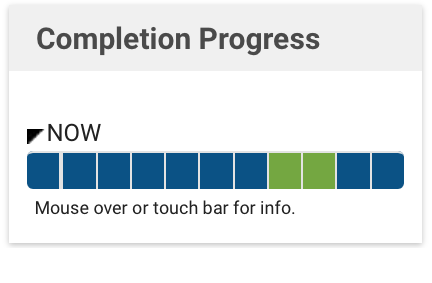
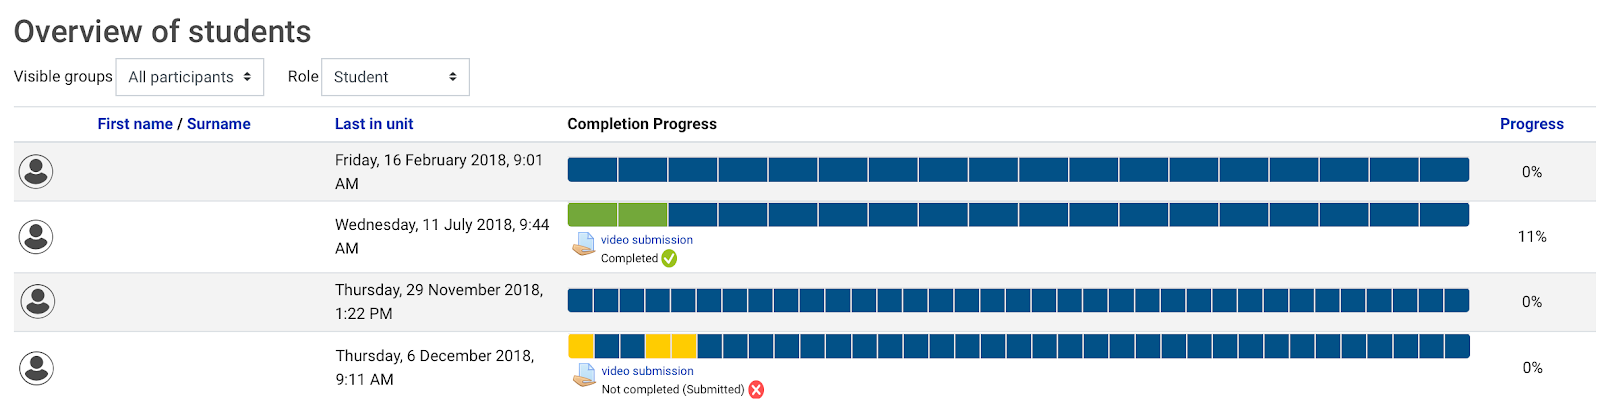
- Use the Completion Progress block to provide a visual representation of student progression through the unit. To use the Completion progress block, it is recommended that you turn on Completion Tracking.
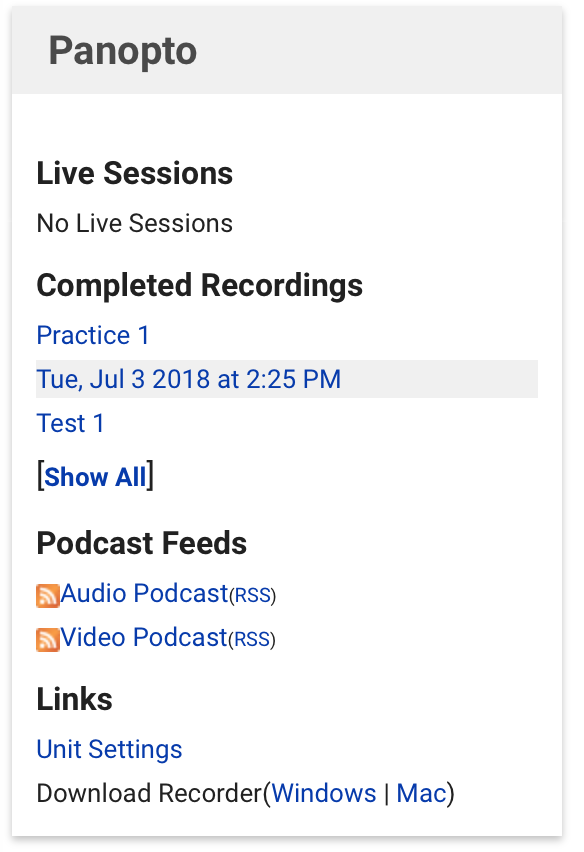
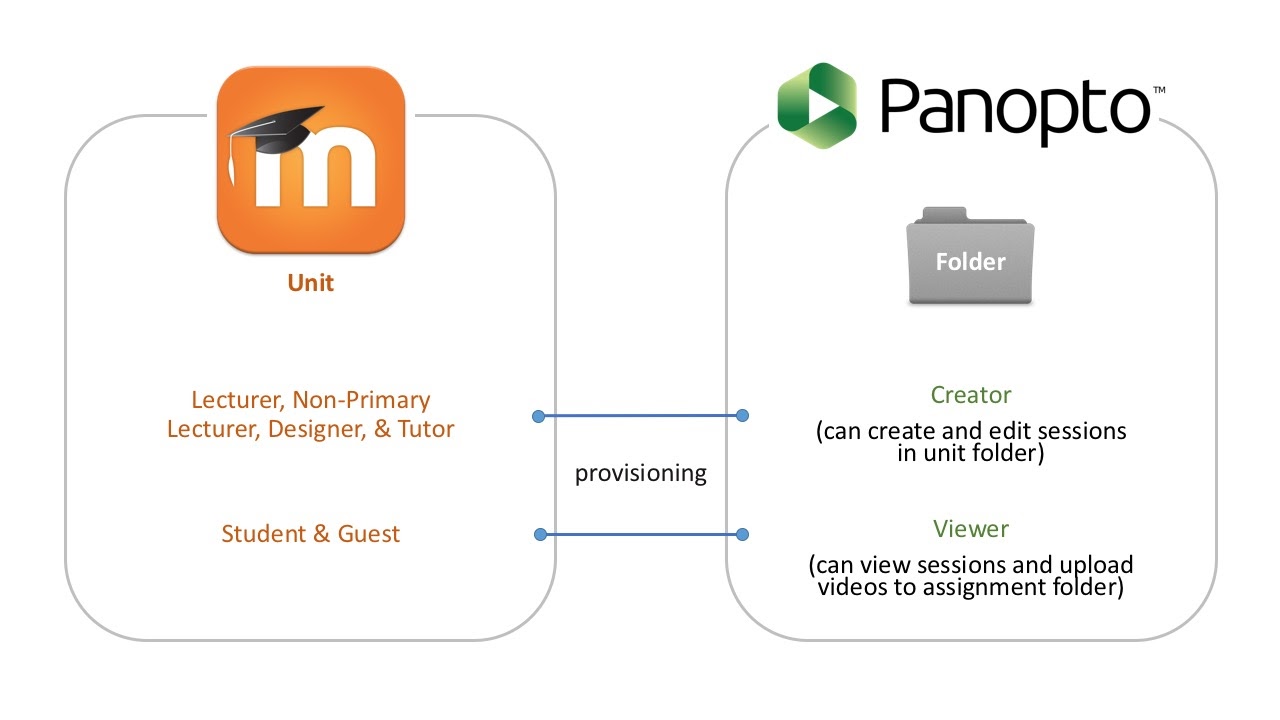
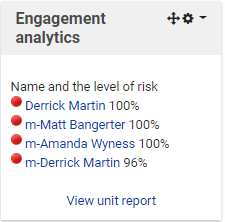
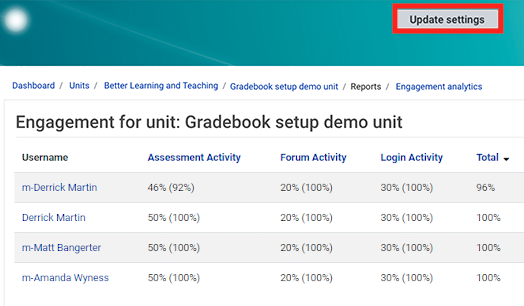
- Integrate learning technologies such as Panopto or Microsoft Teams
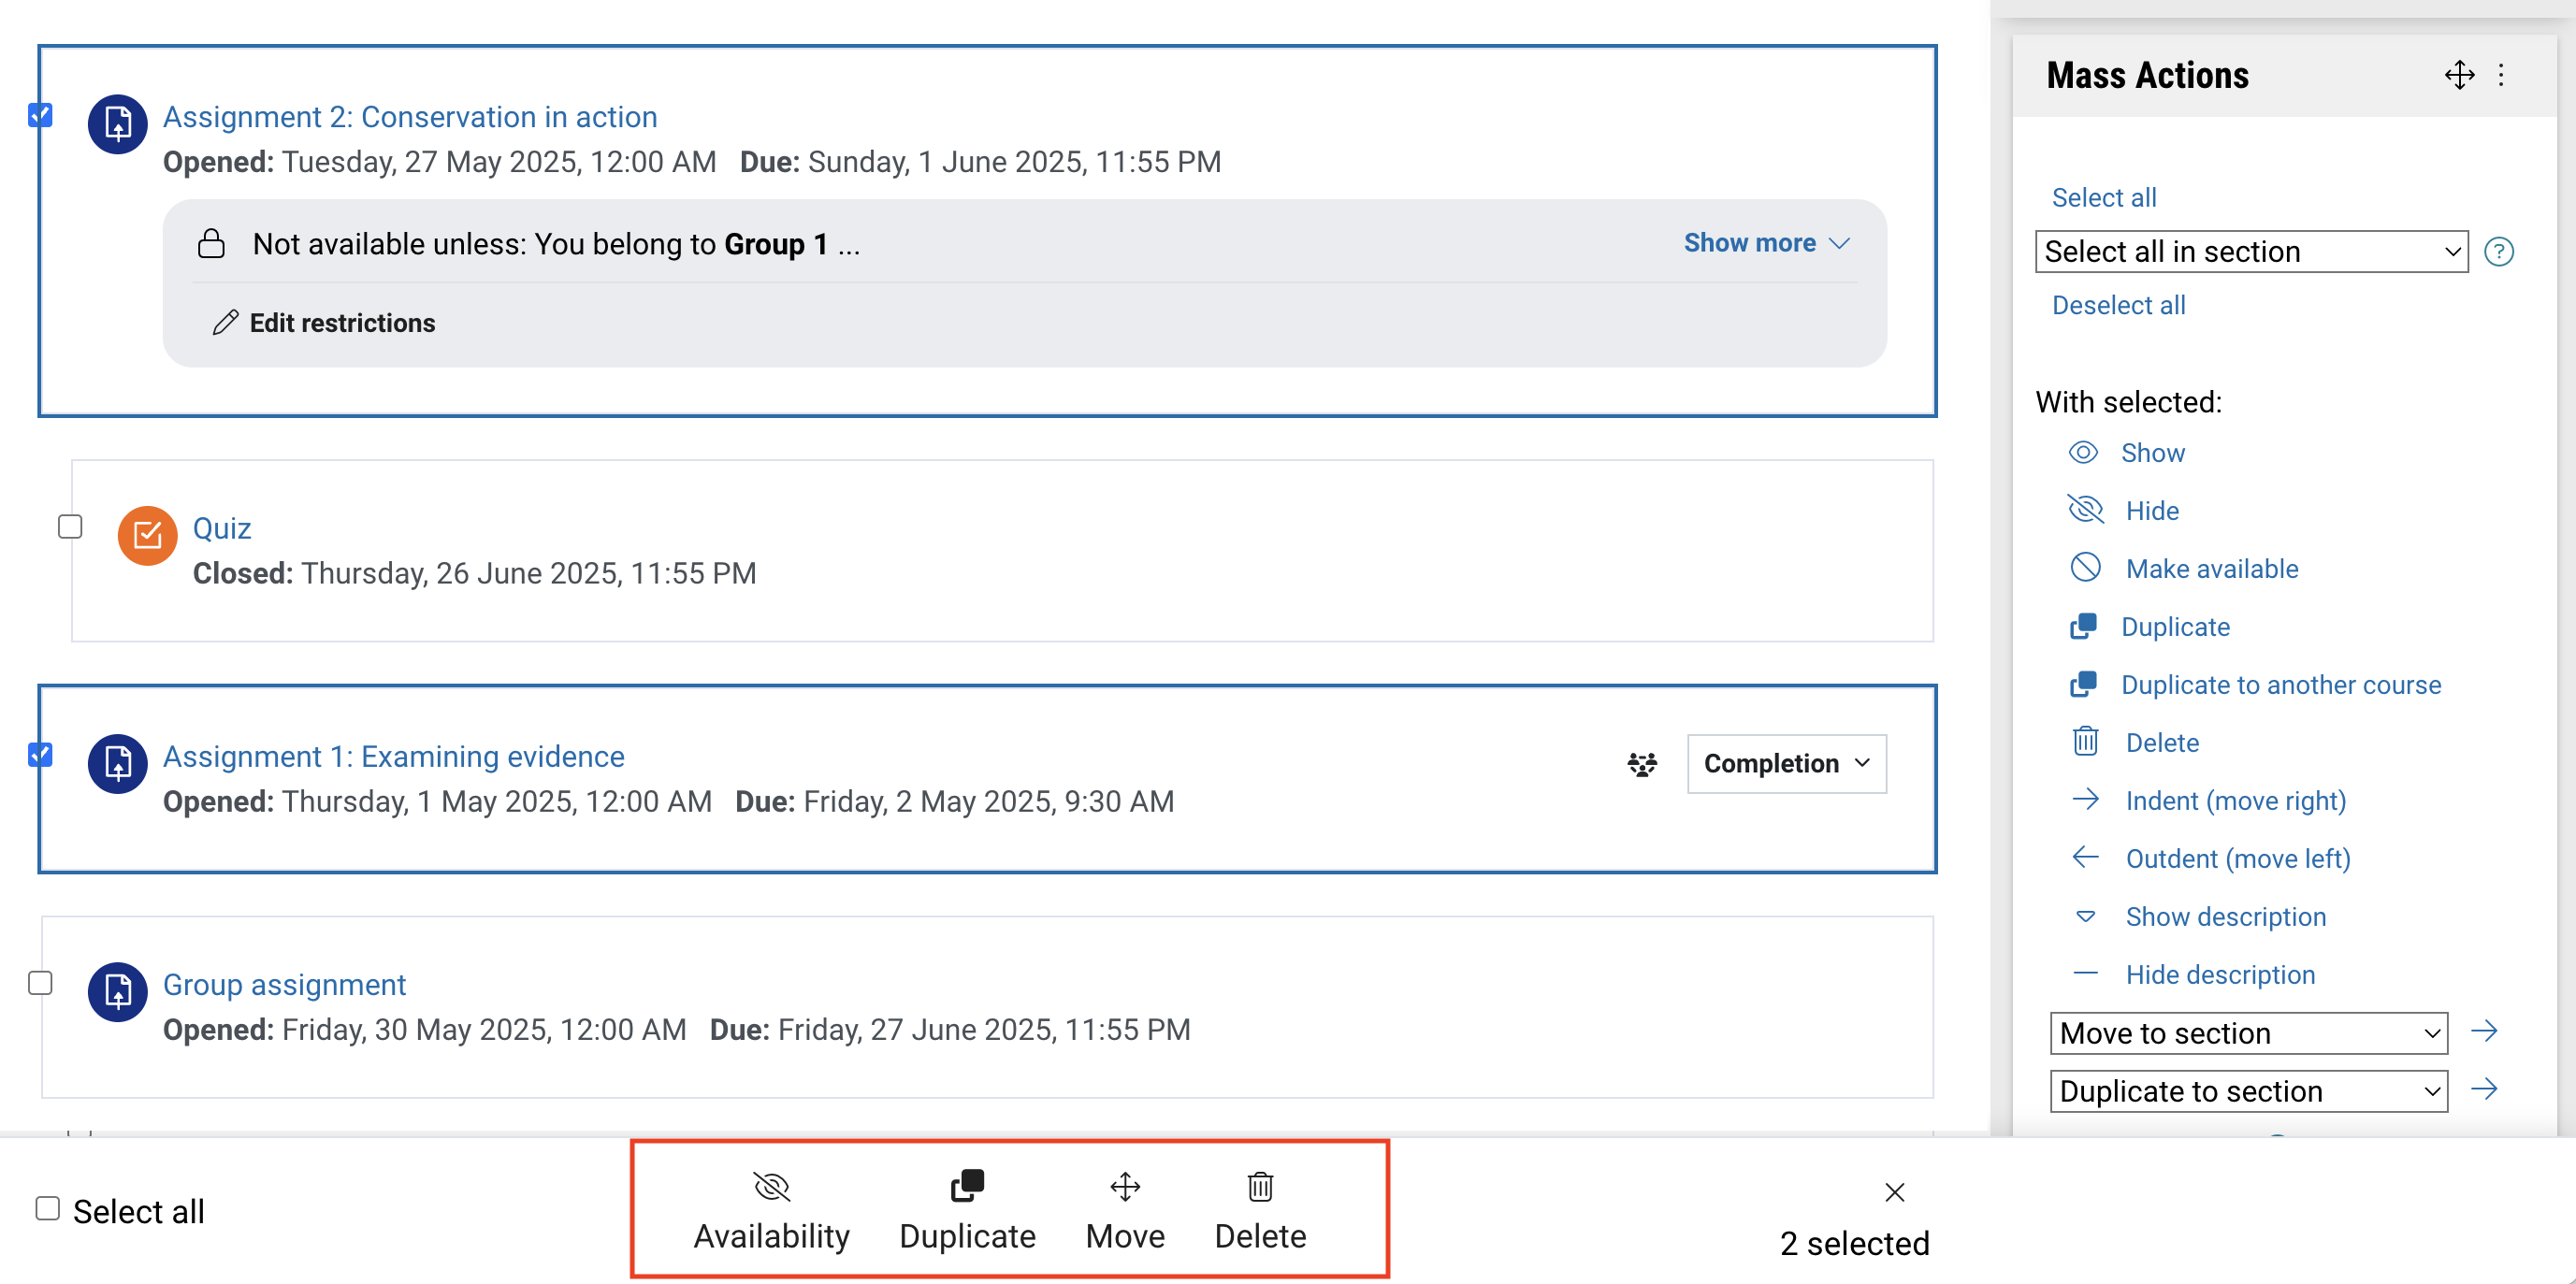
- Use the Mass Actions block to move multiple resources or activities at once, rather than having to perform repeated actions on individual items.
- Provide useful links for students to Library resources, English connect resources, etc.
Blocks available in Moodle
Provided below are the list and description of the different blocks available in Moodle that you can use for a variety of actions. Review the different blocks and select the ones that would be most beneficial to you, your students, and your unit.
Add a block
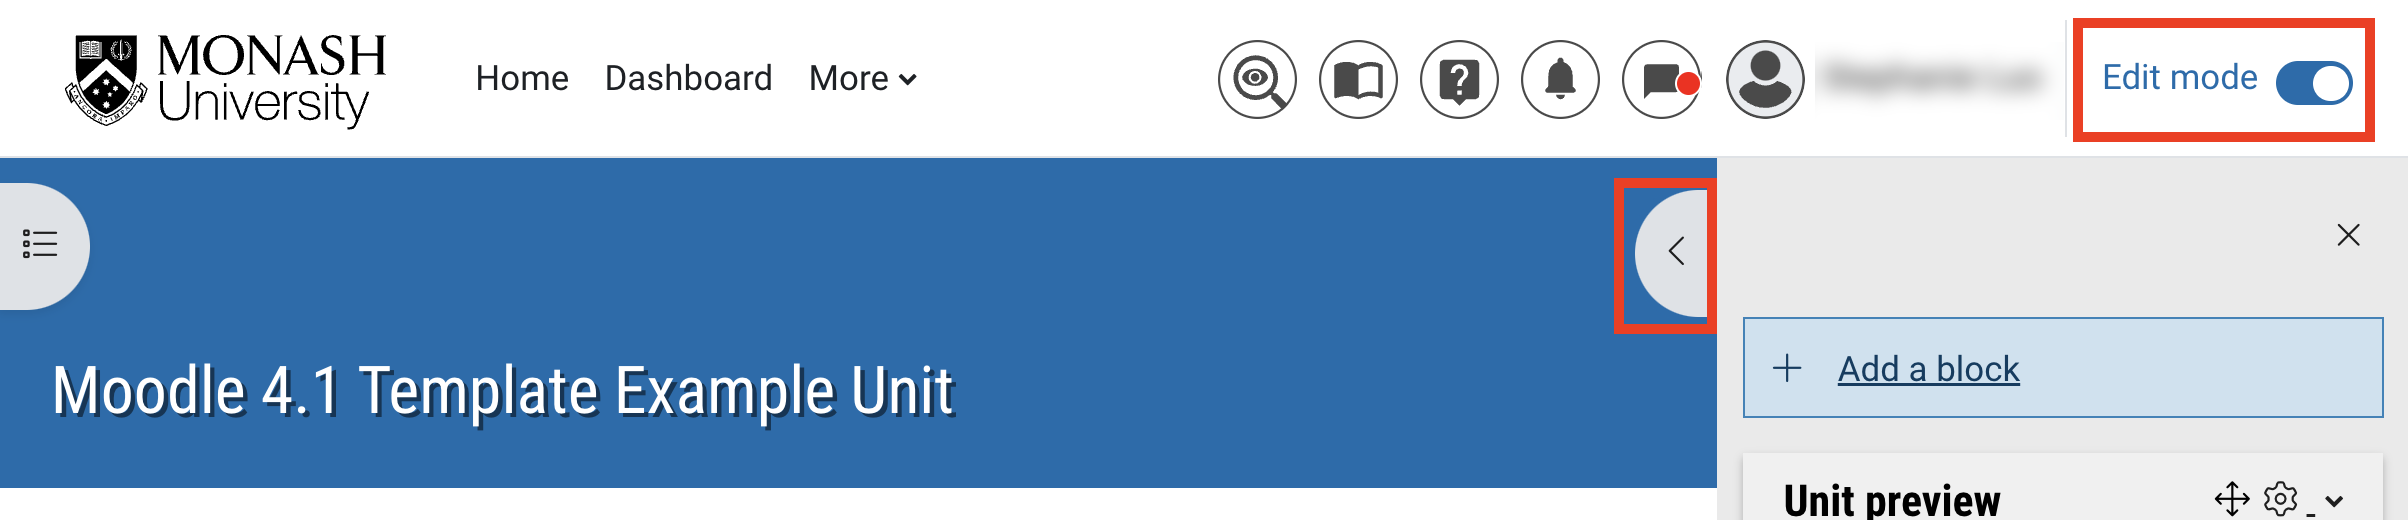
- Switch Edit mode on(Blue) in the top left of the page.
- Expand the left side panel with the arrow and click the Add a Block button.
- Select the type of block you would like to add.
- Click on block type in the accordion to read a brief description of the function of the block.
Note: If you do not see the block in the list, it could already have been added to your unit. Double check your blocks on the right hand side of the screen.
Block settings
- Ensure editing is on.
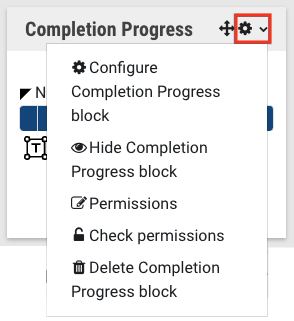
- Locate the block you would like to edit, click the cog icon in the title section.
- You can either:
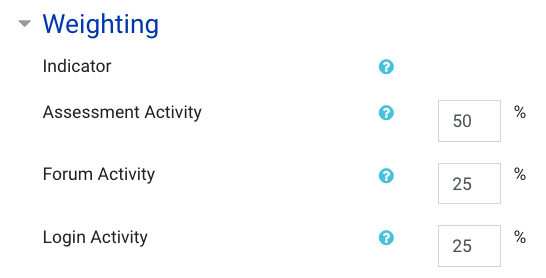
- Configure block settings. Settings are different for each type of block. Follow the prompts to customise your block as required and then click Save changes.
- Hide/Show a block. When the eye icon is 'open', the block is displayed in the student view. When the eye icon is crossed out, the block is hidden from student view.
- Check permissions.
- Delete a block. You'll be prompted with a confirmation message before the block is deleted.
Move a block
- For the block you would like to move, click and hold the move arrow icon.
- Click and drag the block to the desired new position. A shaded outline will show how the block will look in its new position.
- Release your mouse when you are happy with the block's position.
- The block's new position will automatically be saved.
Instructions for selected blocks
Provided below are some step-by step instructions on how to use the selected blocks.